



How to get started with laser cutting in 4 steps
From: 本站 Date: 03rd September 2021 Author: shengangtong Views: 3790
Here’s a step-by-step overview of what you need to consider to make it happen.
1. Get access to a laser cutter
2. Choose a material to cut or engrave
3. Create your design
4. Cut or engrave it
1.There are a lot of other options to get access to a laser cutter:
Makerspaces
If you are interested in getting some hands-on experience with a laser cutter, I recommend looking for a local makerspace. Makerspaces – sometimes also called maker lab or hackerspace – are collaborative work spaces for making and learning. They offer a variety of equipment like for example 3D printers, CNC machines, soldering irons and very often also laser cutters!
Schools, colleges and universities
Especially if you are a student, schools, colleges and universities are also a good place to look for a laser cutter.
Buying a Laser Cutter
If you are just starting with laser cutting I recommend trying one of the options above before looking into buying a laser cutter to get some experience and find out which features are most important for you
2. What materials can be cut or engraved with a laser?
CO2 laser machines are capable of cutting and engraving a variety of materials. However, there are also materials which cannot be processed. This may be because the laser can not cut through the material, or because toxic gases would form. Also, very flammable materials cannot be used.
Depending on the power and other specifications of the machine you are using, the maximal material thickness that can be cut will vary. The power of laser cutters is measured in Watt. Typical power levels range between 30 Watt and 300 Watt. Lasers with higher power are mostly used in industrial applications only.
| Material | Cut | Engrave | Comment |
Wood | yes | yes | |
| Plywood | yes | yes | Lasers can struggle to cut plywood sheets with exterior glue. Use plywood with interior glue. |
| MDF | yes | yes | |
| Cork | yes | yes | |
| Cardboard | yes | yes | |
| Paper | yes | yes | |
| Leather | yes | yes | Use vegetable-tanned for best results |
| Felt | yes | yes | |
| Cotton | yes | yes | |
| Acrylic (Plexiglas) | yes | yes | |
| Delrin (POM, acetal) | yes | yes | |
| High-density polyethylene (HDPE) | yes | yes | Edges melt badly. Watch closely – easily catches fire. |
| Polypropylene (PP) | yes | yes | Melts somewhat |
| Granite | yes | ||
| Marble | yes | ||
| Slate | yes | ||
| Stone tiles | yes | ||
| Ceramic, Porcelain | yes | ||
| Glass | yes | ||
| Stainless Steel | yes | Can be marked | |
| Aluminum | yes | Can be marked |
Materials that should not be cut or engraved with a laser
There are materials that should never be processed with a laser because this will lead to the creation of toxic gases or dust which can also damage the machine.
These materials include (but are not limited to):
Leather and artificial leather that contains chromium (VI)
Carbon fibers (Carbon)
Polyvinyl chloride (PVC)
Polyvinyl butyrale (PVB)
Polytetrafluoroethylenes (PTFE /Teflon)
Beryllium oxide
Any material containing halogens (fluorine, chlorine, bromine, iodine and astatine), epoxy or phenolic resins
3. How to create a design for laser cutting or engraving?
Most CO2 laser cutters work very much like your everyday inkjet printer. The laser cutter comes with specific drivers which convert an image from a computer into a format that the laser cutter can read.
When working with laser cutters it is important to know the difference between vector images and raster images. Both image file types can be processed but raster images can only be used for engraving and not for cutting.
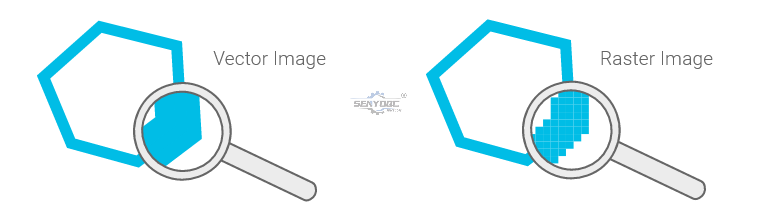
A vector image stores all the lines and colors as mathematical formulas. Raster images are pixel based. Which means that the image is made up of many small squares. Vector images can be scaled up without any loss in quality whereas raster images will start to “pixelate” at a certain enlargement.
Vector file types: SVG, EPS, PDF, DXF, DWG, CDR (CorelDRAW), AI (Adobe Illustrator)
Raster file types: JPG, PNG, GIF
You can use the software of your choice as long as you export your file in a suitable format. Below are some examples of graphic design software.
General settings
The first thing that should be considered is
the size of your material / the maximal size that the laser bed can
accommodate. This defines the maximum size of your design. In general,
it is a good idea to set the work area to this size.
The color
mode should be set to RGB. Different colors are usually used to specify
different processes. For example, red could be used for all the parts
that will be cut and black will be used for engraving.
Creating a file for laser cutting
As
explained before, during a cutting operation, the laser fires a
continuous beam at the material to slice through it. To know where to
cut the laser machine needs a vector path as the input file.
Only
vector graphics with the smallest possible line thickness (this depends
on the software you are using) will be cut by the laser. All other
graphics, like solid shapes or thicker lines, won’t be cut.
When cutting out text or other complex shapes you to consider that unconnected middle parts – like the inside of an “O” – will fall out. Depending on your desired design you may want to prevent this. For text you could, for instance, use a stencil font where all the inside parts of the letters are connected to the outside parts.
Creating a file for laser engraving
When engraving with a laser one can distinguish between vector engraving and raster engraving. Vector engraving is basically the same as cutting with the only difference that for the engraving the power is lower so that the laser just removes parts of the material and does not cut through.
For raster engraving, the input file can either be a vector file or a raster image. During raster engraving, the image is engraved by the laser line by line, pixel by pixel. The process is similar to the way in which an inkjet printer applies ink, but instead of ink being applied, material is removed by the laser beam.
Engraving works for simple shapes as well as for complex images. Photos need to be turned into grayscale images to be engraved.

4. How to use a laser cutter?
Once you have your design
ready, it is time for the final step – the cutting on the laser. Laser
cutters are very powerful machines. You can create great things with
them but they are also potentially dangerous, so first a word of
warning.
Before using a laser cutter always first make sure you read
and understand all the safety instructions that come with it. In
addition be aware that that wavelength of a CO2 laser is in the
Infra-Red part of the light spectrum, so it is invisible to the human
eye ye. The red dot you see with many machines on the material surface
is only a positioning aid and not the laser beam that actually doing the
cutting.
Preparation
First of all, check that
your material fits inside the work area of the laser cutter and cut it
to size if necessary. Also, be prepared to make some test cuts or
engravings and bring some spare material with you.
You don’t necessarily need any extra tools when working with a laser cutter but in my experience, the following tool might come in handy:
Utility Knife: For cutting material that wasn’t cut all the way through by the laser cutter or to cut paper and cardboard to size.
Painter’s Tape/Masking Tape: Use it for masking the surface of your material to prevent burn stains and to tape down light materials.
Measurement Tape/Calipers: For measuring dimensions and making sure your final objects have the right size.
Settings
The four most important settings of a laser cutter are power, speed, frequency and for focus distance.
Power: Defines the output power of the laser. Typically can be set from 0 to 100% (maximum power). High power is used for cutting thick materials and lower power is used for engraving and cutting of thin materials such as paper.
Speed: Determines the movement speed of the laser head. For engraving and cutting of thin material, the speed is usually set (close) to the maximum.
Frequency (Hz, PPI): The frequency parameter specifies the number of laser pulses per second. Frequency depends completely on the material used. For example wood cuts best at around 500 to 1000 Hz and for acrylic 5000 to 20000Hz are recommended to achieve a smooth edge.
Focus: As previously explained, there is a focusing lens inside the laser head. The focus point (where the laser beam is thinnest) should be on the material surface or slightly below, for most applications. To ensure this the material needs to be a certain distance away from the lens. The exact distance depends on the type of focusing lens that is used.
Many laser machines have a motorized bed which can be moved up and down to set the focus distance. Alternatively the position of the material surface a has to be manually adjusted.
So now that you have a basic understanding of the available settings you might ask yourself how to find the right settings for your projects? A good starting point is the laser cutter manual. Often you will find suggested settings for many materials. If you are working on a shared laser in a makerspace there are usually lists with recommended settings available.
Time to Cut!
Finally, you should be prepared to make your first cuts. It can take a few tries to find the ideal settings for your material.
Always
change only one parameter in a test process. For example, start with
the power by testing different values in 5-10% increments. Once your
are happy with your results, don’t forget to write down your settings
for future reference.


• Previous: How does a laser cutter work?
• Next: How to Create Connected Text – Inkscape for Laser Cutting
- Fiber metal Laser Sensor And Its Application
- Laser Cutting Machine Inspection Process For Manufacture
- How Control Costs Use of UV Printers ?
- Why UV flat printing machine is popular in market ?
- How does UV ink jet printer save UV ink?
- Waterjet Machine delivery and Shipping
- Waterjet Machine finish manufacture 5axis
- Waterjet Machine delivery and Shipping
- How to Create Connected Text – Inkscape for Laser Cutting
- How to get started with laser cutting in 4 steps
- How does a laser cutter work?
- Wine butler
Mini Desktop CNC Router for Gifts Making Small Business
Best Granite marble manual polishing machine For Sale
Stone Processing CNC Equipment Automatic Tool Changer CNC Quartz Stone Machining
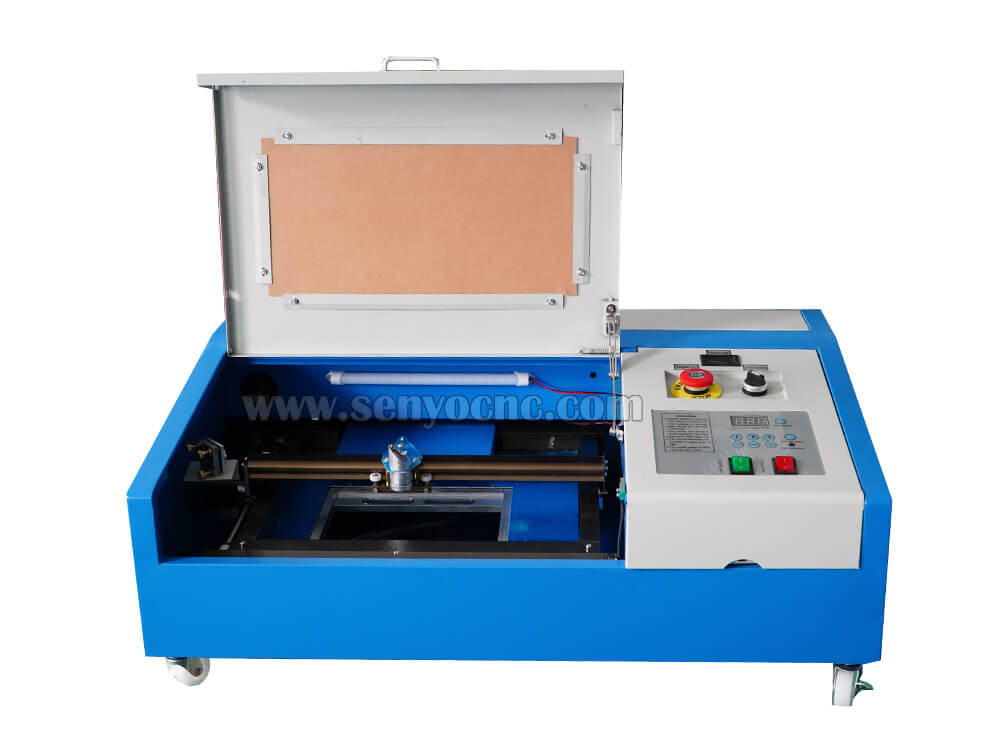
3020 40W Mini CO2 Laser Engraving Cutting Machine
New Design Mini Stone CNC Machine for Marble, Granite and Quartz
Portable CNC Flame Cutting Machine with Plasma Torch for Sale
High-Precision Mini Hobby CNC Plasma Cutting Machine for Metal
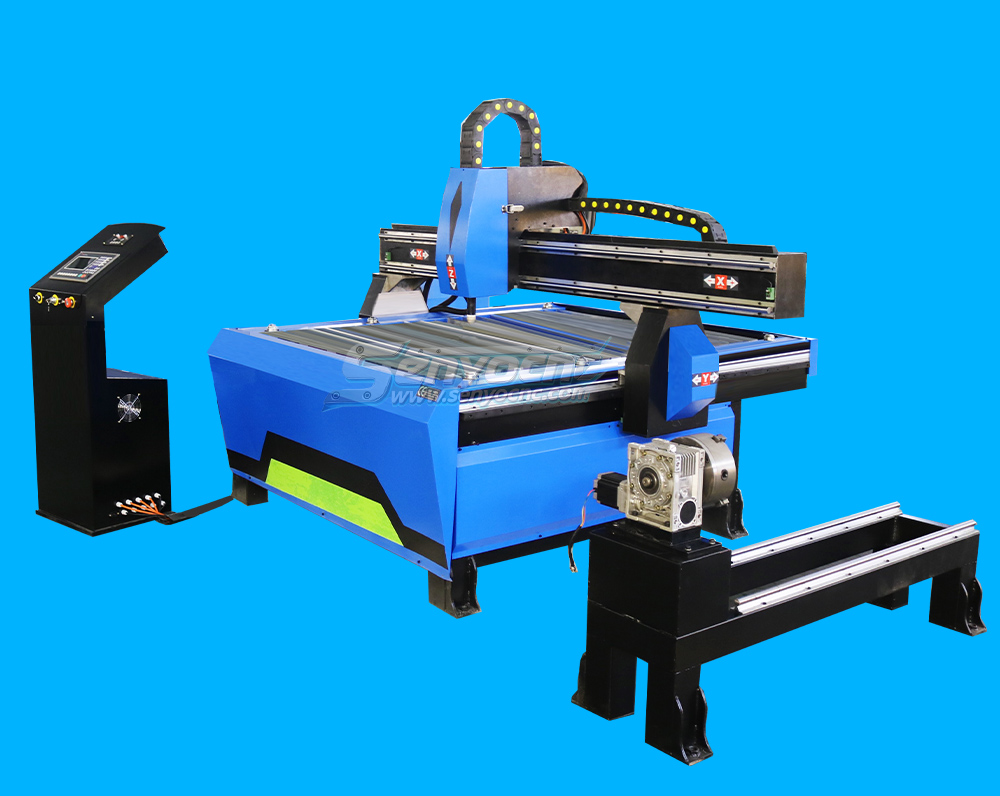
Mini CNC Plasma Cutter With Rotary
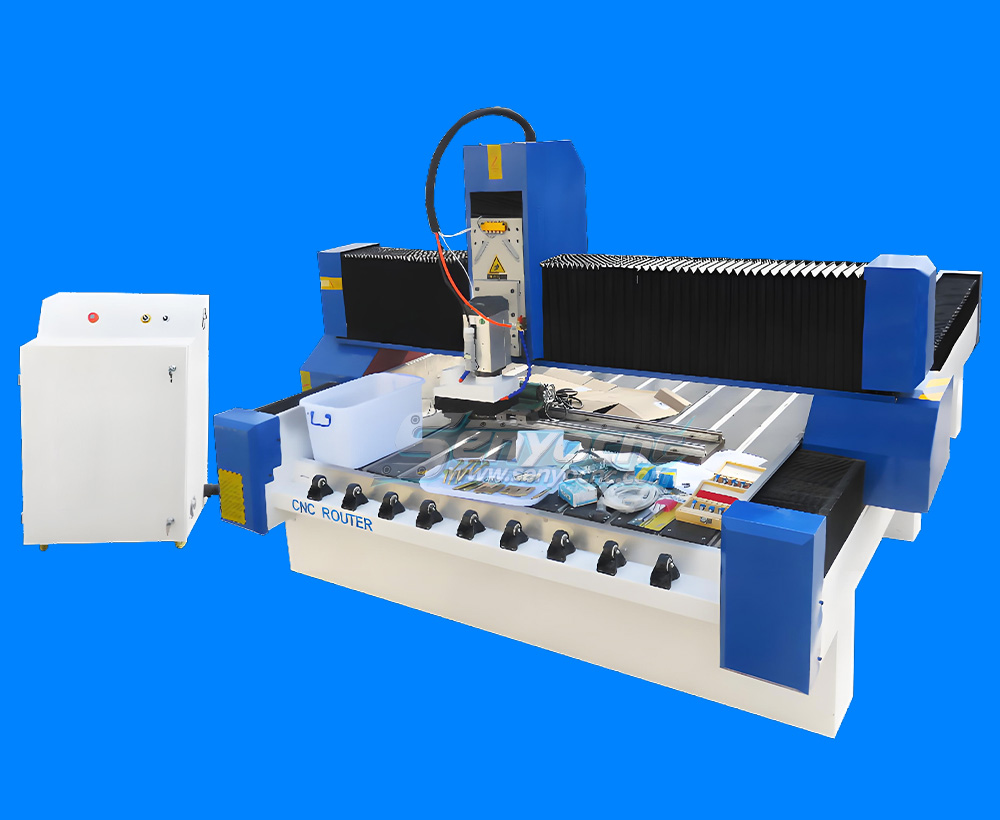
4 Axis 1325 Sculpture Machine Cnc Carving Marble Granite Stone Cnc Router
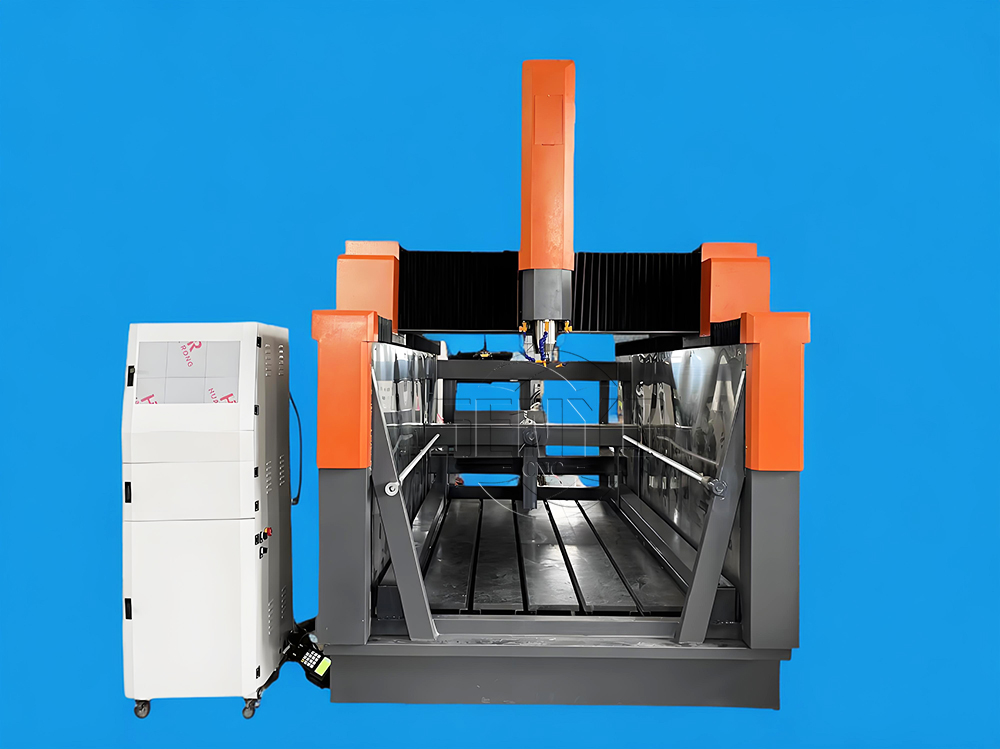
Z Height 1000MM 4-AXIS Stone Engraving CNC Machine Heavy-duty Stone CNC Machine Stone Relief Carving CNC For Sale
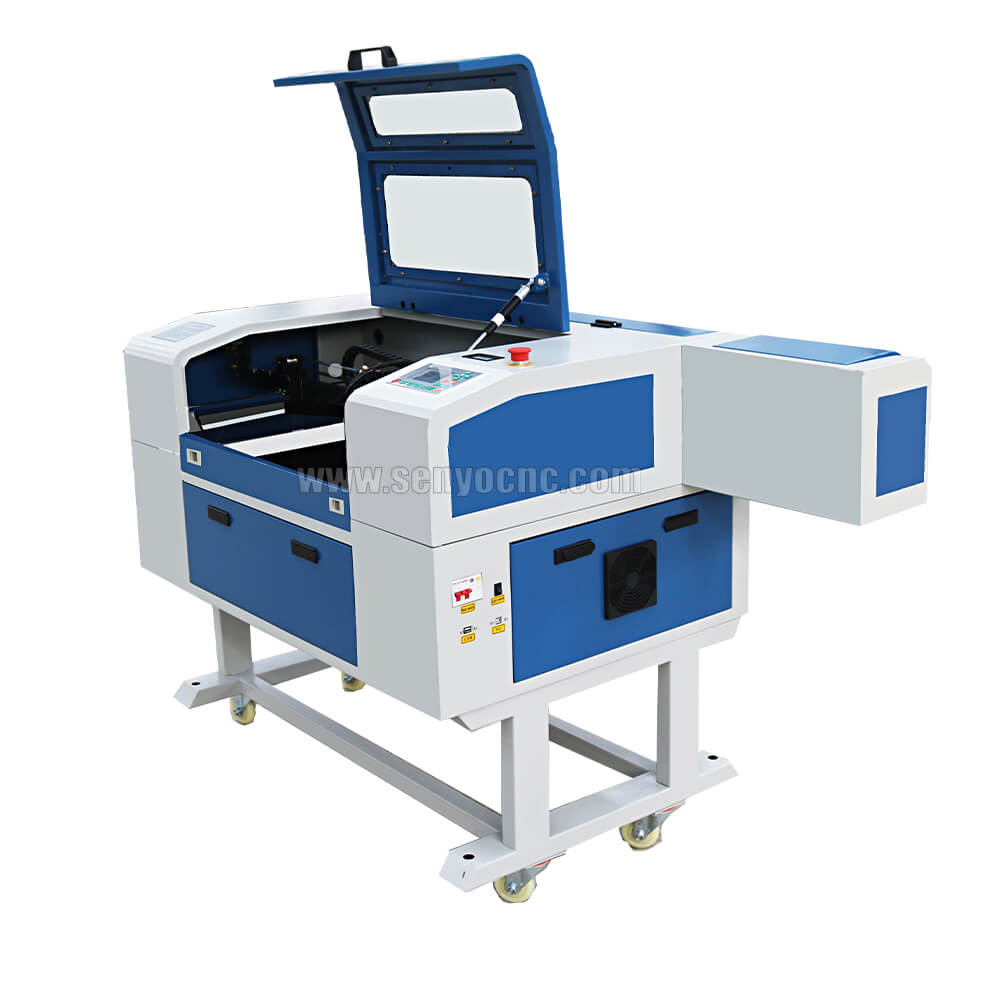
4030 portable mini co2 laser carving and desktop rubber stamp laser engraving machine
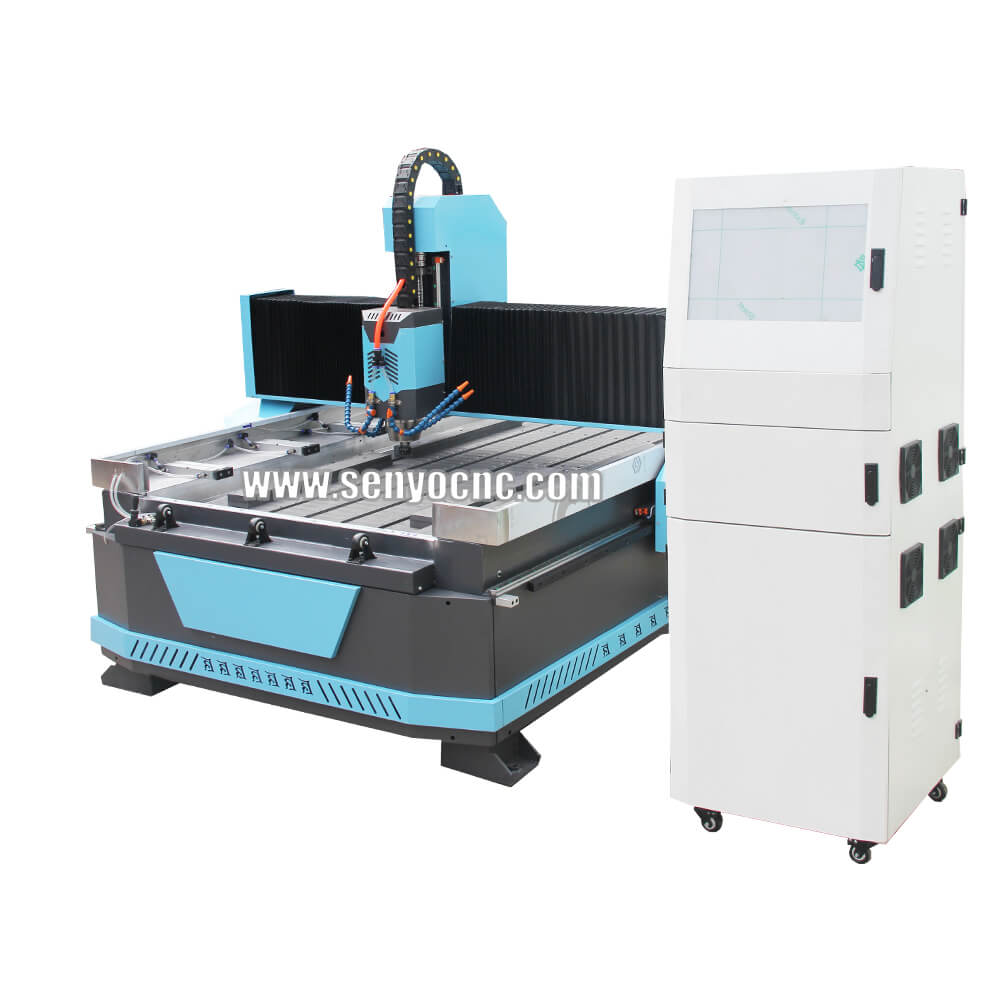
Stone CNC Router For Kitchen sink tile carving and cutting Marble, Granite and Quartz
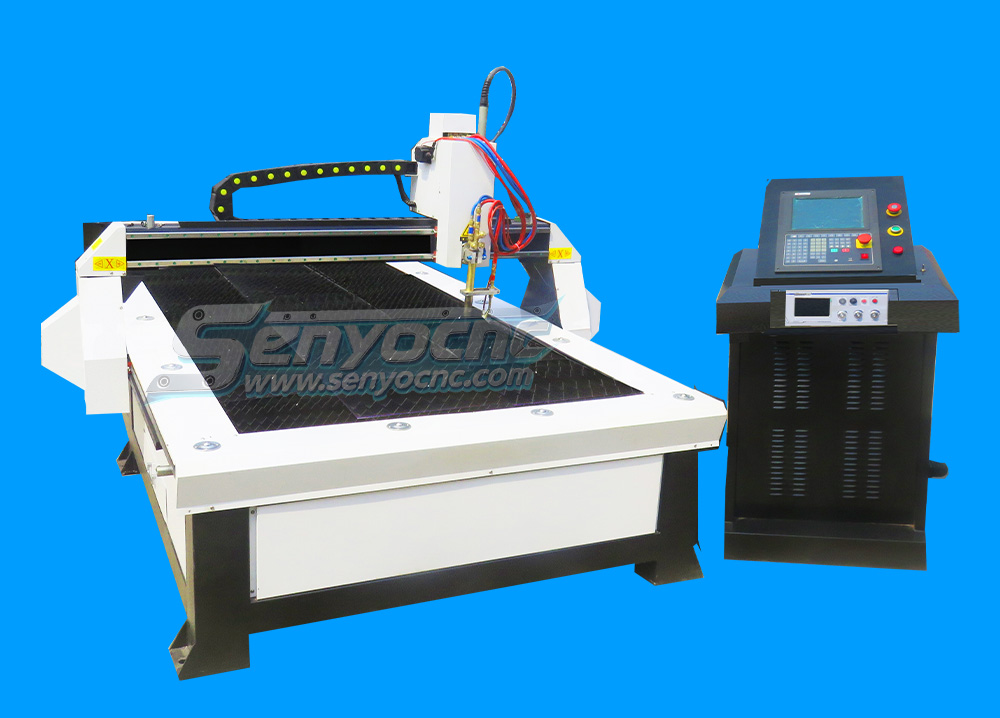
Robust CNC Plasma Cutting Machines with Flame Cut Head for Heavy-Duty Industrial Use
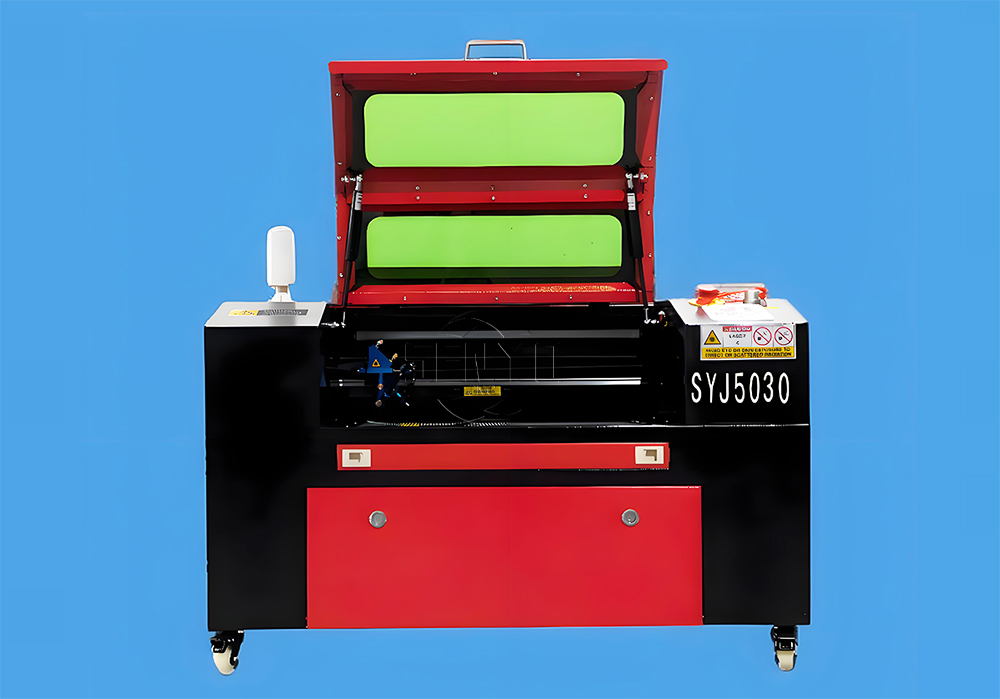
Small Portable CO₂ Laser Cutter Engraving for DIY & Business – Ideal for Wood, Acrylic, Leather
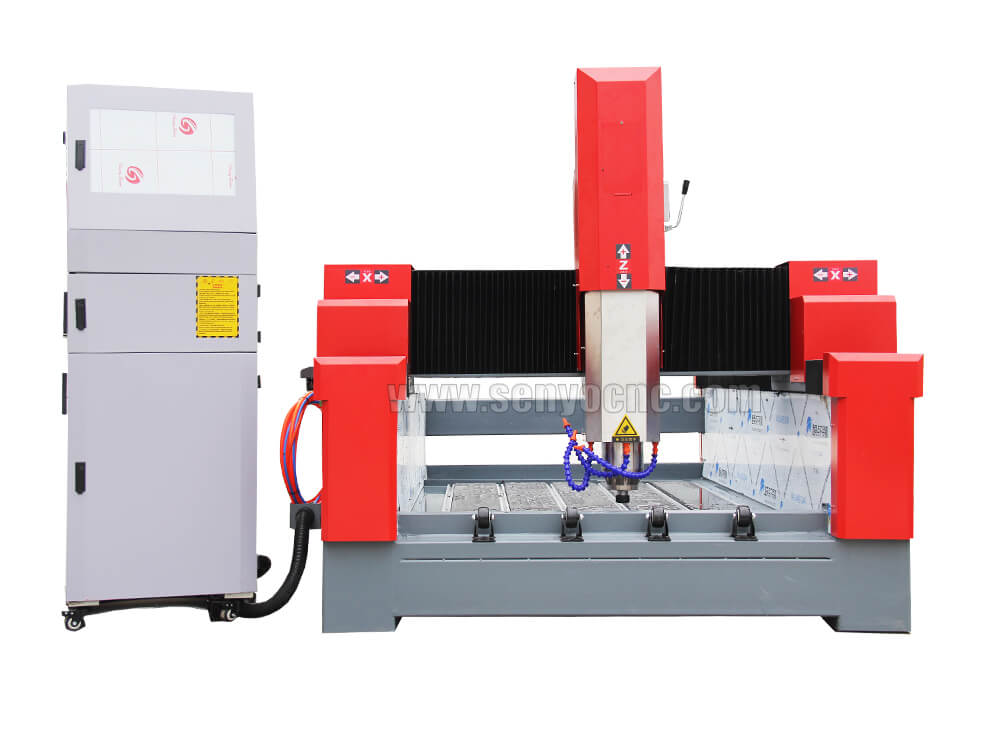
1325 3 Axis 4x8 CNC Stone Router for Sale
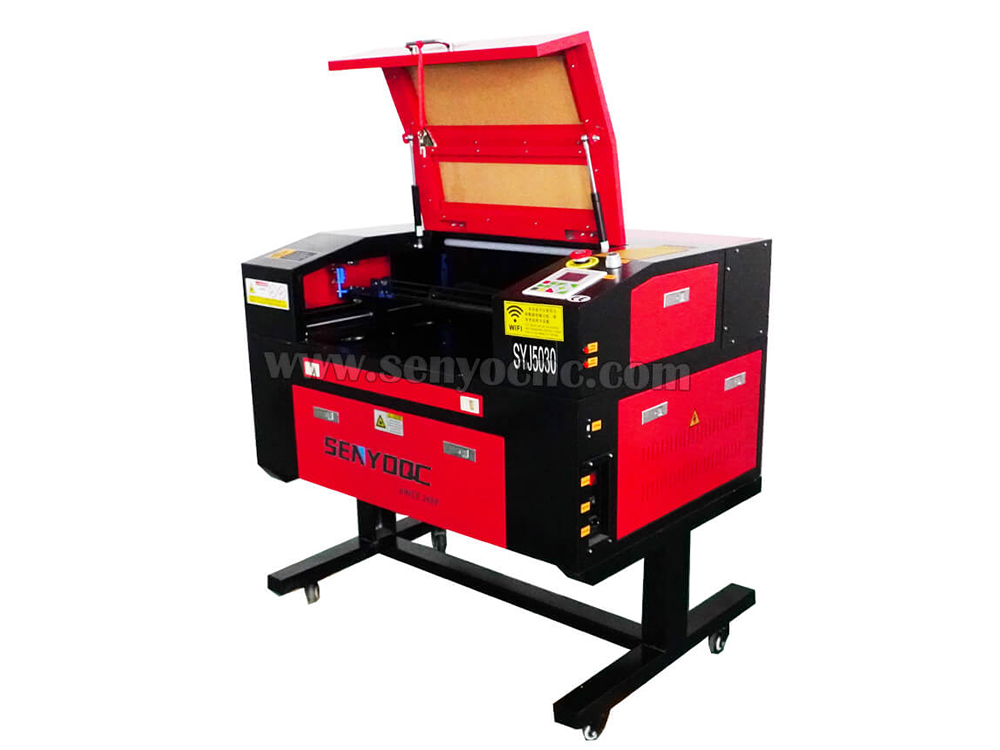
Mini CO2 Laser 5030 Cutting Engraving Machine For Sale
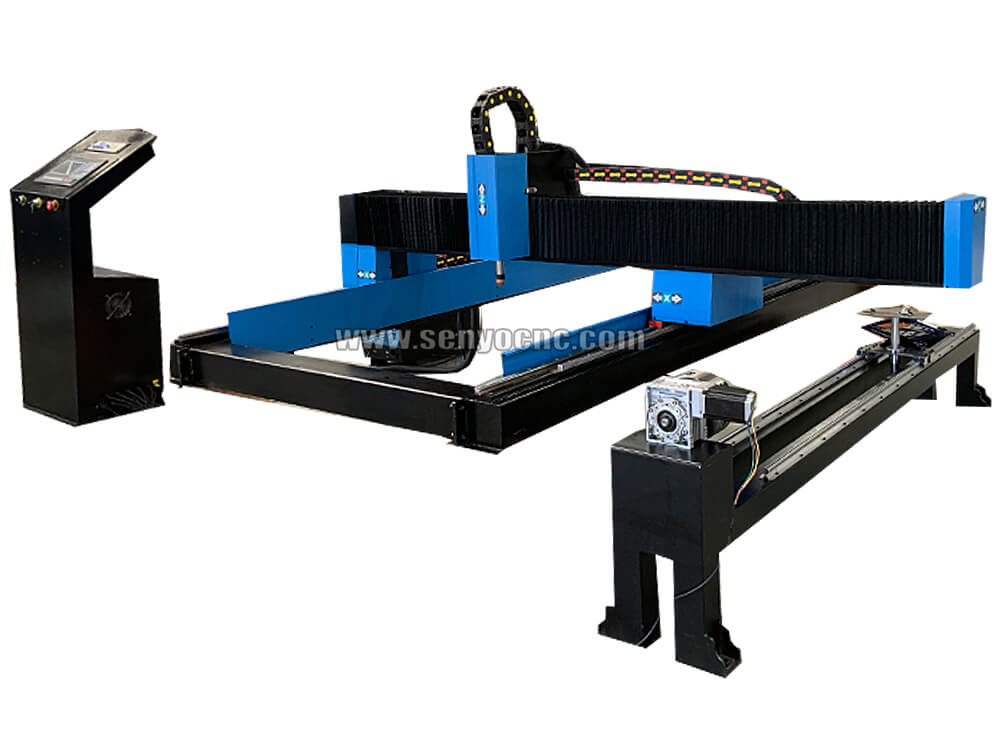
Portable CNC Plasma Flame Cutting Machine for Sale at Cost Price
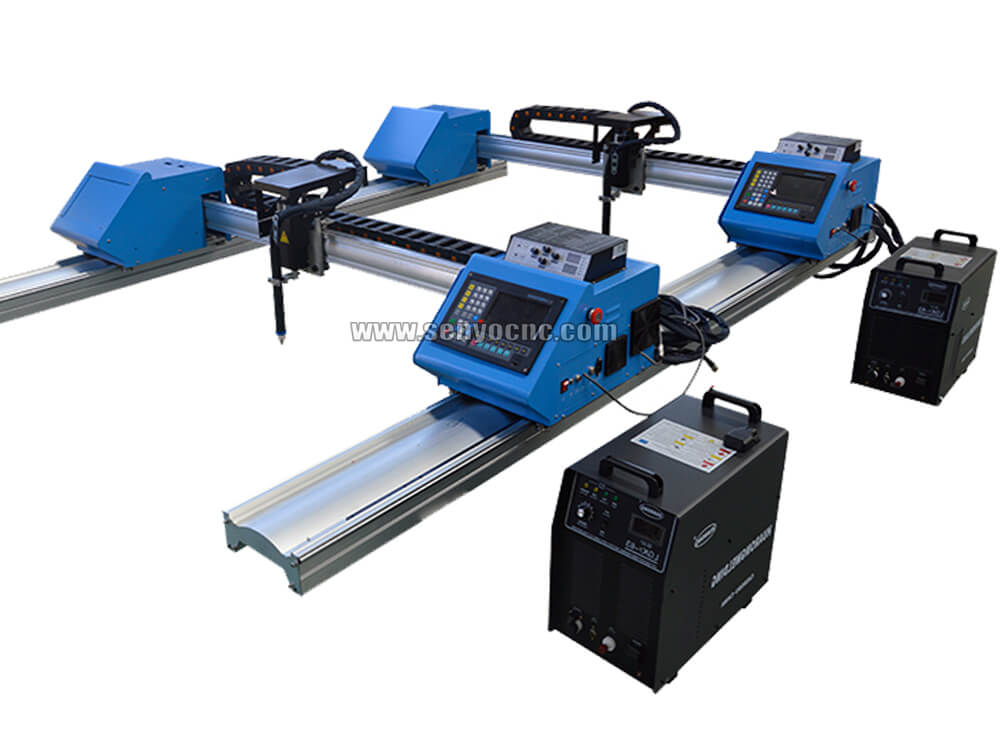
Portable Cnc Plasma Oxyfuel Sheet Metal Cutting Machine for sale
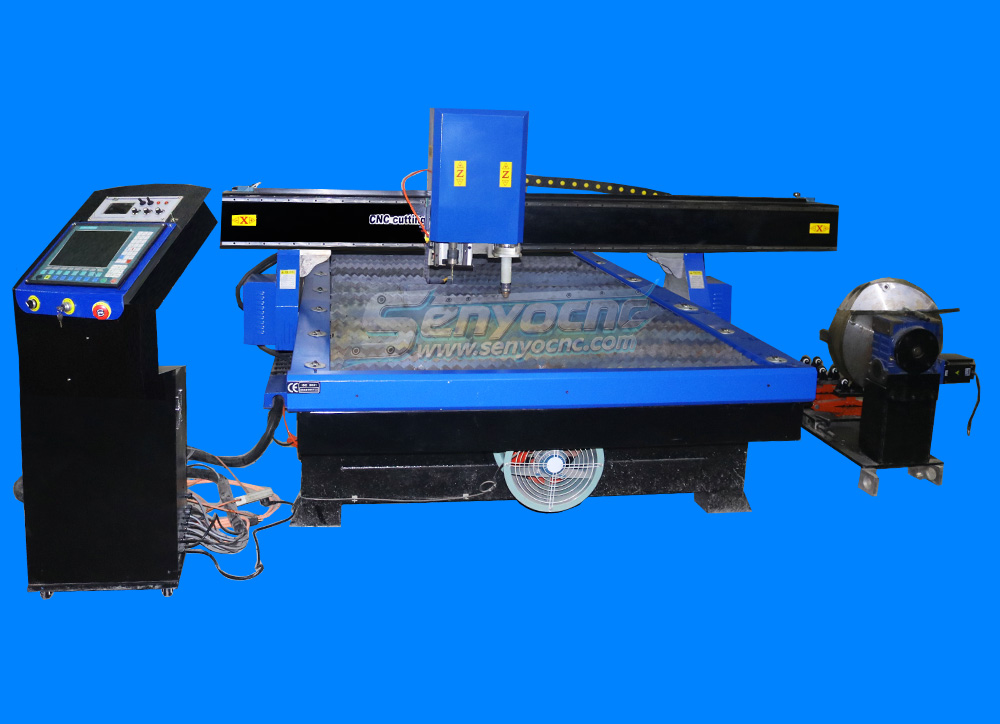
CNC Plasma Cutters for Customized Metalwork –Rotary&Drilling Head
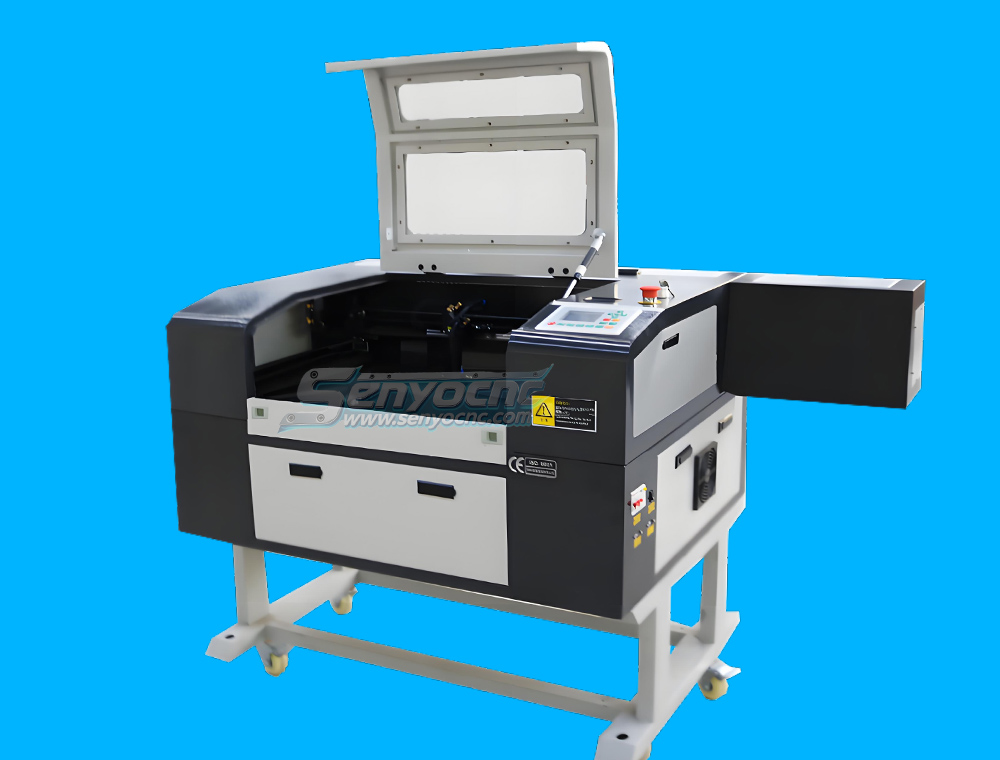
Small Table design 6040 Easy Move CO2 Hobby Laser Cutter Machine for Beginners
High-Efficiency 2 Heads CNC Machine for Aluminum Stone Marble Engraving & Cutting
Best CNC 2 Spindle 4-AXIS Stone Carving Machine High-precision Stone Carving Stone Countertop Fabrication
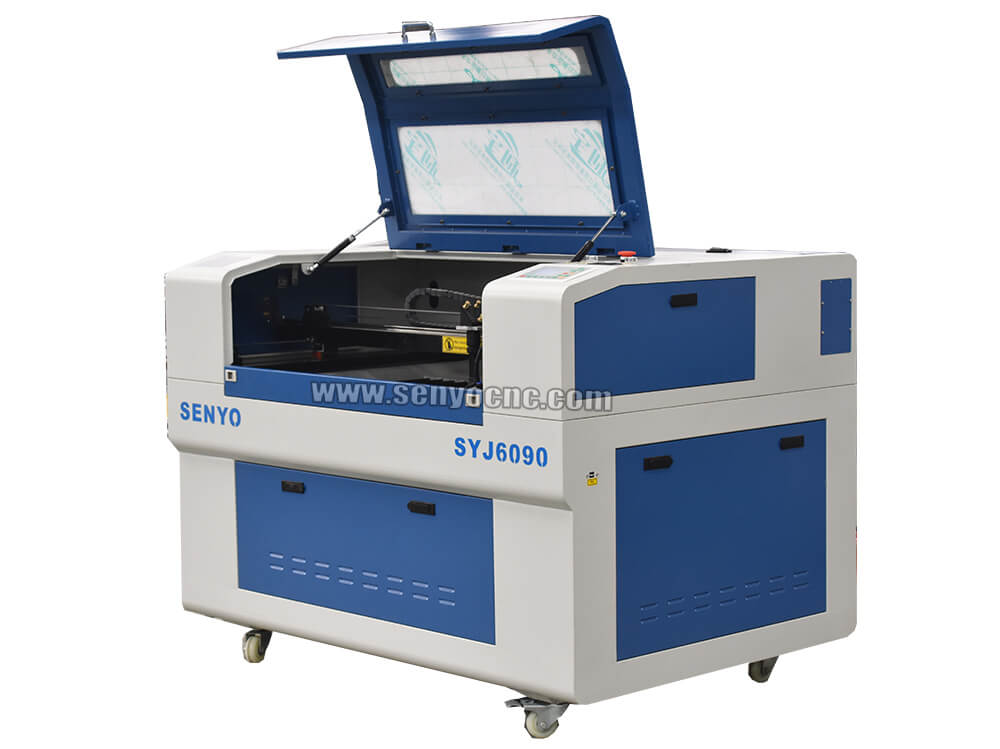
Top Rated 2x3 CO2 Hobby Laser Cutting Machine for Sale at Affordable Price
Best 4x8 CNC Plasma Cutter Table for Sale at Affordable Price
Entry Level CO2 Hobby Laser Cutter Machine for Beginners
Top CNC Plasma Cutters for Automotive, Aerospace, and Manufacturing Industries
Precision Stone Engraving Machines for Memorials & Signs
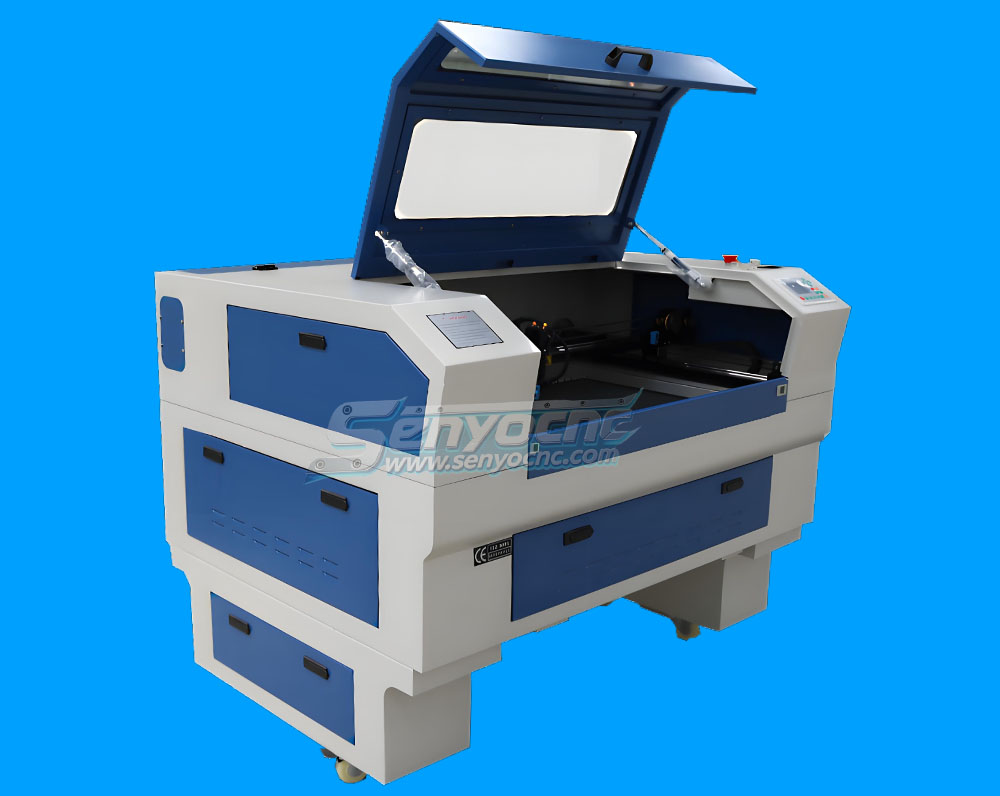
Portable Co2 9060 Laser Nonmetal Cutting Engraving Machine
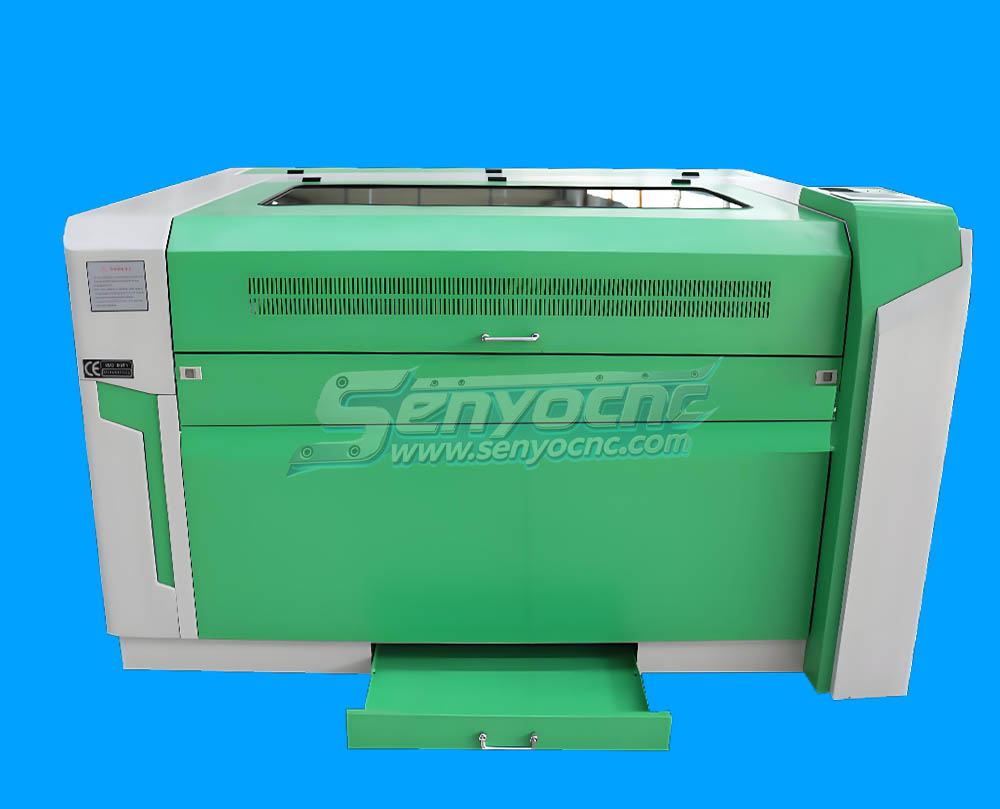
1090 CO2 Laser Machine with Ruida Controller for Non-metal Glass Acrylic Engraving Cutting
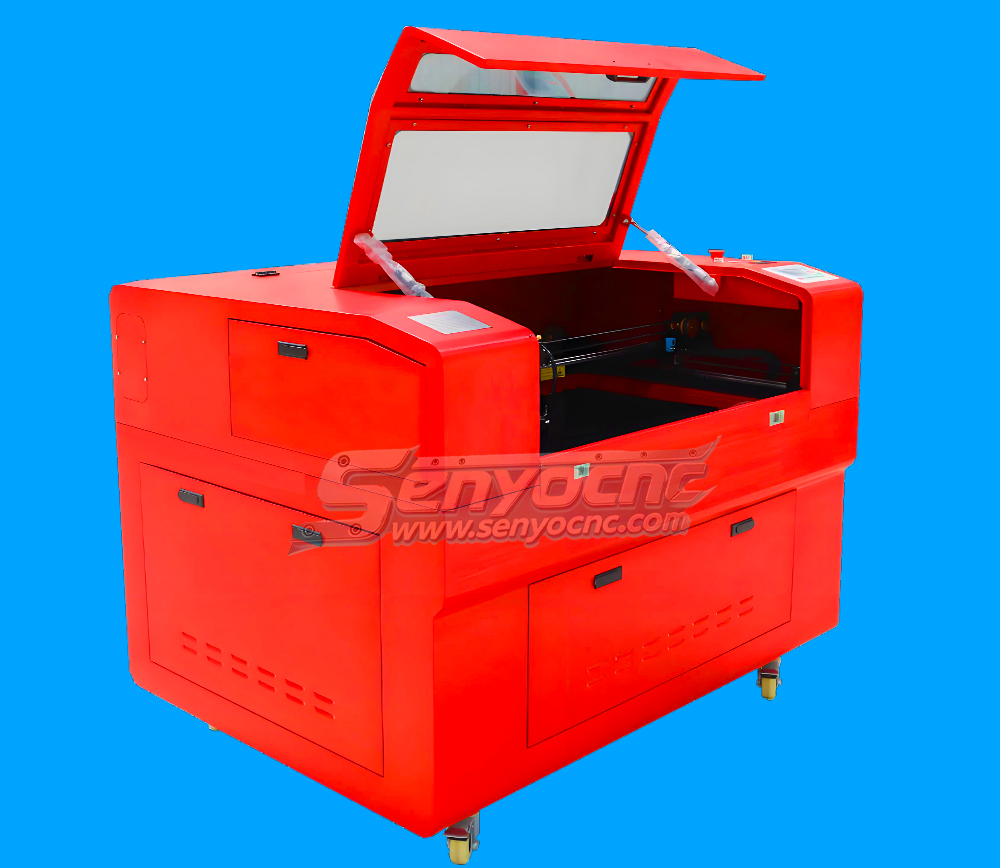
Entry Level 9060 CO2 Hobby Laser Cutter Machine for Beginners
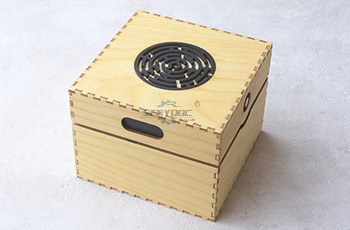
The Apprentice Maze Puzzle Box
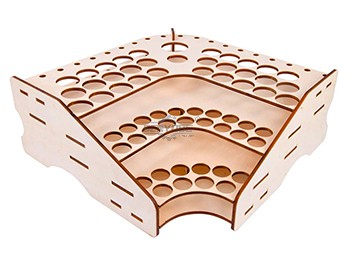
Box laser cutting software share
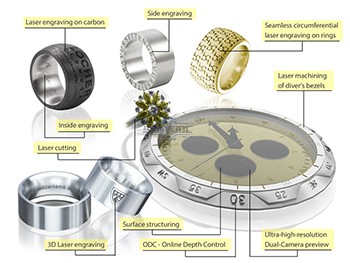
laser marking and engraving for the jewelry industry
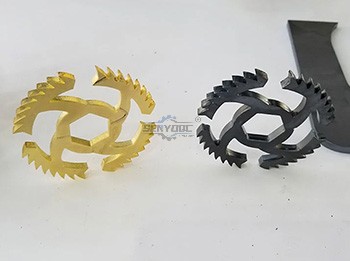
Copper cutting for fiber laser cutting machine
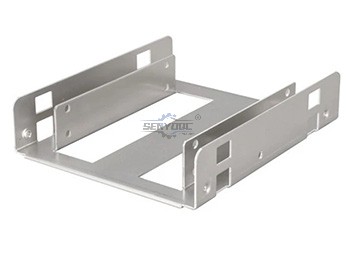
Aluminum Cutting for fiber laser cutting machine
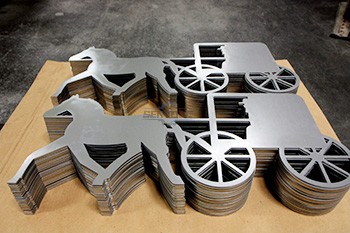
CS Laser Cutting Factors that Affect the Process
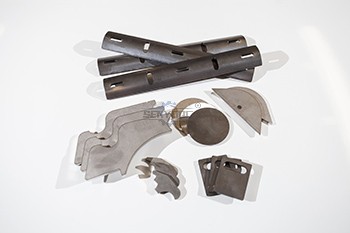
Stainless steel Fiber Laser Cutting
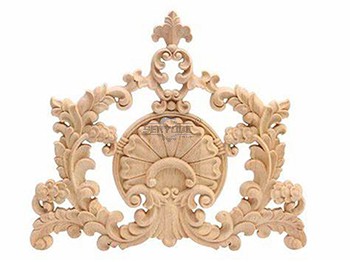
2d&3d wood MDF carving and cutting
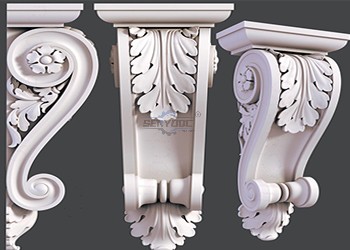
3D CNC Router for Stone Relief Carving Projects
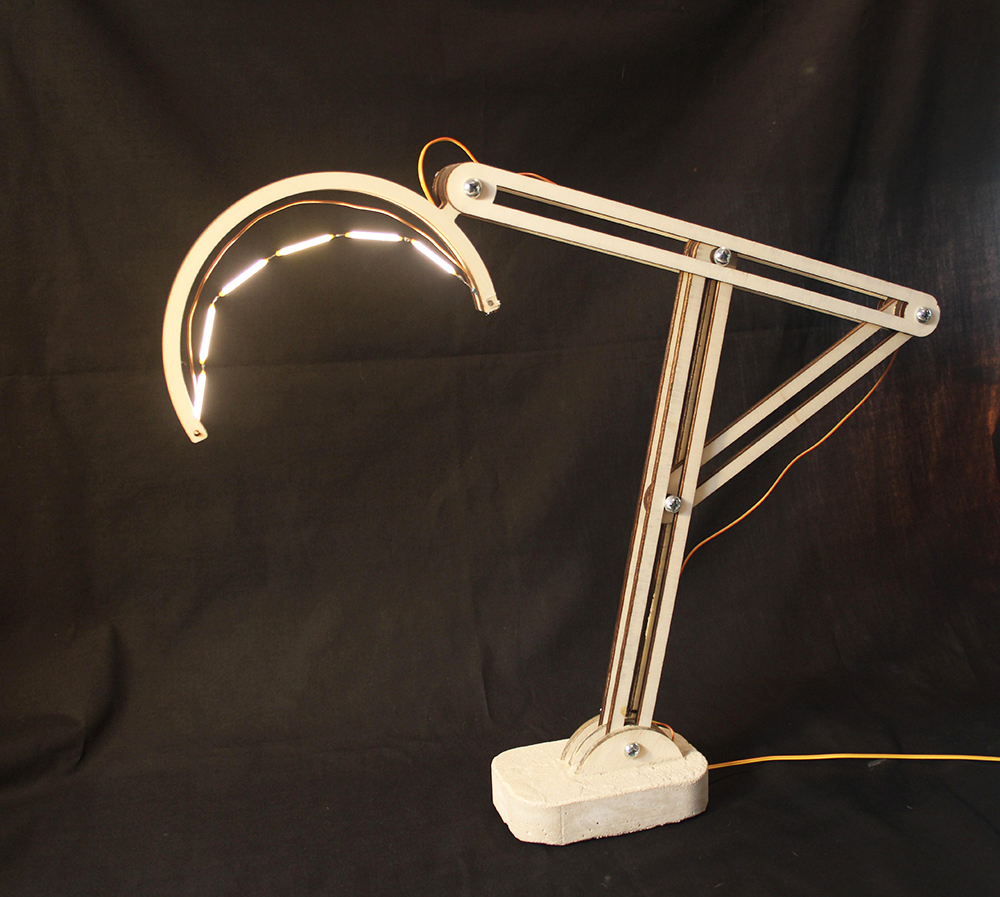
Laser Cut Adjustable Table Lamp
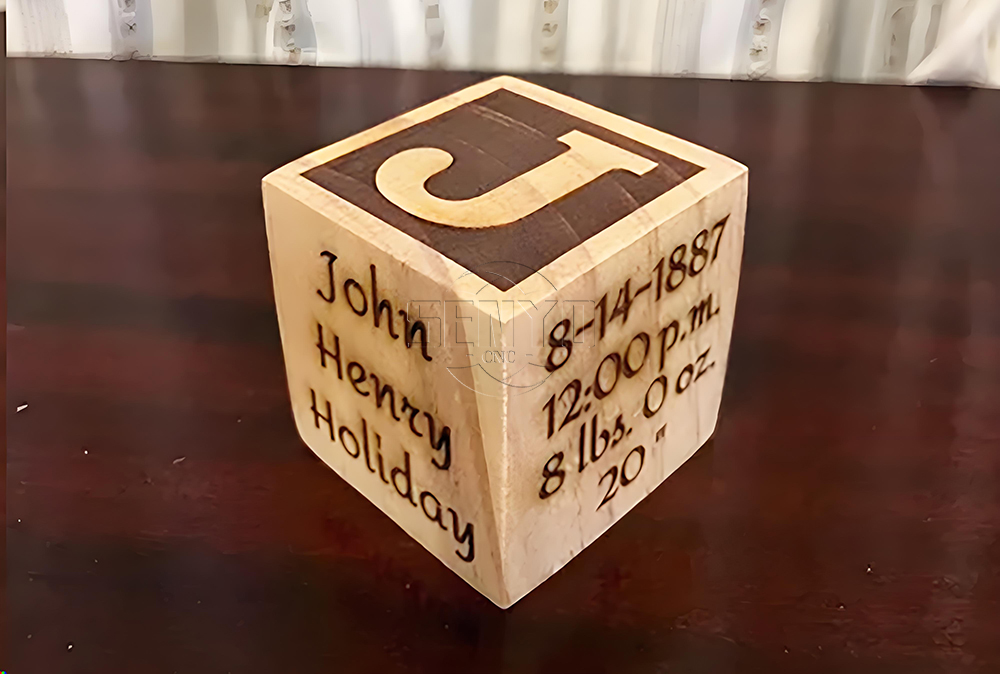
CO2 Laser cutting Baby Birth Block
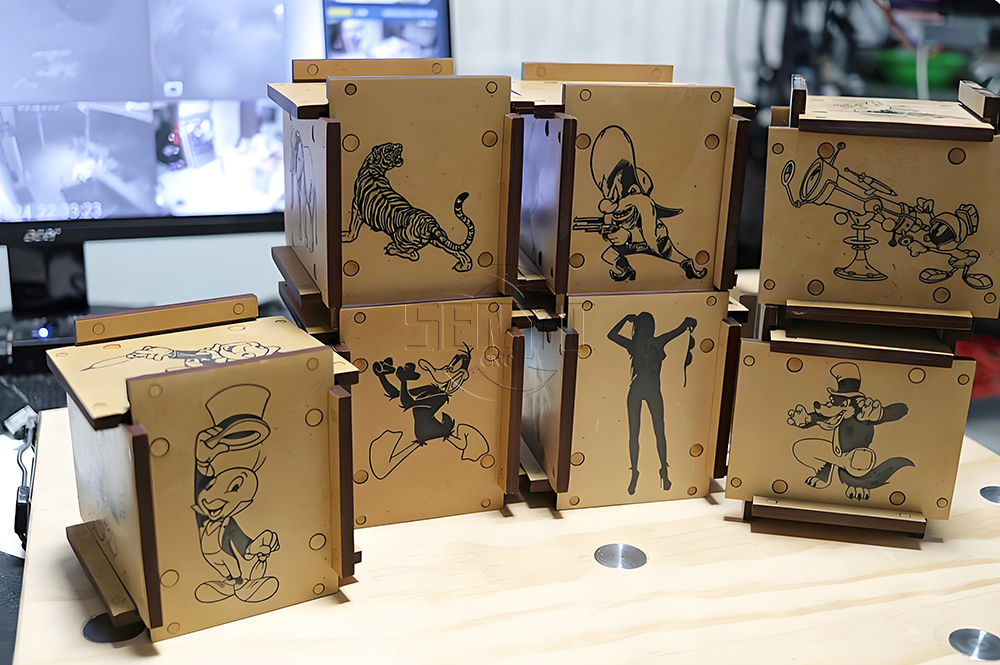
CO2 laser cutting and engraving for 6 Sided Box Puzzle
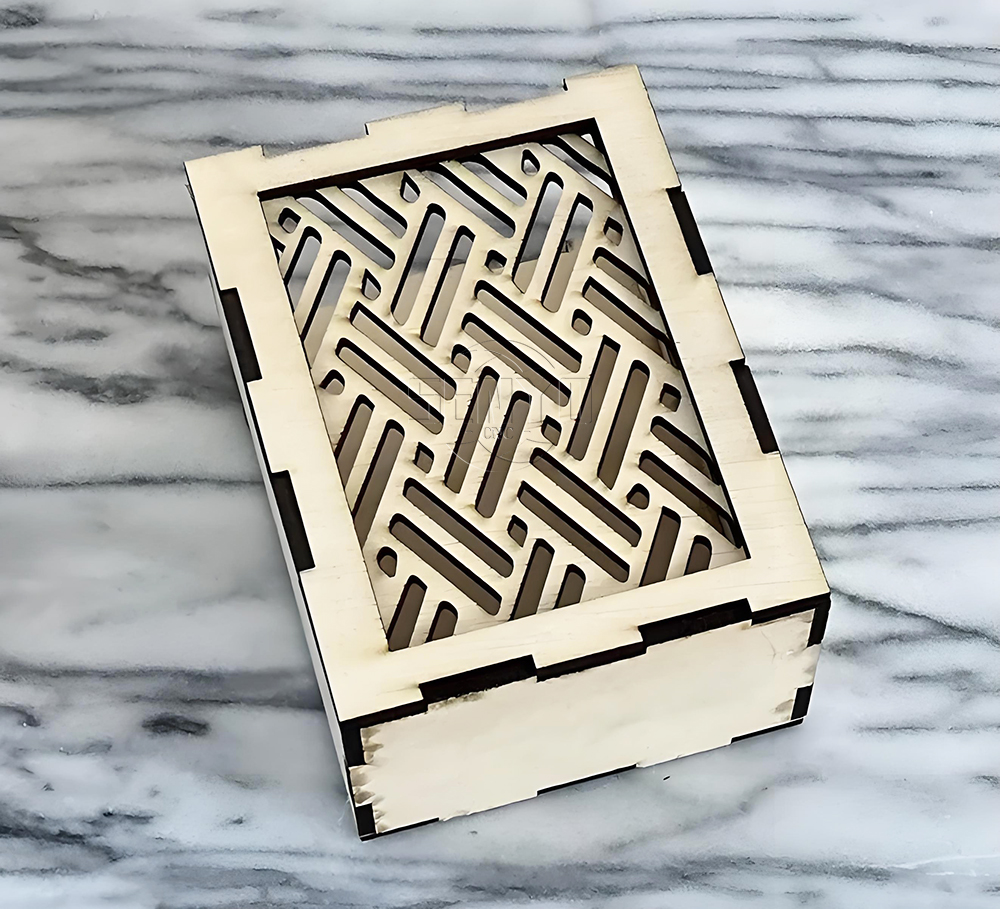
Co2 laser wood cut Illuminated Pattern Box
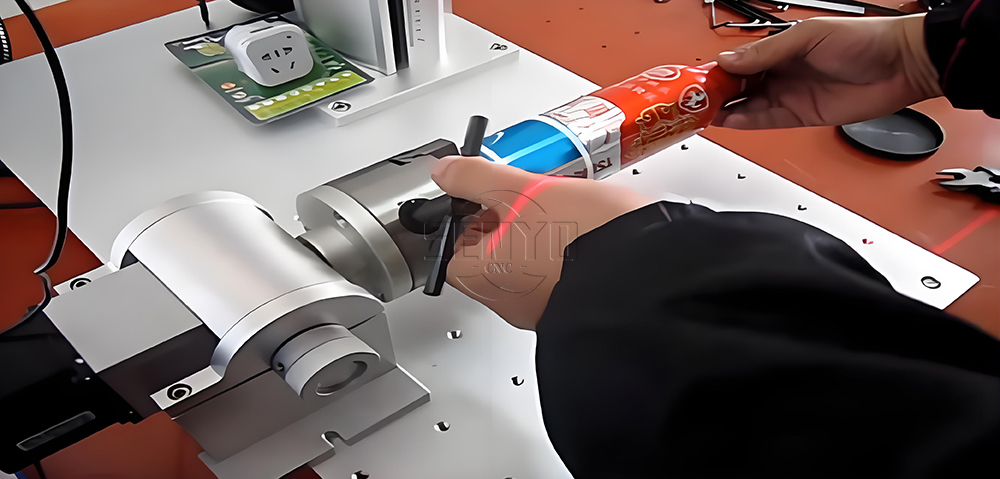
Engrave Round Parts With 50W Fiber Laser Marking Machine
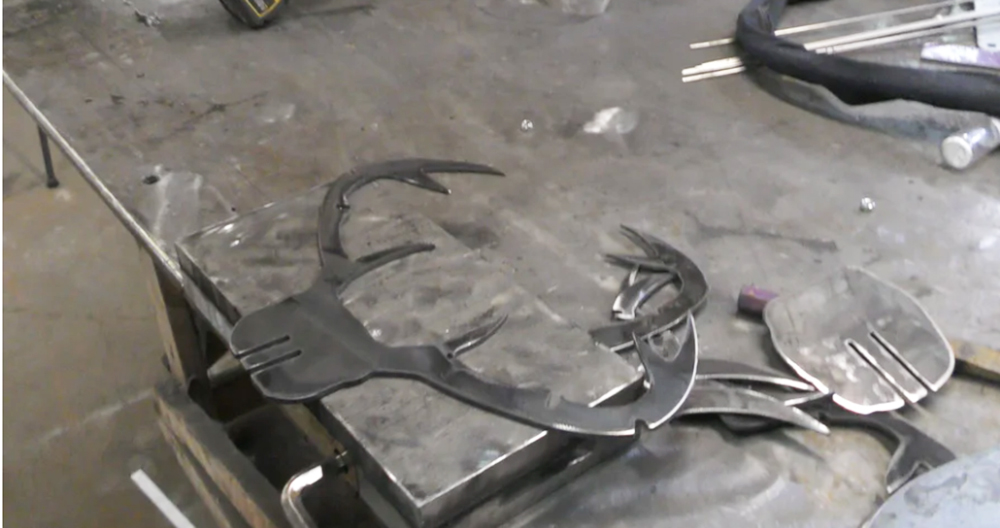
CNC Plasma Cut Deer Head
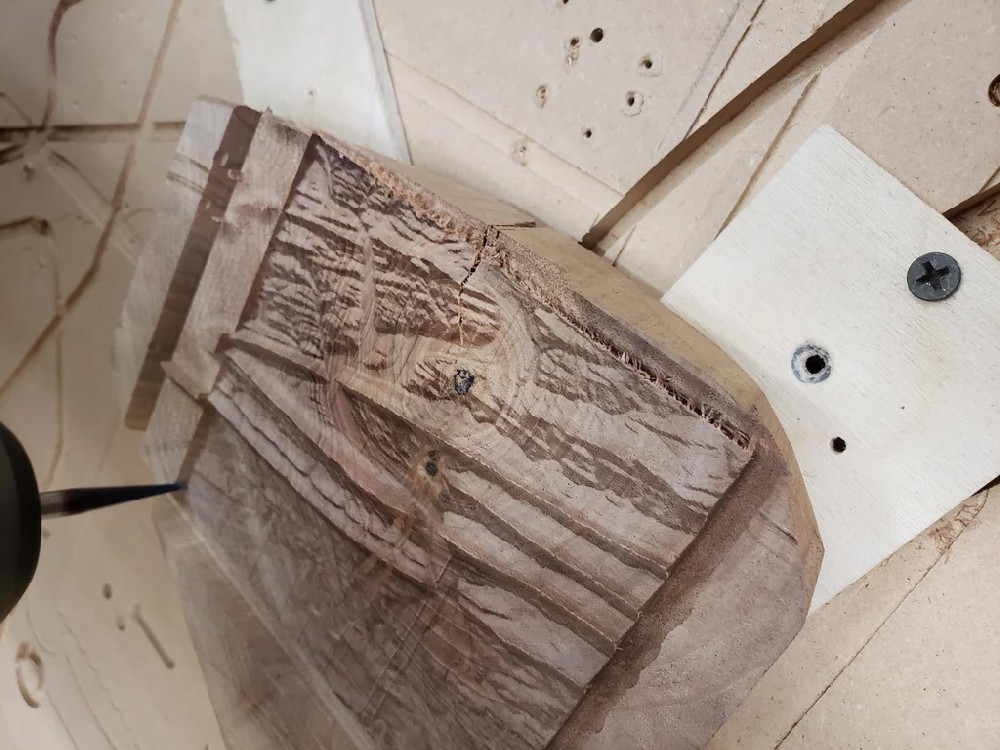
Relief Map on a CNC Router
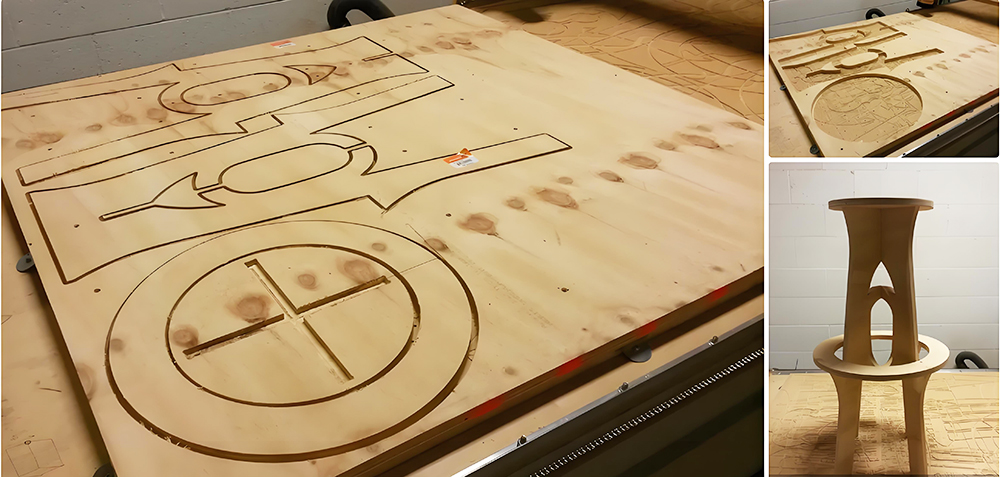
CNC Router Bar Stool
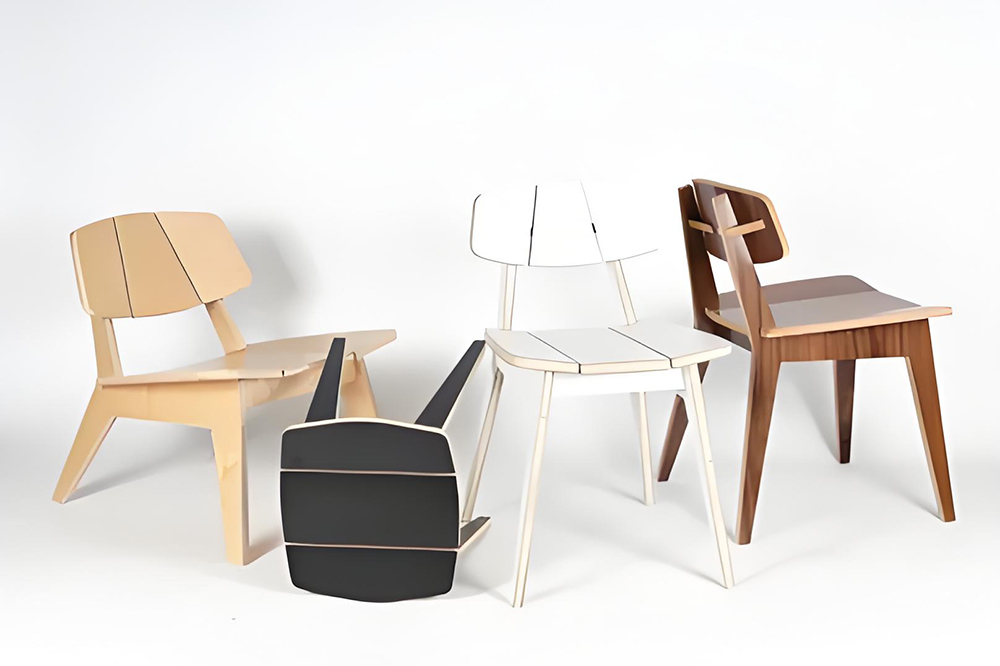
Wood Chair Made With CNC Router
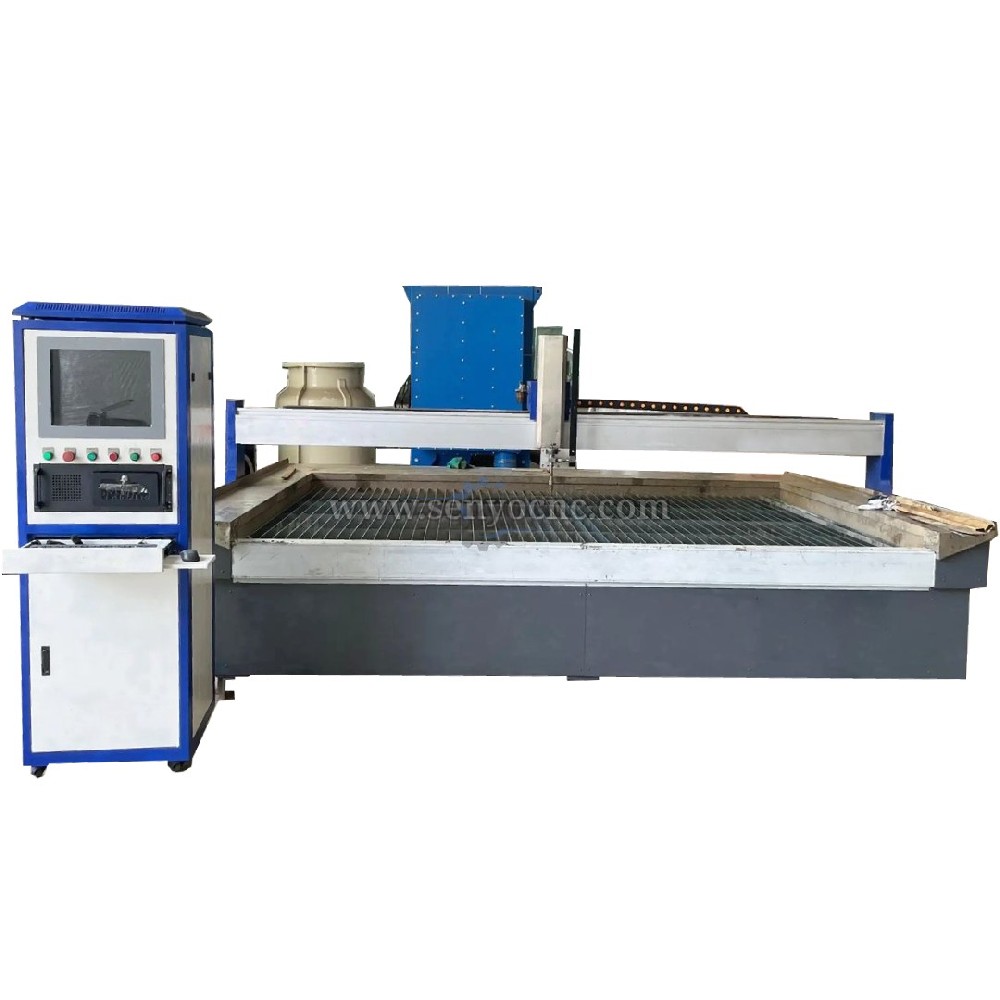
Competitive Price New Design Waterjet Machine 3 axis Cutting Machine

Typical industries that use waterjet technology
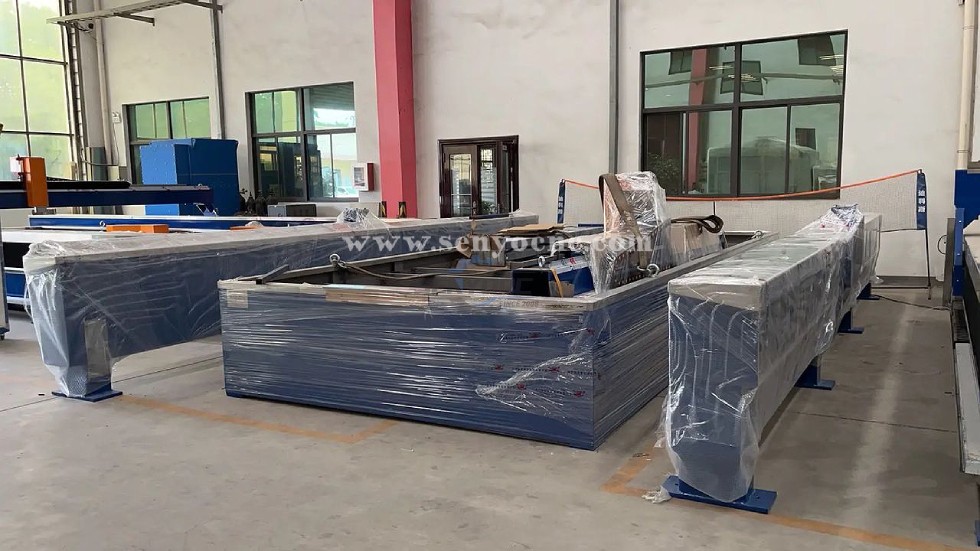
What main benefits to waterjet cutting ?
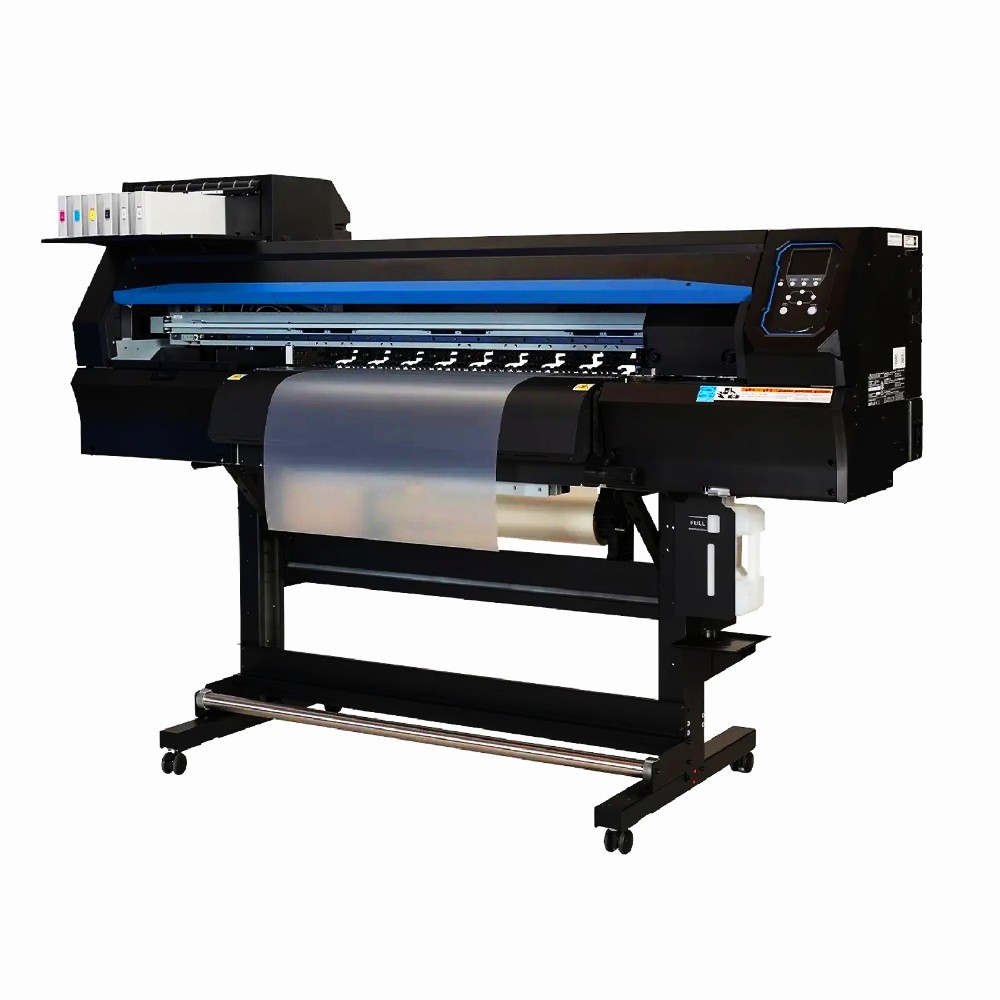
DTF Printer Machine Application
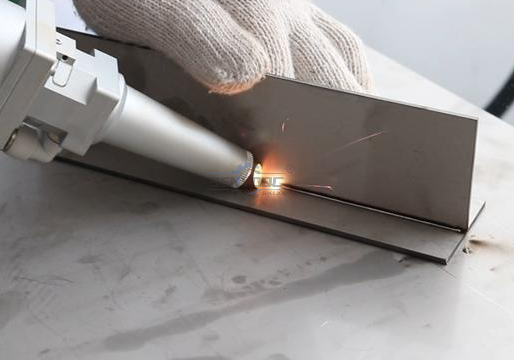
Typical fields of application
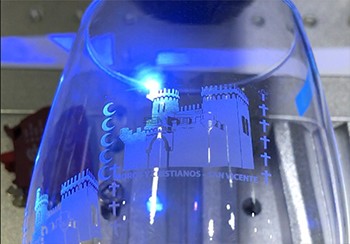
UV Laser Marking Machine For Glasses Engraving
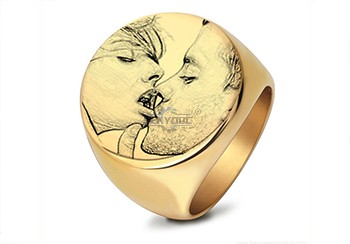
GOLD Engraving -Fiber laser marking work
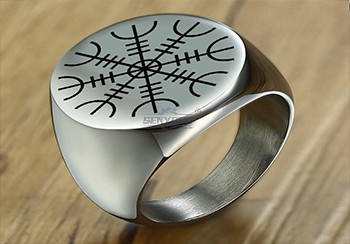
Sover Engraving -Fiber metal engraving and marking
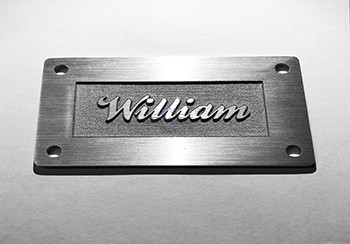
3D Marking Logo deep engraving -Fiber marking machine
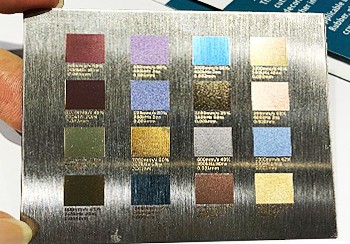
MOPA Fiber Laser Marking Machine Application and Samples
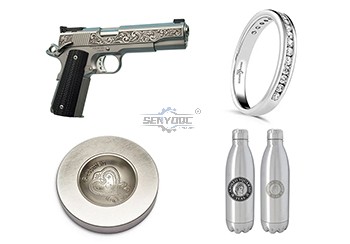
Fiber Laser Engraving and Marking Machine for Metalworking Projects
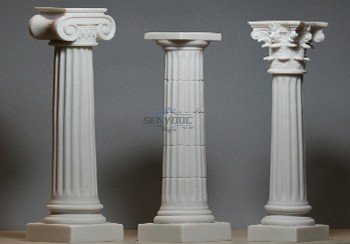
Stone shaft Rotary use engrave cnc router machine

Jacob from United States
I am a beginner at CNC, I’ve never used a CNC machine before and with in a day I was carving. An awesome machine for a beginner to learn as hobbyists. I used the manual and the help video. One hour to assemble and test, very friendly and easy to use. It’s a good buy for the money. I would definitely recommend this machine to someone getting into CNCs.
Weinstein from France
I've been using CNC plasma SYP2060-300A and I am very impressed with this unit.
This unit is of higher quality, made in China. Five stars all the way!
SYJF50W Fiber Laser Marking Machine from 🇹🇭 Nattapong S. — Thailand
We mark stainless-steel plates, tools and aluminum components. The marking is sharp and easy to read, including small serial numbers and logos.
SYJ1325 CO2 Laser Cutting Machine from 🇲🇾 Ahmad Faiz — Malaysia
We cut acrylic, plywood and non-metallic sheets for signage. The machine is compact but provides enough working space for our regular orders.
CNC Router SYM1325 from 🇻🇳 Nguyen Thanh Long
We bought the router for advertising boards and furniture panels. Acrylic, MDF and PVC are processed regularly with stable cutting results.
CNC Wood Router SYM1530-4 Axis from 🇮🇳 Arjun Patel — India
We produce wooden furniture components and decorative columns. The rotary attachment allows us to handle cylindrical work without changing machines.
CNC Wood Router SYM1530-4 Axis from 🇮🇳 Arjun Patel — India
We produce wooden furniture components and decorative columns. The rotary attachment allows us to handle cylindrical work without changing machines.
CNC Stone Router SYS1530 from 🇿🇦 Sipho Dlamini — South Africa
Our workshop works mainly with granite countertops. We use the machine for drilling, cutting and edge processing, which saves considerable manual work.
SYM2040 CNC Router for Wood from 🇸🇦 Faisal Ahmed — Saudi Arabia
The machine is used for doors, wall panels and Arabic decorative designs. The cutting details are clean and the large working table is very useful.
SYM1530 CNC Router for Wood from 🇸🇦 Faisal Ahmed — Saudi Arabia
The machine is used for doors, wall panels and Arabic decorative designs.
The cutting details are clean and the large working table is very useful!!


 manager@senyocnc.com
 SENYOCNC
 +86 1525 3141 880
 +86 1525 3141 880
 2061579344
