



How to Create Connected Text – Inkscape for Laser Cutting
From: 本站 Date: 03rd September 2021 Author: shengangtong Views: 6125
Step 1: Create Some Text
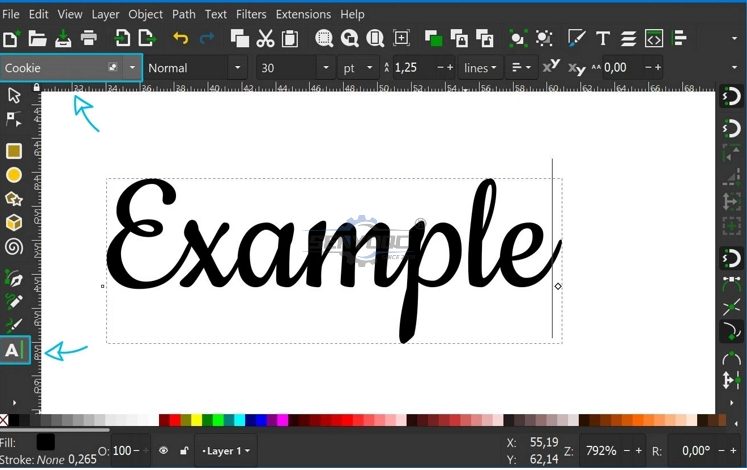
First, we need some text to work with. To create the text, select the Text Tool (keyboard shortcut: T), click somewhere on the canvas, and type your text.
You can use the drop-down list on the top left to select your desired font.
Step 2: Convert Text to Path
Next, we need to turn the text into a path object. To do this make sure your text is selected. Your text is selected when there’s a dotted bounding box around it. (If your text is not selected, simply hover over it with your mouse and then left-click once.)
In the top menu click on Path and then select Object to Path (keyboard shortcut: Shift+Ctrl+C).
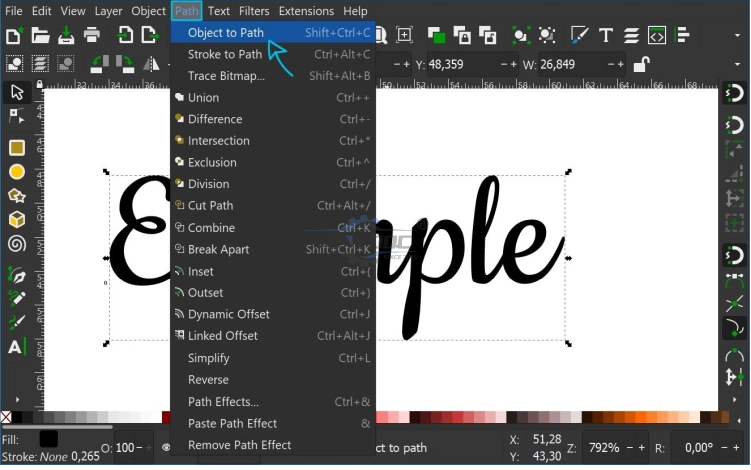
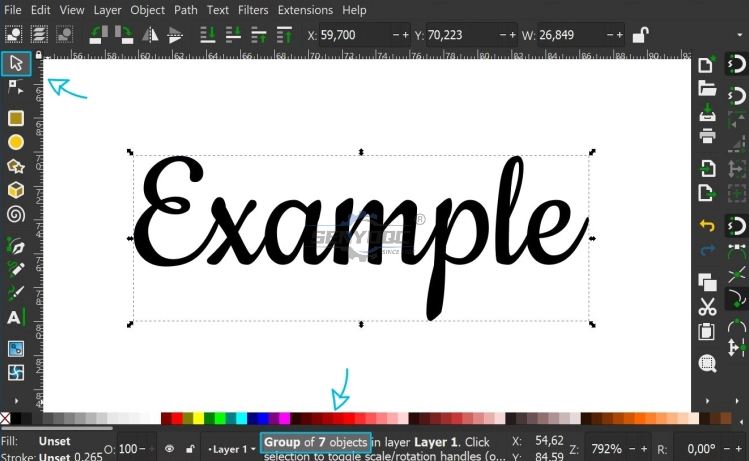
At first, it might seem that nothing has changed, but when you look closely, you will notice two things: First you cannot select or edit the text with the Text Tool anymore. We need to switch to the Select Tool (keyboard shortcut: S).
After selecting, have a look at the info box on the bottom. You will see that the text turned into a group of objects. The number of objects depends on the length of your text because each letter turned into an individual object.
Step 3: Ungrouping and Adding a Stroke
The next thing we need to do is to ungroup. For this either right-click on the group and select Ungroup or select the group object with the Select Tool and then click on the Ungroup Symbol (keyboard shortcut: Shift+Ctrl+G)
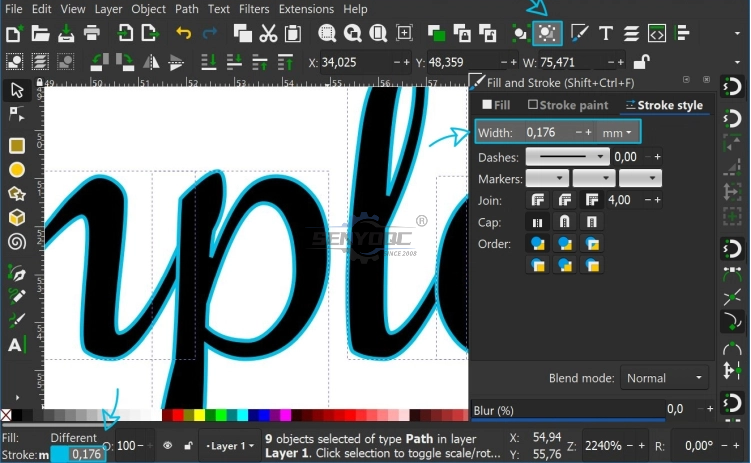
Now we add a stroke. With the letters still selected, hold Shift on your keyboard and click on one of the colors in the color palette at the bottom of the screen. This adds an outline in your chosen color around each letter.
You can change the width of the stroke by clicking on the number next to the stroke color on the bottom left of the screen. This will open up the Fill and Stroke menu on the right side. There you can edit the number in the Width field.
With the stroke added, you can now clearly see that each letter is an individual object.
In the image above I also zoomed into an area where some manual editing is necessary to make the text completely connected because the “p” does not connect to the “l”. You can zoom in Inkscape by pressing + (zoom in) or – (zoom out).
Step 4: Add missing connections
To add the missing connection, we will draw a short line. Grab the Bezier (Pen) Tool (keyboard shortcut: B). Click somewhere in the “p” to set the first anchor point, then click into the “l” to set the second anchor point. Right-click to finish the line.
TIPP: When you hold down the left mouse button and then drag your mouse while setting the second anchor point, you can create a curved line.
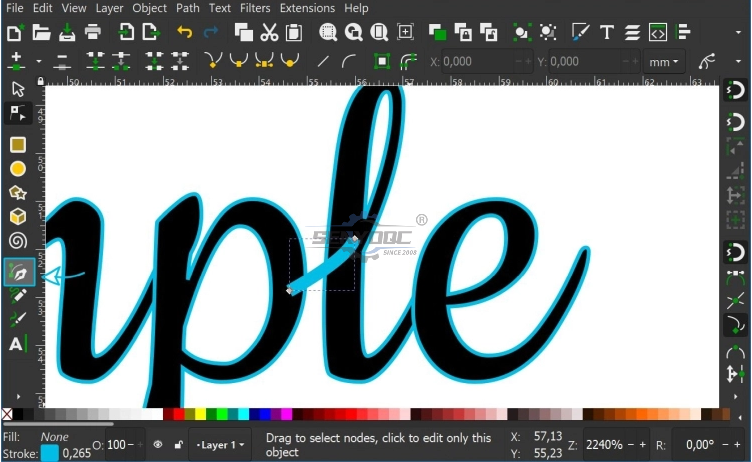
You can edit the anchor points with the Nodes Tool (keyboard shortcut: N). To change the position of a point simply click it and drag it around. You can also click and drag the line itself to change its shape.
With the line selected, set the stroke width to a value that fits with the rest of the font.
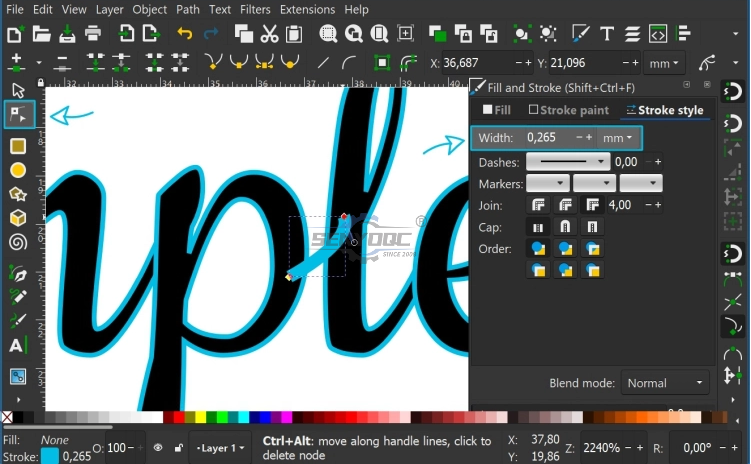
Step 5: Stroke to Path
Before the final step, we need to turn the stroke of our line into a path. This is done by selecting the line and then going to Path > Stroke to Path (keyboard shortcut: Ctrl+Alt+C)
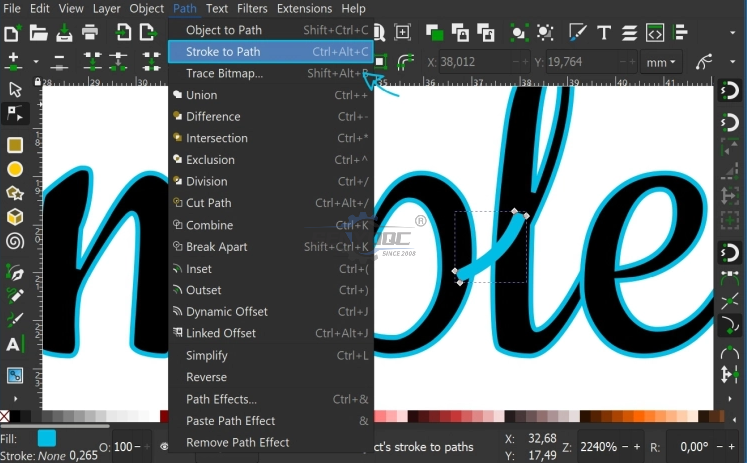
After the transformation the line is a filled shape.
Step 6: Merging everything together
For the final step, first select everything by either using the keyboard shortcut Ctrl+A or by using the Select Tool and dragging a rectangle around all objects.
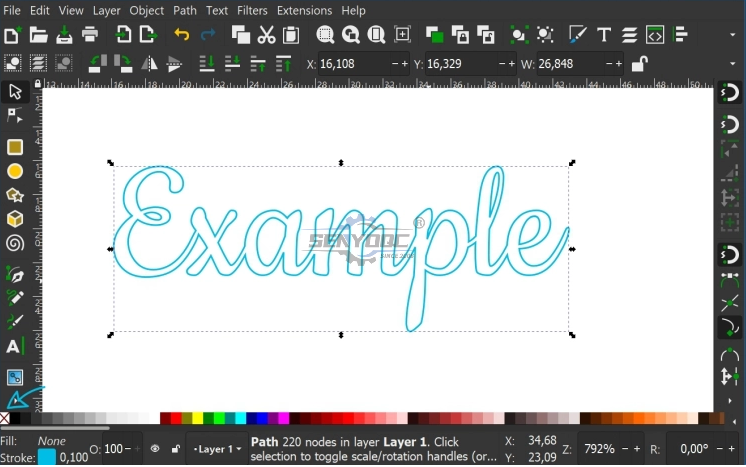
Then in the top menu select Path > Union (keyboard shortcut Ctrl+ +). This turns your text into one connected shape. You can remove the fill color by clicking the white field with the red x in the color pallet.
Your text is now ready for laser cutting.


• Previous: How to get started with laser cutting in 4 steps
- Fiber metal Laser Sensor And Its Application
- Laser Cutting Machine Inspection Process For Manufacture
- How Control Costs Use of UV Printers ?
- Why UV flat printing machine is popular in market ?
- How does UV ink jet printer save UV ink?
- Waterjet Machine delivery and Shipping
- Waterjet Machine finish manufacture 5axis
- Waterjet Machine delivery and Shipping
- How to Create Connected Text – Inkscape for Laser Cutting
- How to get started with laser cutting in 4 steps
- How does a laser cutter work?
- Wine butler
Mini Desktop CNC Router for Gifts Making Small Business
Best Granite marble manual polishing machine For Sale
Stone Processing CNC Equipment Automatic Tool Changer CNC Quartz Stone Machining
3020 40W Mini CO2 Laser Engraving Cutting Machine
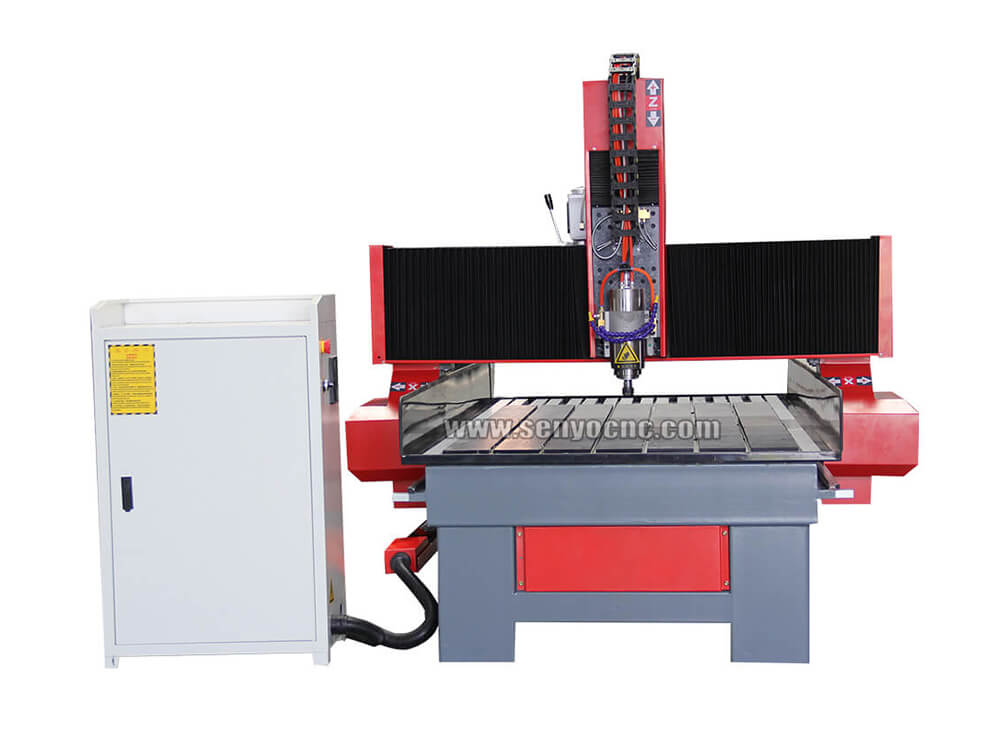
New Design Mini Stone CNC Machine for Marble, Granite and Quartz
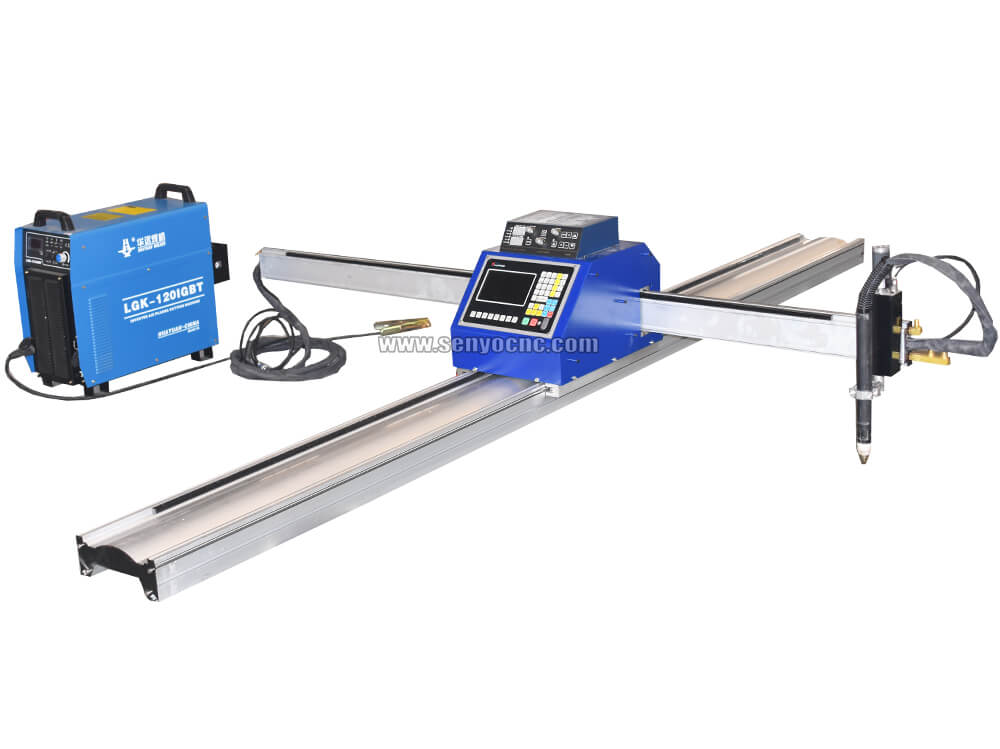
Portable CNC Flame Cutting Machine with Plasma Torch for Sale
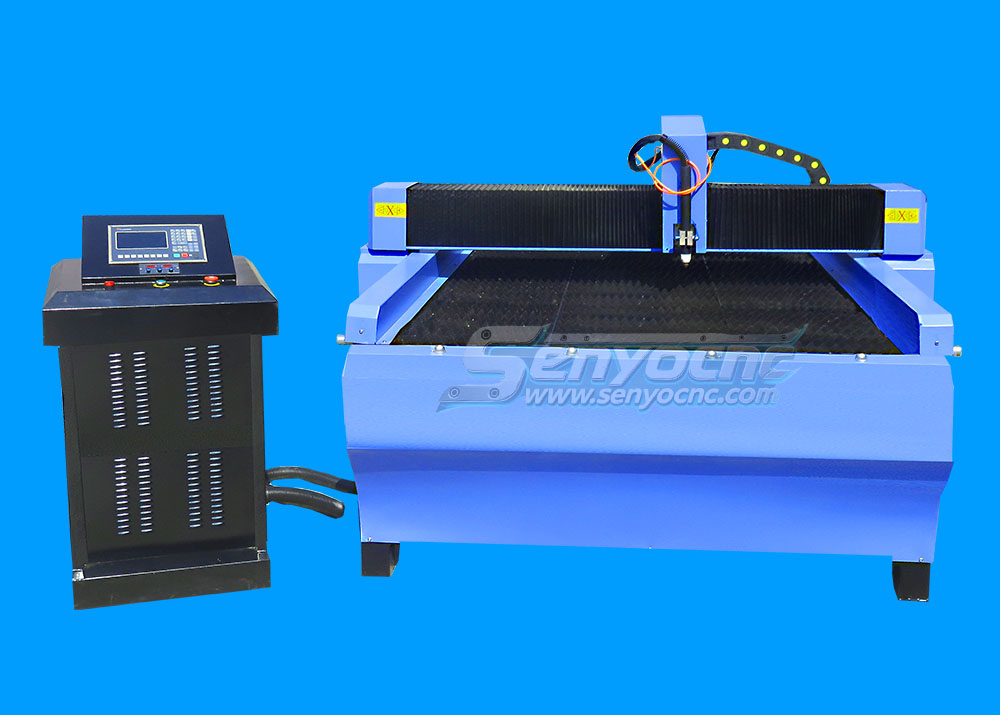
High-Precision Mini Hobby CNC Plasma Cutting Machine for Metal
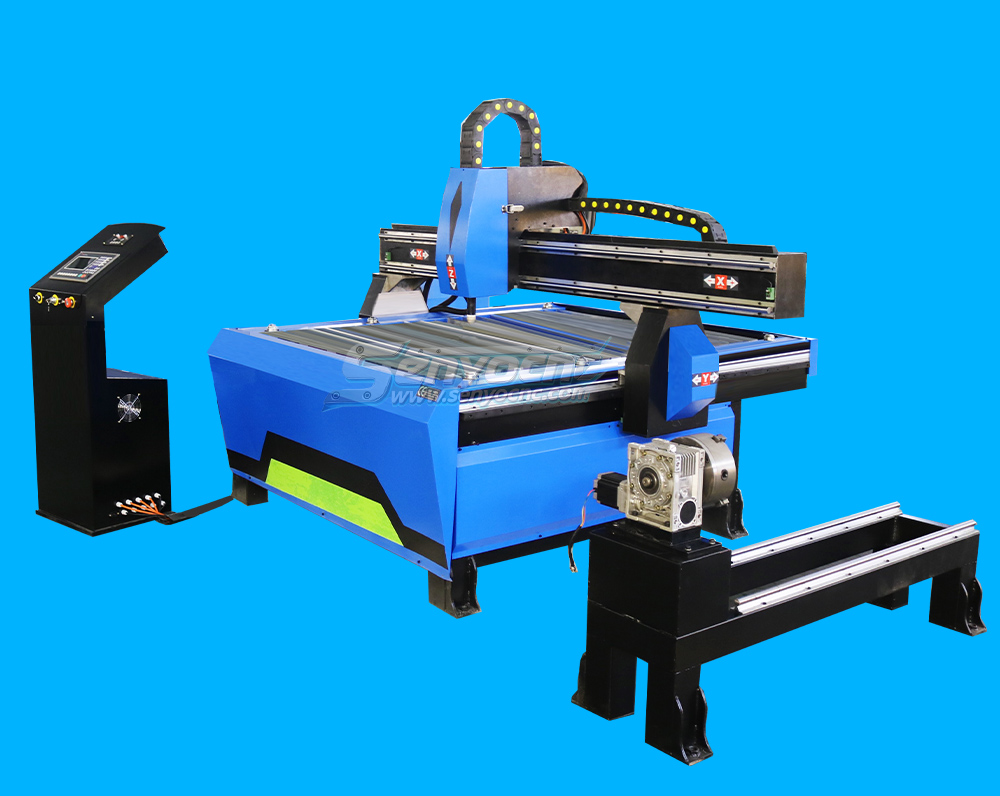
Mini CNC Plasma Cutter With Rotary
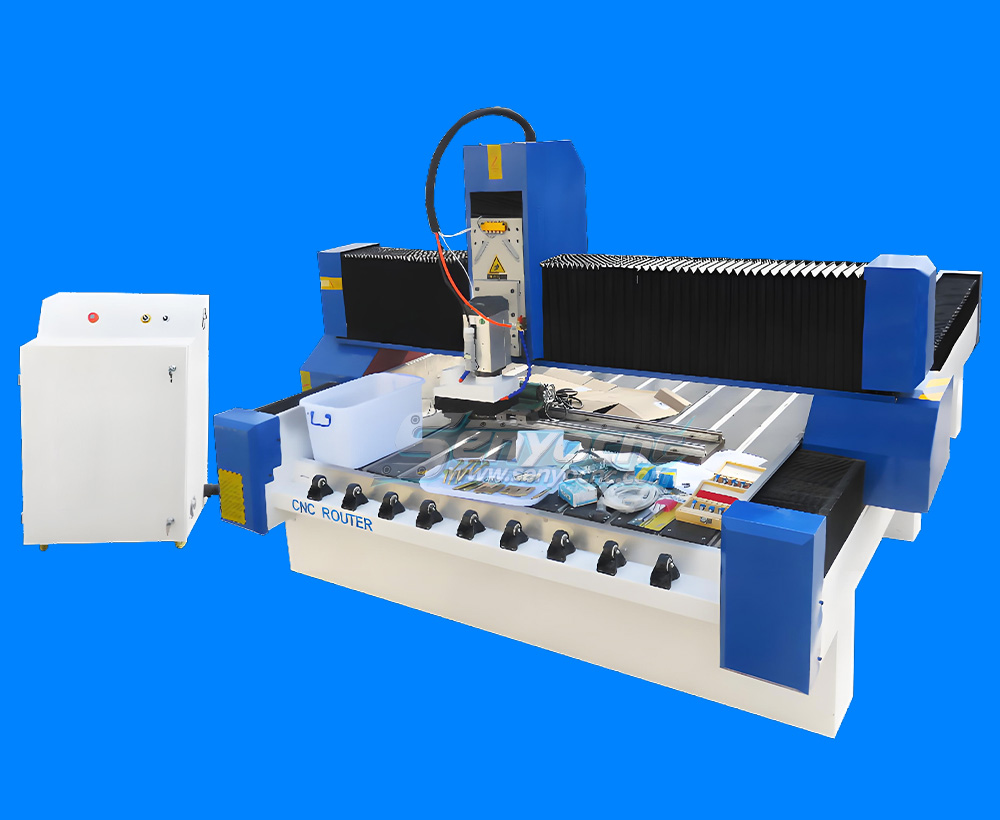
4 Axis 1325 Sculpture Machine Cnc Carving Marble Granite Stone Cnc Router
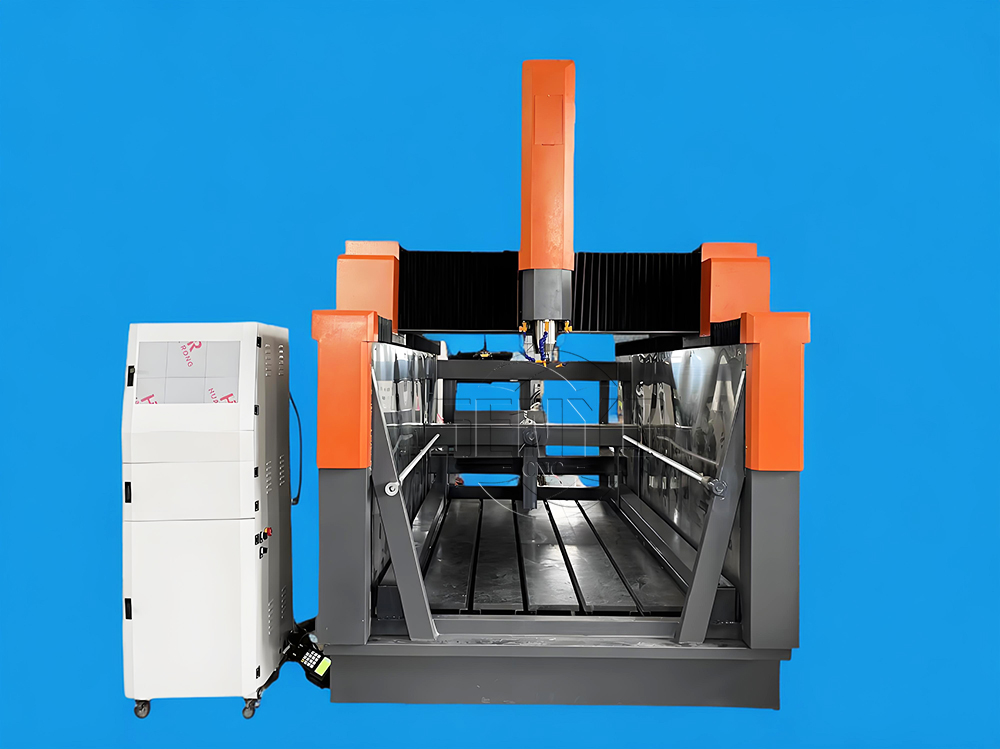
Z Height 1000MM 4-AXIS Stone Engraving CNC Machine Heavy-duty Stone CNC Machine Stone Relief Carving CNC For Sale
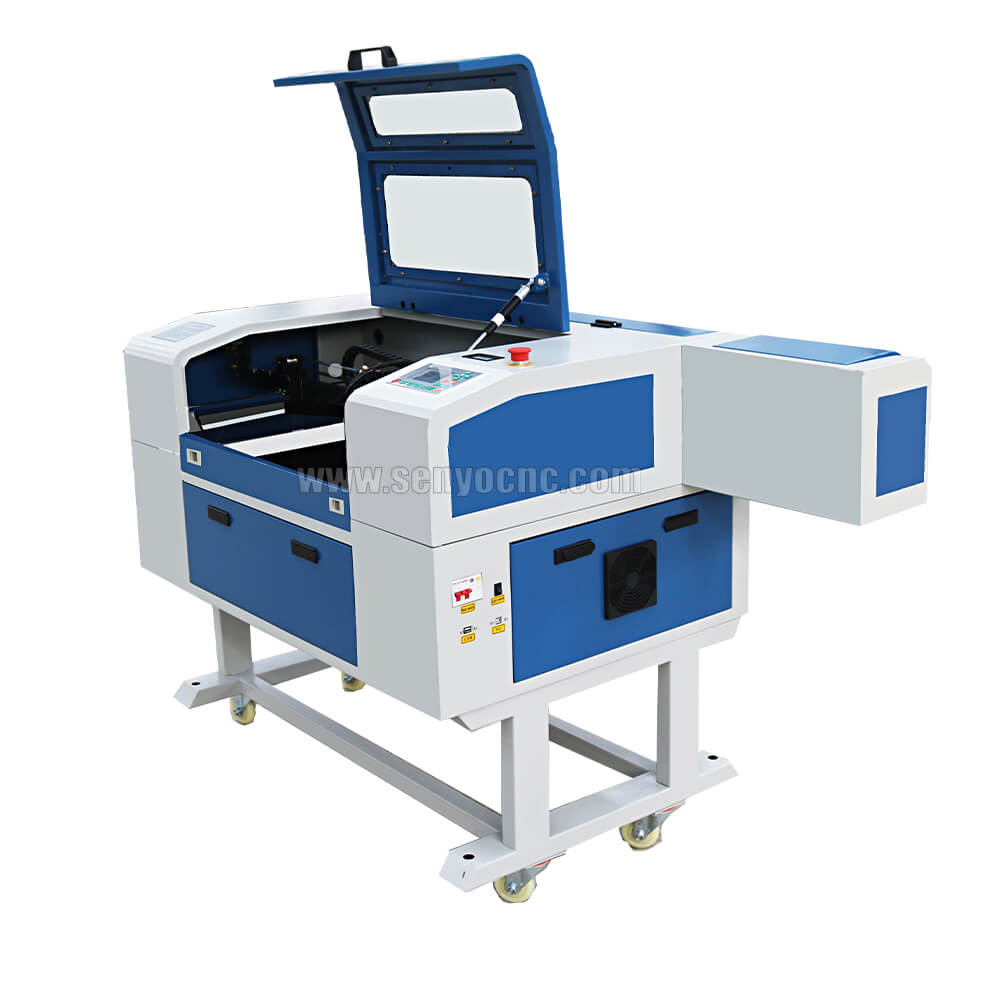
4030 portable mini co2 laser carving and desktop rubber stamp laser engraving machine
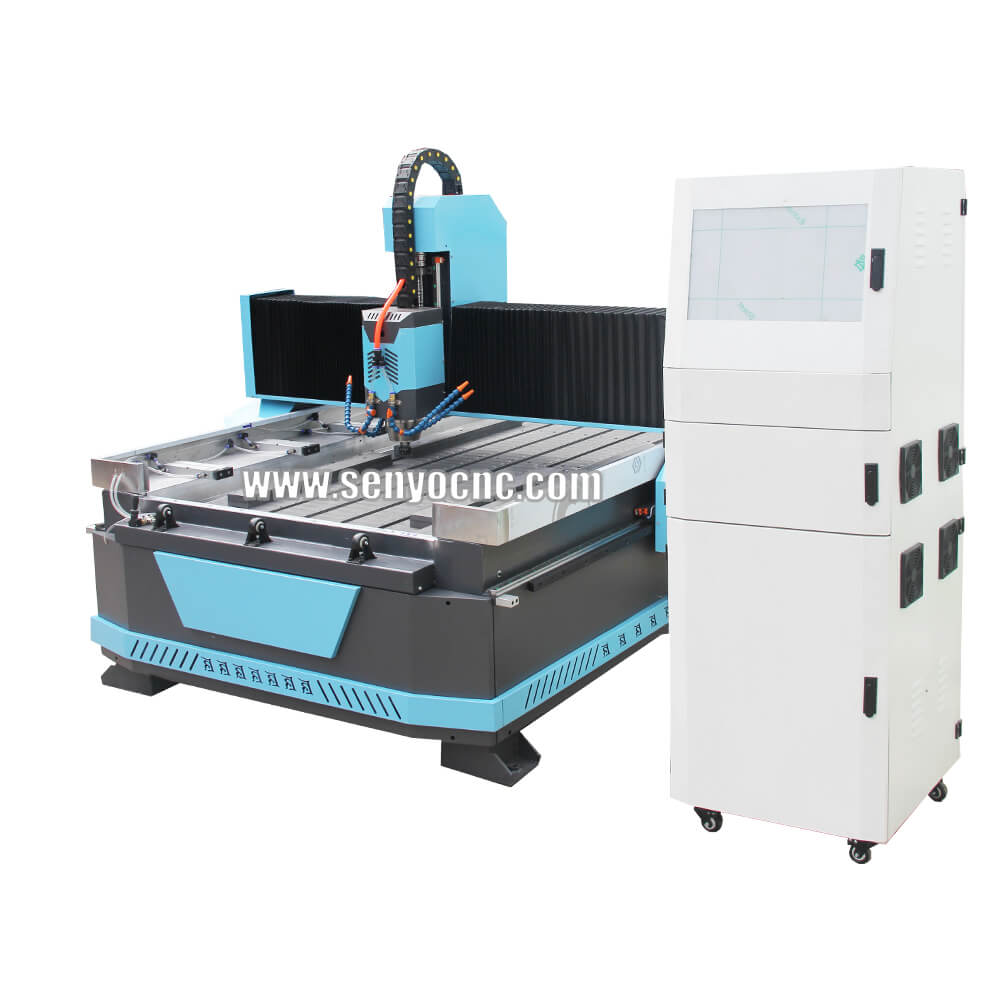
Stone CNC Router For Kitchen sink tile carving and cutting Marble, Granite and Quartz
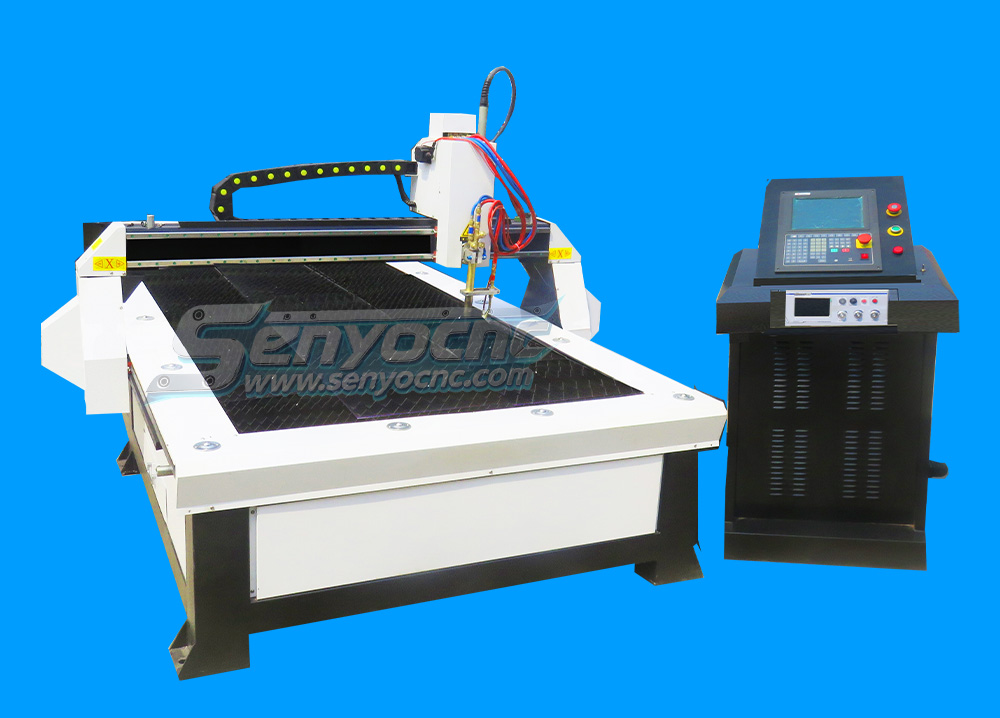
Robust CNC Plasma Cutting Machines with Flame Cut Head for Heavy-Duty Industrial Use
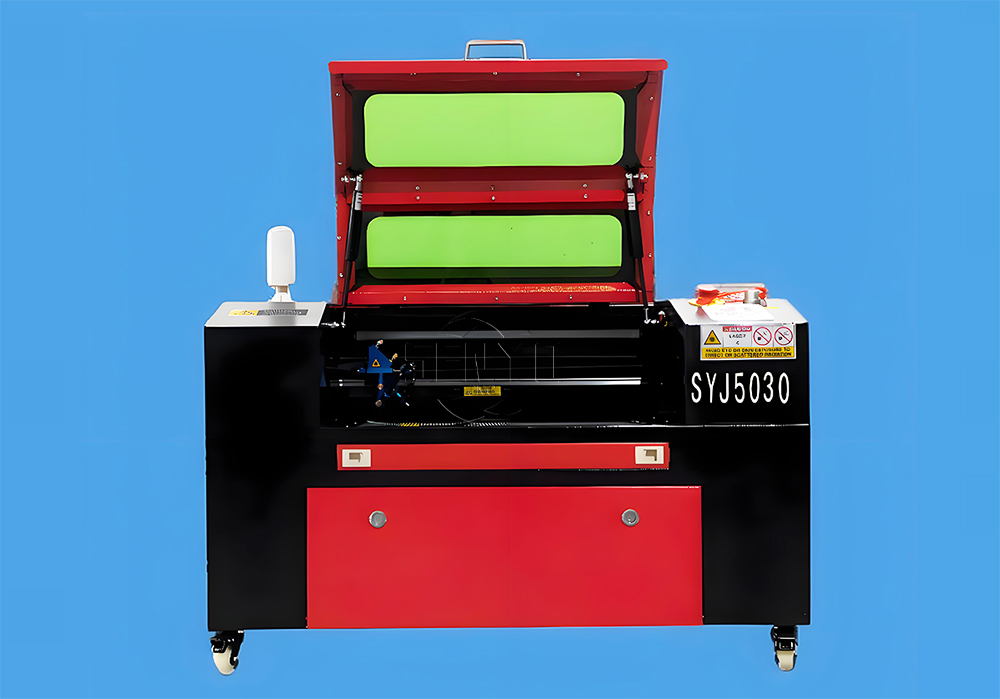
Small Portable CO₂ Laser Cutter Engraving for DIY & Business – Ideal for Wood, Acrylic, Leather
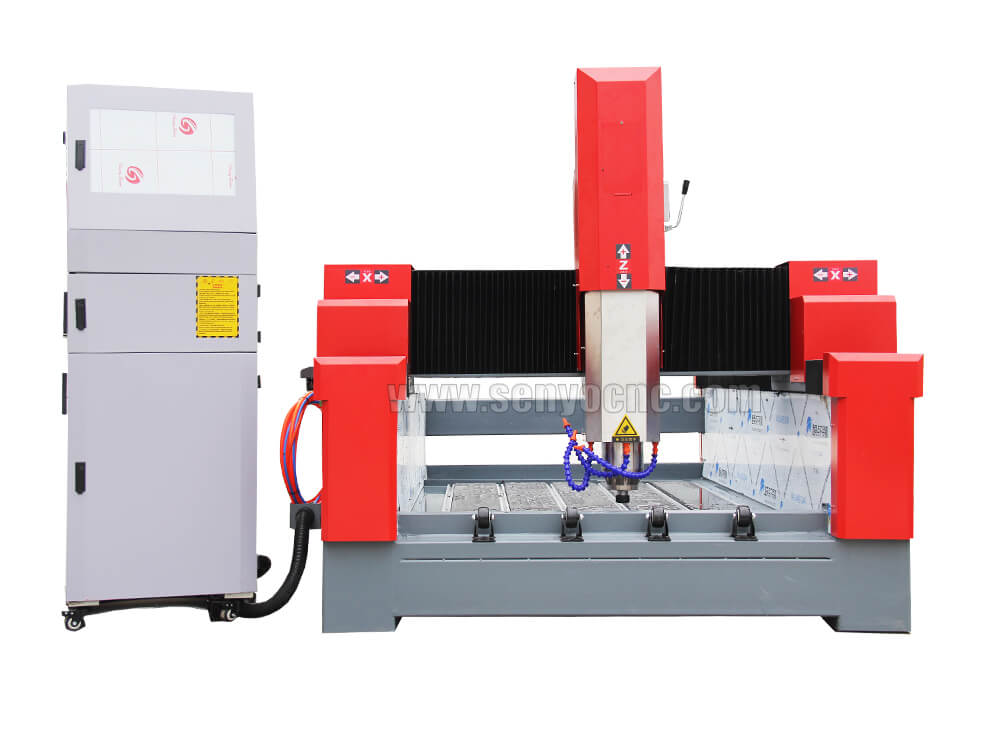
1325 3 Axis 4x8 CNC Stone Router for Sale
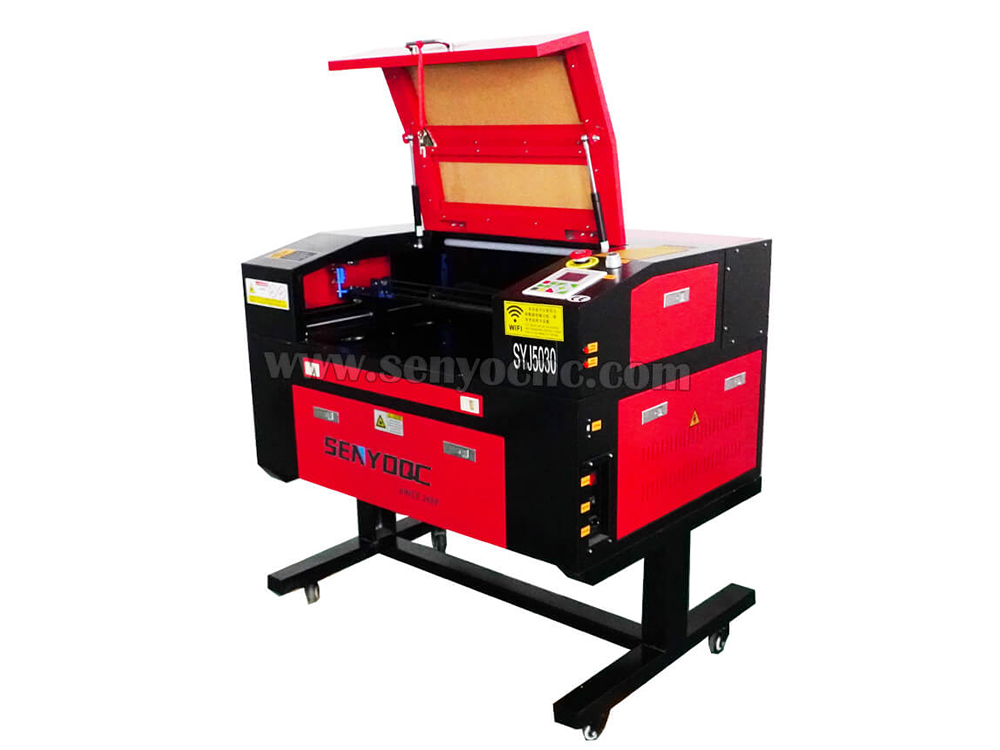
Mini CO2 Laser 5030 Cutting Engraving Machine For Sale
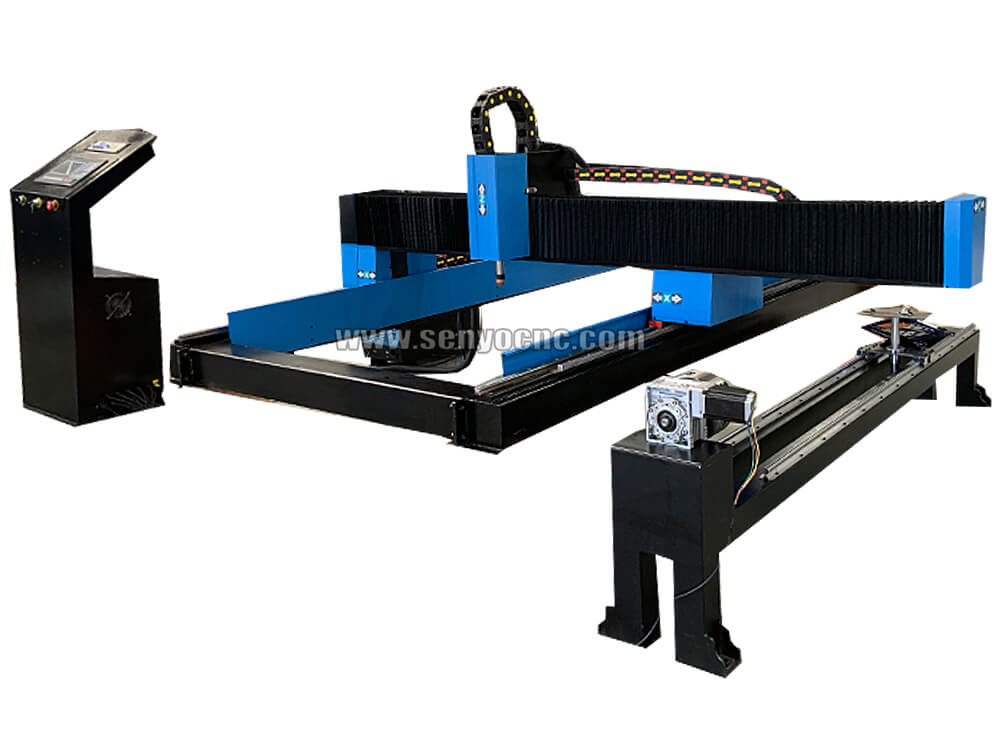
Portable CNC Plasma Flame Cutting Machine for Sale at Cost Price
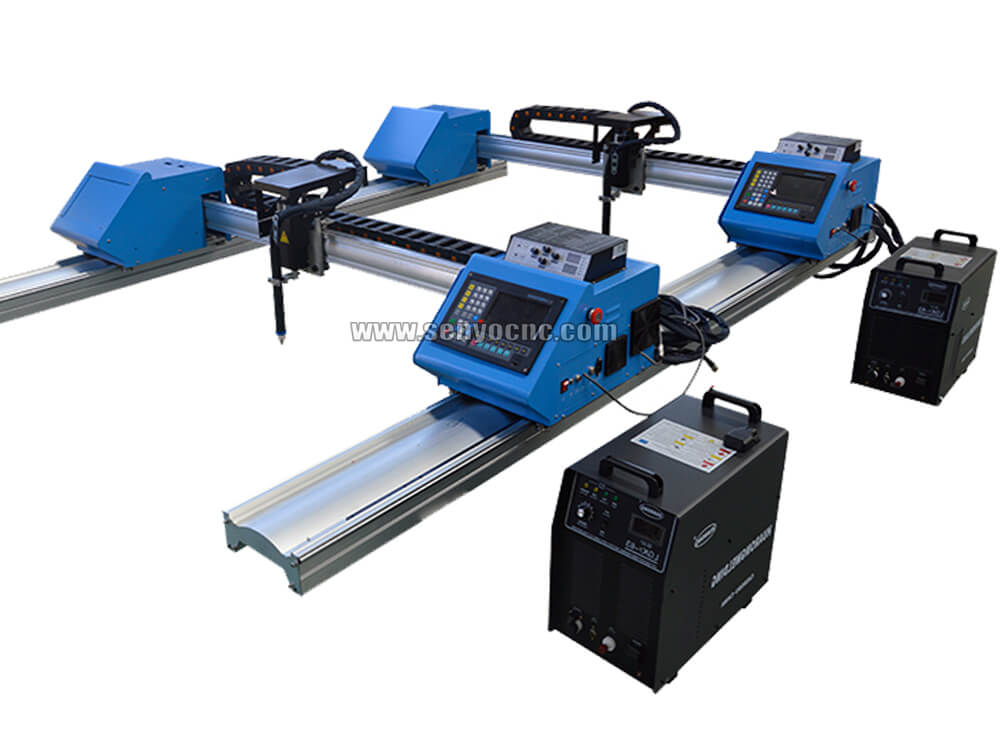
Portable Cnc Plasma Oxyfuel Sheet Metal Cutting Machine for sale
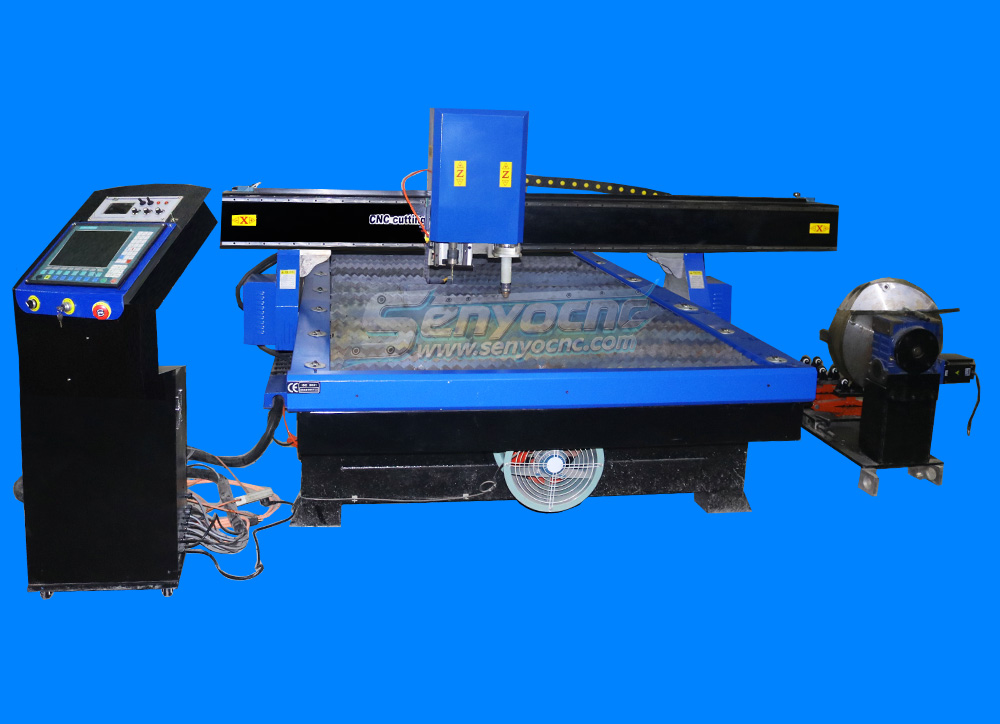
CNC Plasma Cutters for Customized Metalwork –Rotary&Drilling Head
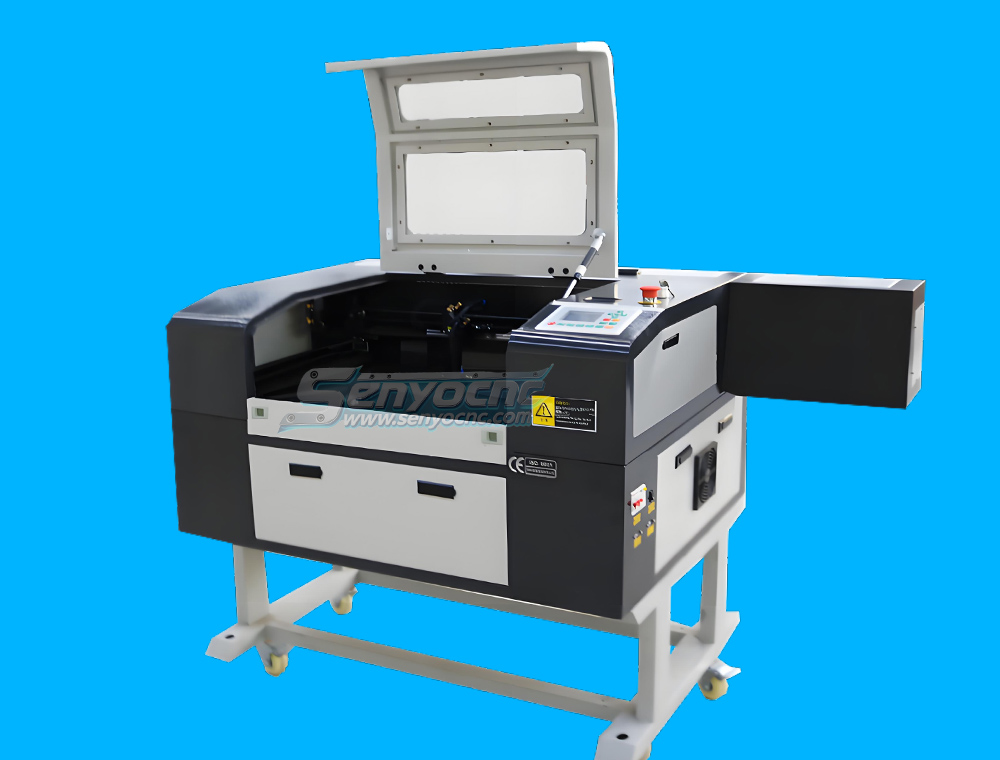
Small Table design 6040 Easy Move CO2 Hobby Laser Cutter Machine for Beginners
High-Efficiency 2 Heads CNC Machine for Aluminum Stone Marble Engraving & Cutting
Best CNC 2 Spindle 4-AXIS Stone Carving Machine High-precision Stone Carving Stone Countertop Fabrication
Top Rated 2x3 CO2 Hobby Laser Cutting Machine for Sale at Affordable Price
Best 4x8 CNC Plasma Cutter Table for Sale at Affordable Price
Entry Level CO2 Hobby Laser Cutter Machine for Beginners
Top CNC Plasma Cutters for Automotive, Aerospace, and Manufacturing Industries
Precision Stone Engraving Machines for Memorials & Signs
Portable Co2 9060 Laser Nonmetal Cutting Engraving Machine
1090 CO2 Laser Machine with Ruida Controller for Non-metal Glass Acrylic Engraving Cutting
Entry Level 9060 CO2 Hobby Laser Cutter Machine for Beginners
The Apprentice Maze Puzzle Box
Box laser cutting software share
laser marking and engraving for the jewelry industry
Copper cutting for fiber laser cutting machine
Aluminum Cutting for fiber laser cutting machine
CS Laser Cutting Factors that Affect the Process
Stainless steel Fiber Laser Cutting
2d&3d wood MDF carving and cutting
3D CNC Router for Stone Relief Carving Projects
Laser Cut Adjustable Table Lamp
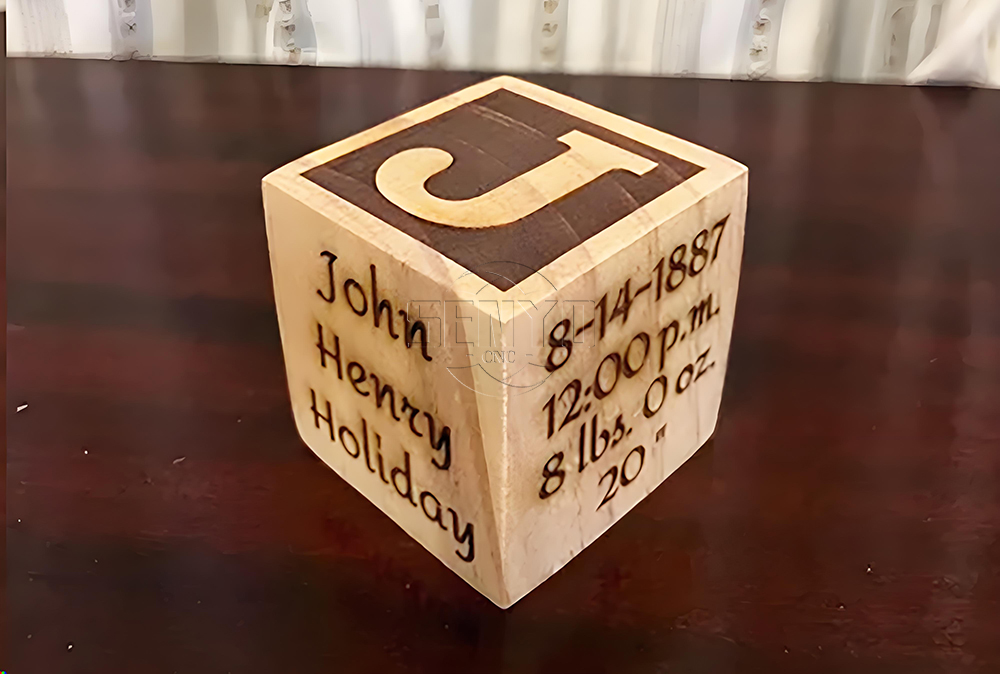
CO2 Laser cutting Baby Birth Block
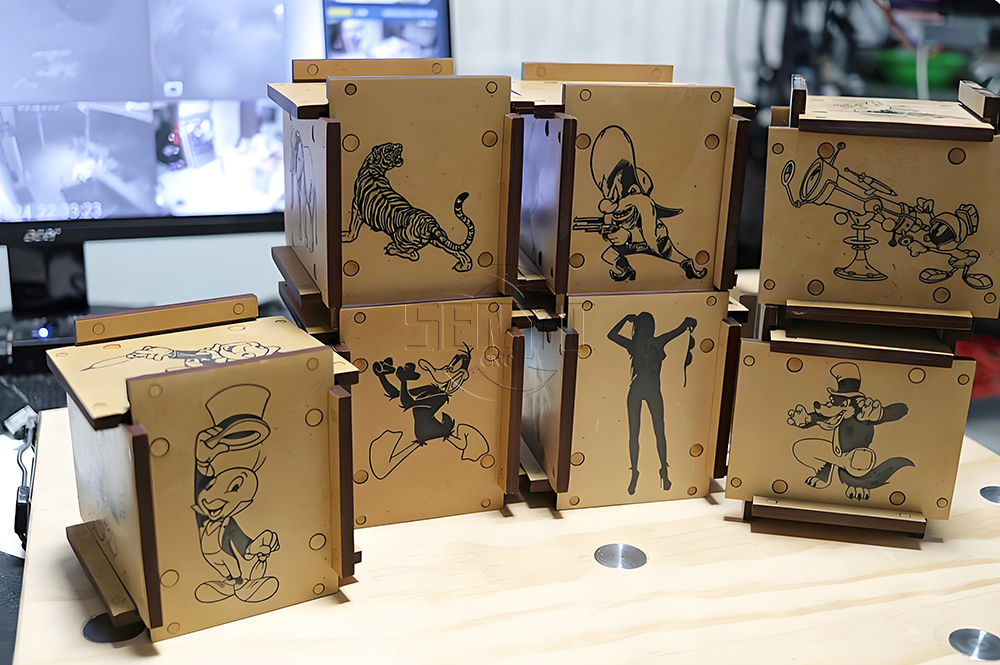
CO2 laser cutting and engraving for 6 Sided Box Puzzle
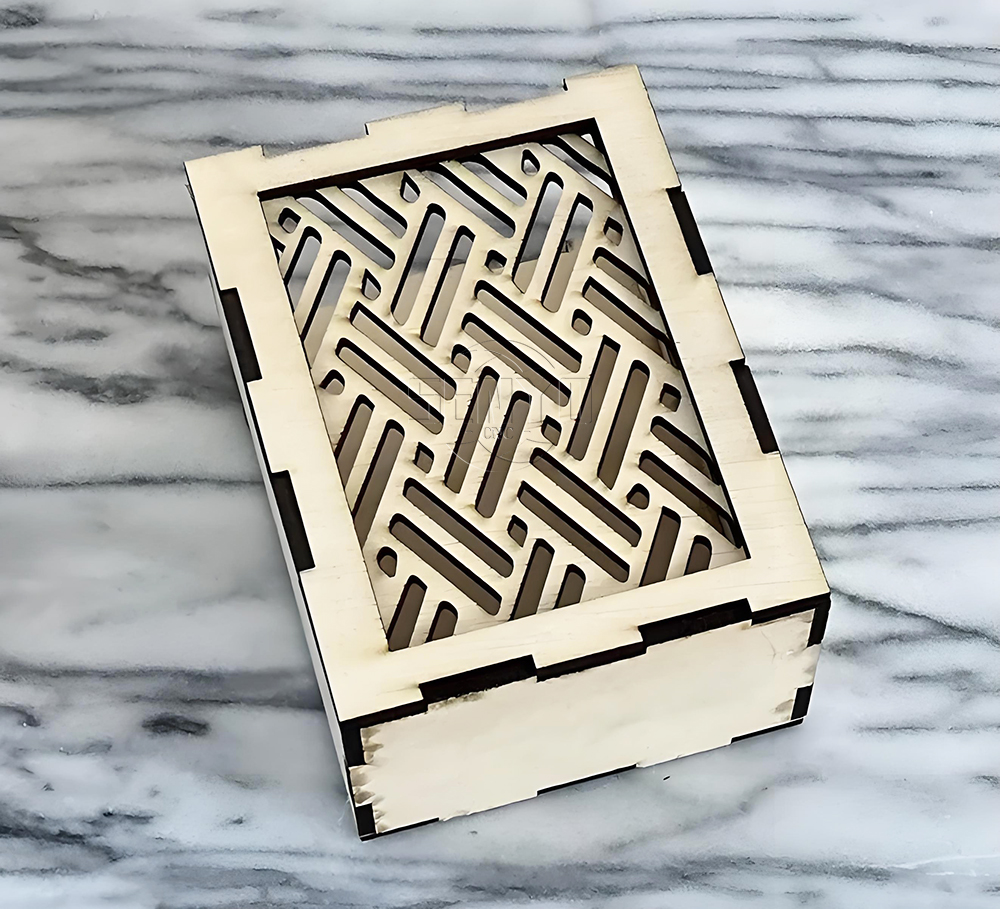
Co2 laser wood cut Illuminated Pattern Box
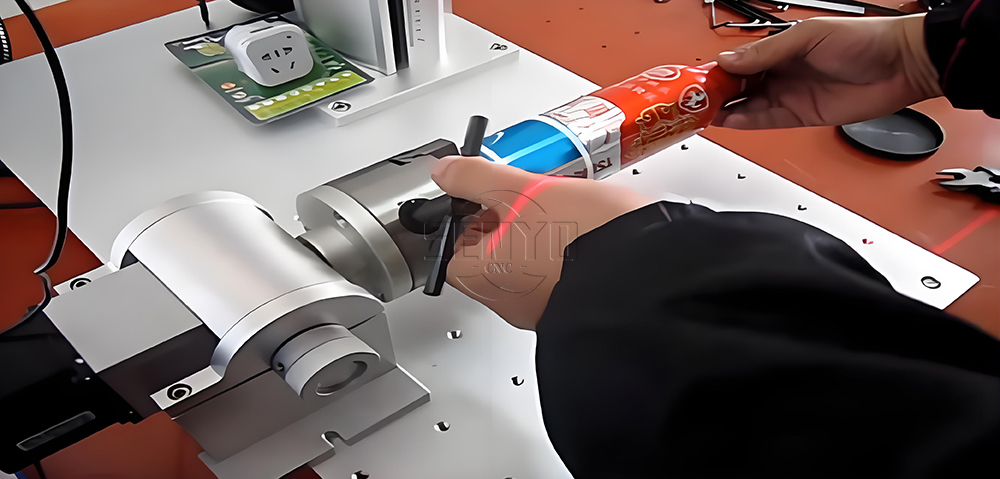
Engrave Round Parts With 50W Fiber Laser Marking Machine
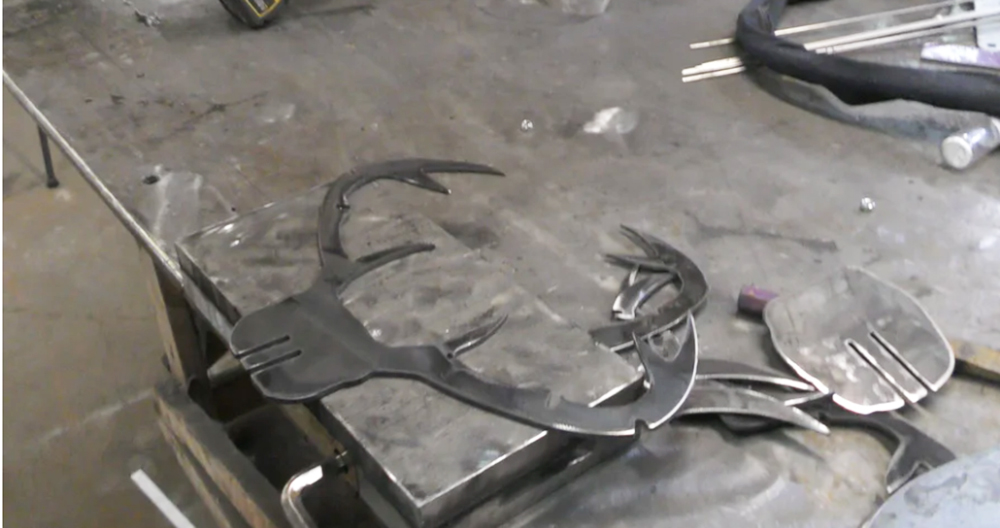
CNC Plasma Cut Deer Head
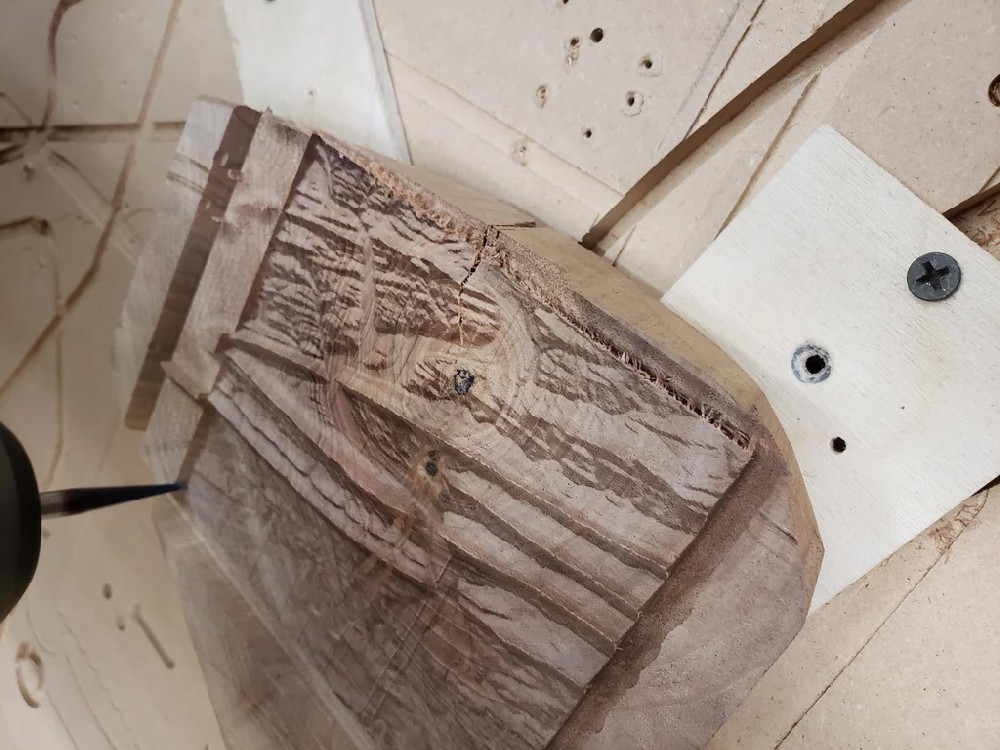
Relief Map on a CNC Router
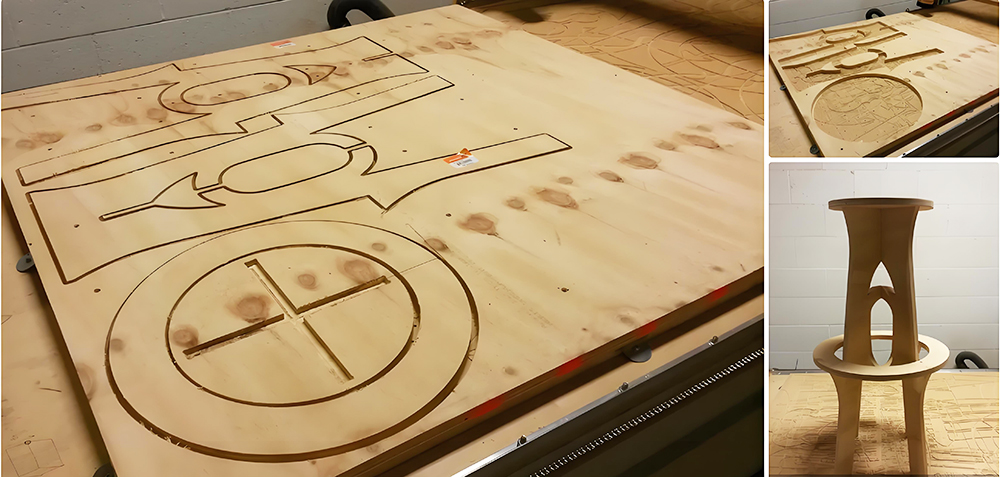
CNC Router Bar Stool
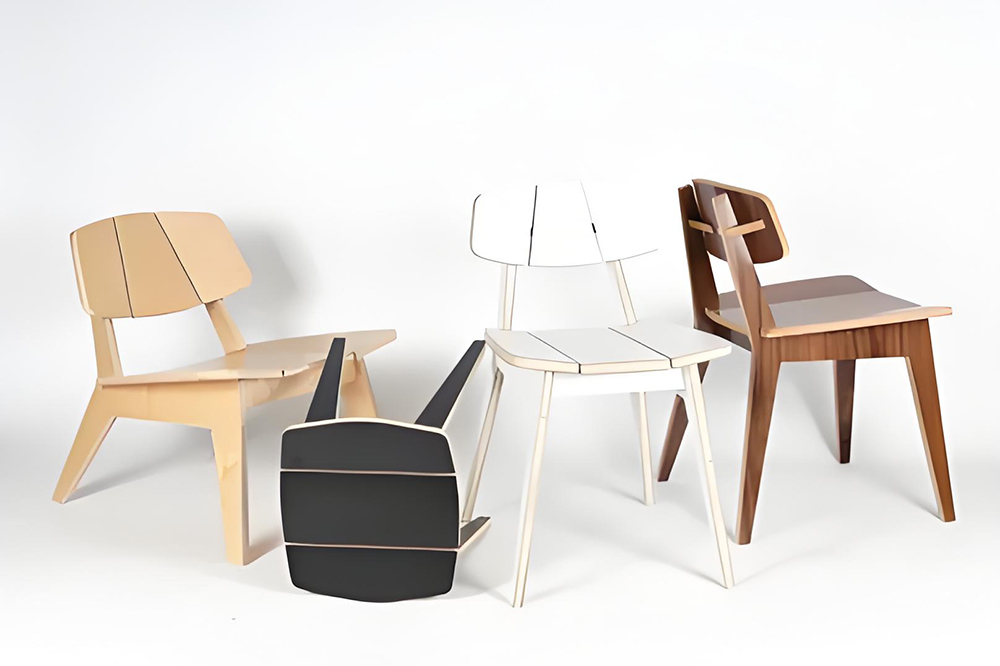
Wood Chair Made With CNC Router
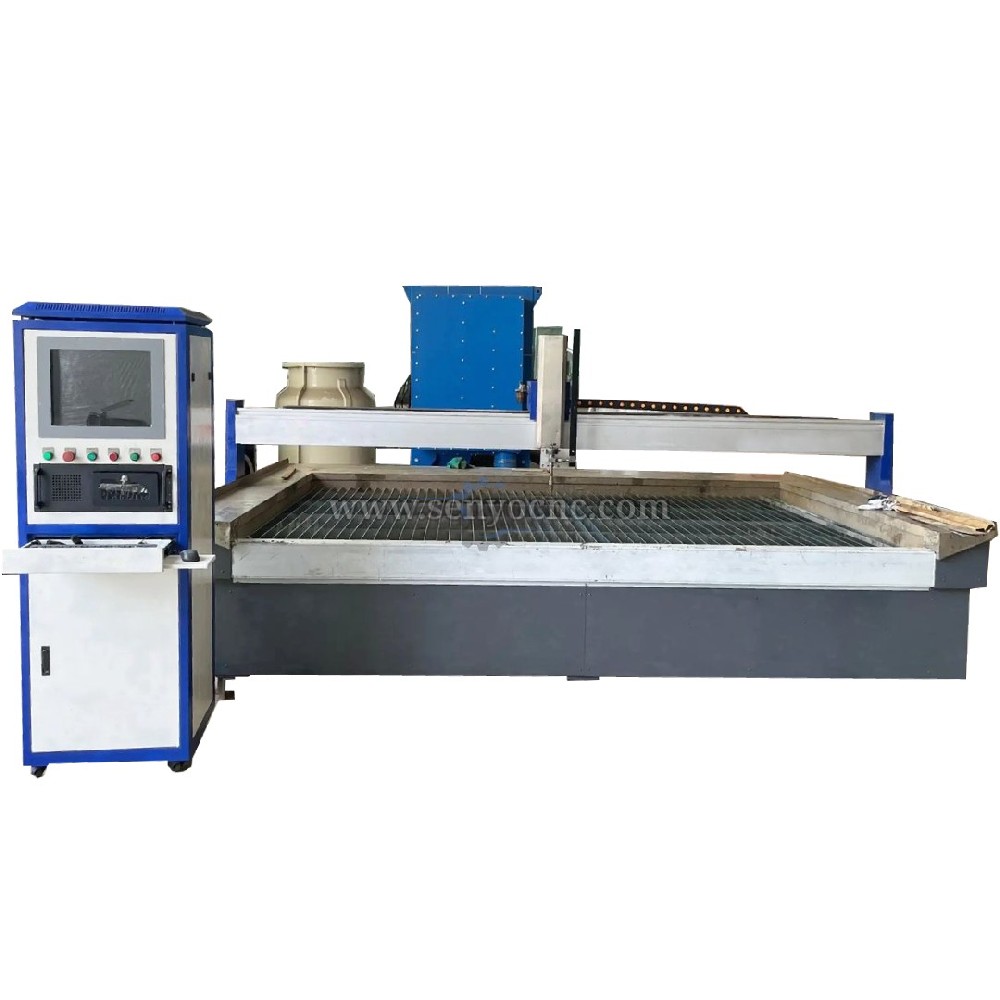
Competitive Price New Design Waterjet Machine 3 axis Cutting Machine

Typical industries that use waterjet technology
What main benefits to waterjet cutting ?
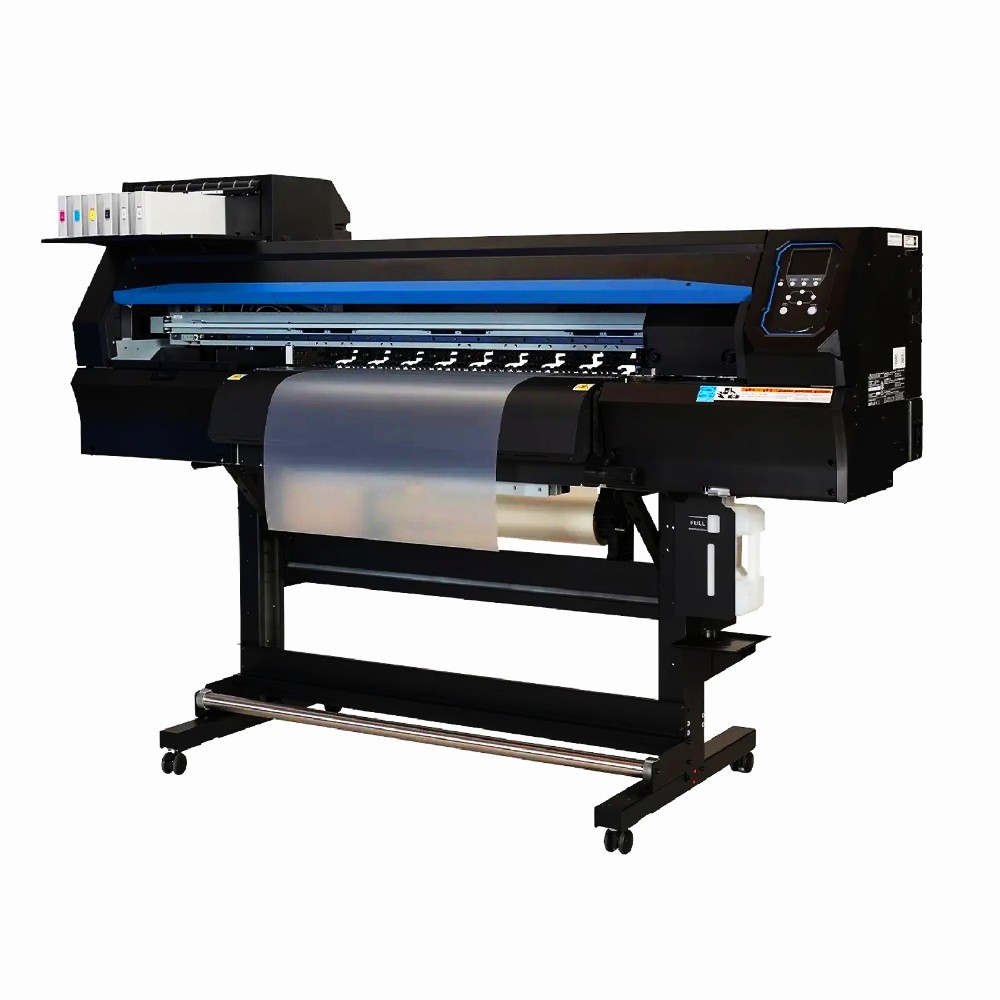
DTF Printer Machine Application
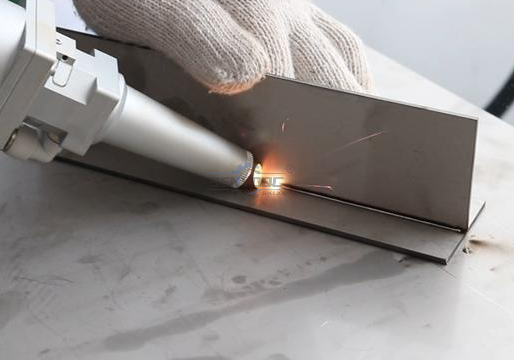
Typical fields of application
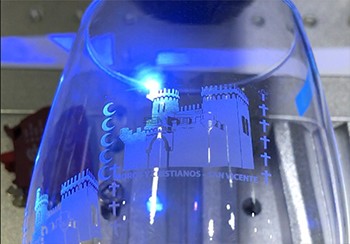
UV Laser Marking Machine For Glasses Engraving
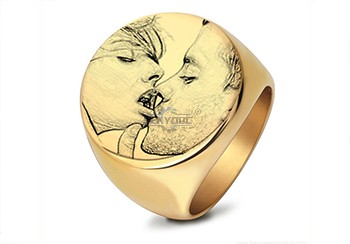
GOLD Engraving -Fiber laser marking work
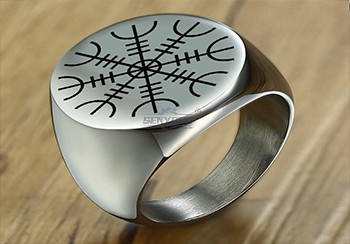
Sover Engraving -Fiber metal engraving and marking
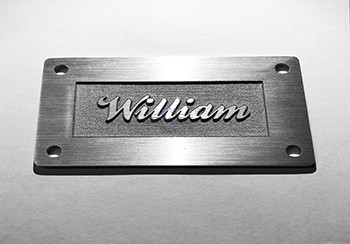
3D Marking Logo deep engraving -Fiber marking machine
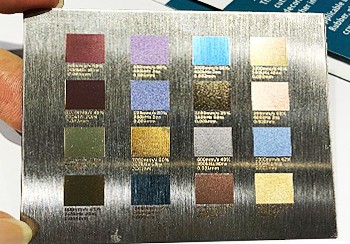
MOPA Fiber Laser Marking Machine Application and Samples
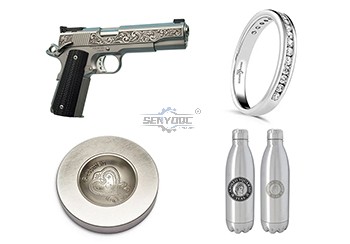
Fiber Laser Engraving and Marking Machine for Metalworking Projects
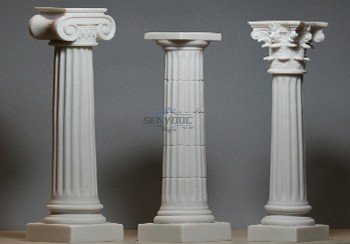
Stone shaft Rotary use engrave cnc router machine

Jacob from United States
I am a beginner at CNC, I’ve never used a CNC machine before and with in a day I was carving. An awesome machine for a beginner to learn as hobbyists. I used the manual and the help video. One hour to assemble and test, very friendly and easy to use. It’s a good buy for the money. I would definitely recommend this machine to someone getting into CNCs.
Weinstein from France
I've been using CNC plasma SYP2060-300A and I am very impressed with this unit.
This unit is of higher quality, made in China. Five stars all the way!
SYM1530 CNC Router 4 Axis from 🇨🇱 Diego Morales — Chile
We use the machine for wooden prototypes, decorative parts and 3D models. The 4-axis capability allows us to create shapes that were difficult to produce before.
SYM1325 CNC ATC Router from 🇳🇱 Pieter Jansen — Netherlands
Our production includes cabinet doors, MDF panels and solid wood components. The automatic tool changer makes repeated production much more convenient.
SYJ1325H CO2 Laser Cutter from 🇵🇹 Tiago Costa — Portugal
We use the laser mainly for acrylic letters and display products. The cutting edges are smooth and the machine is easy for our operators to handle.
SYS1530 CNC Marble Engraving Machine from 🇬🇷 Nikos Papadopoulos — Greece
We purchased the machine for marble signs and personalized monuments. Portrait engraving and lettering are much faster compared with our previous manual process.
CNC Router with Rotary Axis SYM1325-4th Axis from 🇧🇦 Marko Kovačević — Bosnia
We process wooden columns and decorative cylindrical parts. The movable rotary axis gives us more possibilities without purchasing another dedicated machine.
SYM2040 CNC Wood Router from 🇷🇸 Nikola Petrović — Serbia
We make custom wooden doors and furniture decorations. The router handles detailed patterns well and has become an important machine in our workshop.
SYS1530 CNC Stone Carving Machine from 🇷🇴 Andrei Popescu — Romania
We use the machine for marble lettering and religious monuments. The engraving depth is consistent and the machine structure feels very stable.
CNC Router SYM1530 from 🇨🇿 Jan Novák — Czech Republic
The large 1500×3000mm working area is exactly what we needed for full-size boards. We mainly cut plywood and decorative MDF panels. Thanks Senyo team!


 manager@senyocnc.com
 SENYOCNC
 +86 1525 3141 880
 +86 1525 3141 880
 2061579344
