



How To Install & Setup CO2 Laser Engraving Cutting Machine?
From: 本站 Date: 31st August 2021 Author: shengangtong Views: 3866
How to install CO2 laser engraving and cutting machine correctly? This is a key point, CO2 laser machine will go
well only when you install the CO2 laser machine correctly. Don't worry, this article will help you to know the process
of how to correctly install CO2 laser engraving and cutting machine.
Let's go with the following 12 steps to install a CO2 laser machine:
Step 1:
Remove all the package recover the machine like the wood, plastic flm and so on. (be careful of the nails)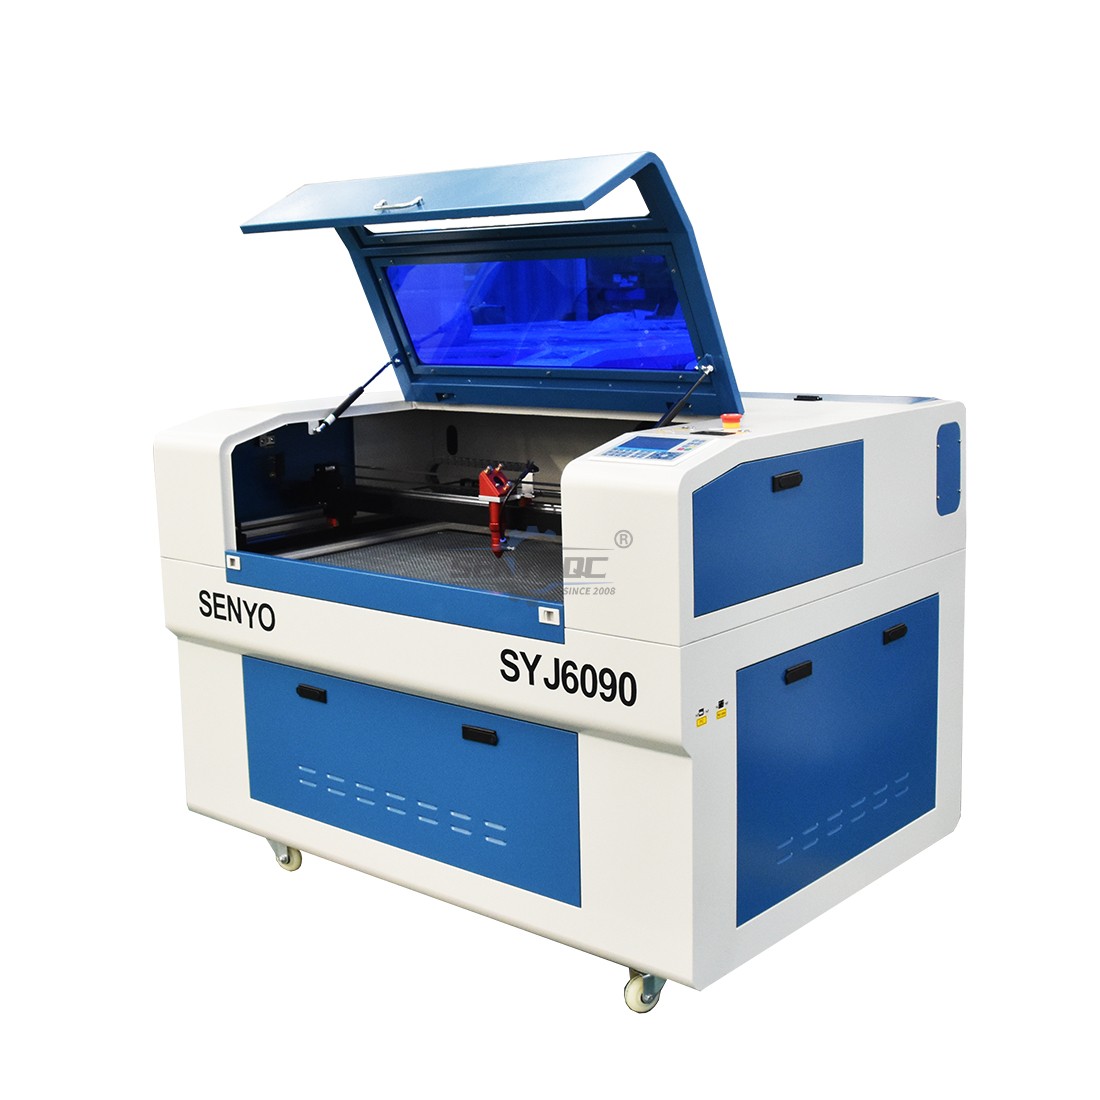
Step 2:
Open the front door, side- door and get all the extra parts of the machine out, like. water chiller/water-pump, dust
collector, air pump, laser tube, softdog, rotary device, etc.
After you open the front door, please cut the tie on the belt of the X-axis and Y-axi, get the CD, then move the laser
head to the center of the working area by your hand.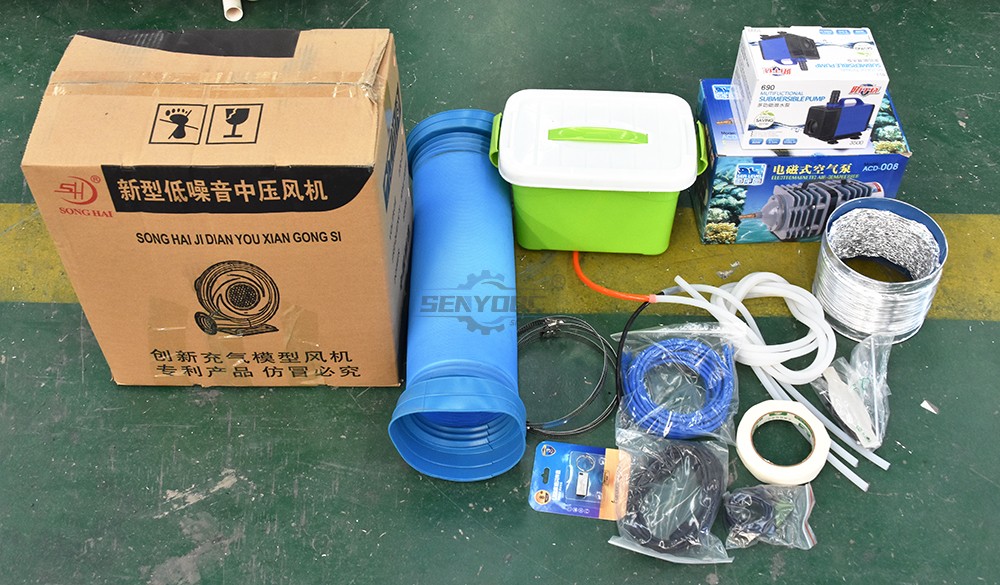
Step 3:
The most important step to correctly install a CO2 laser engraving and cutting machine is to install the CO2 laser
tube. So, pay special attention here.
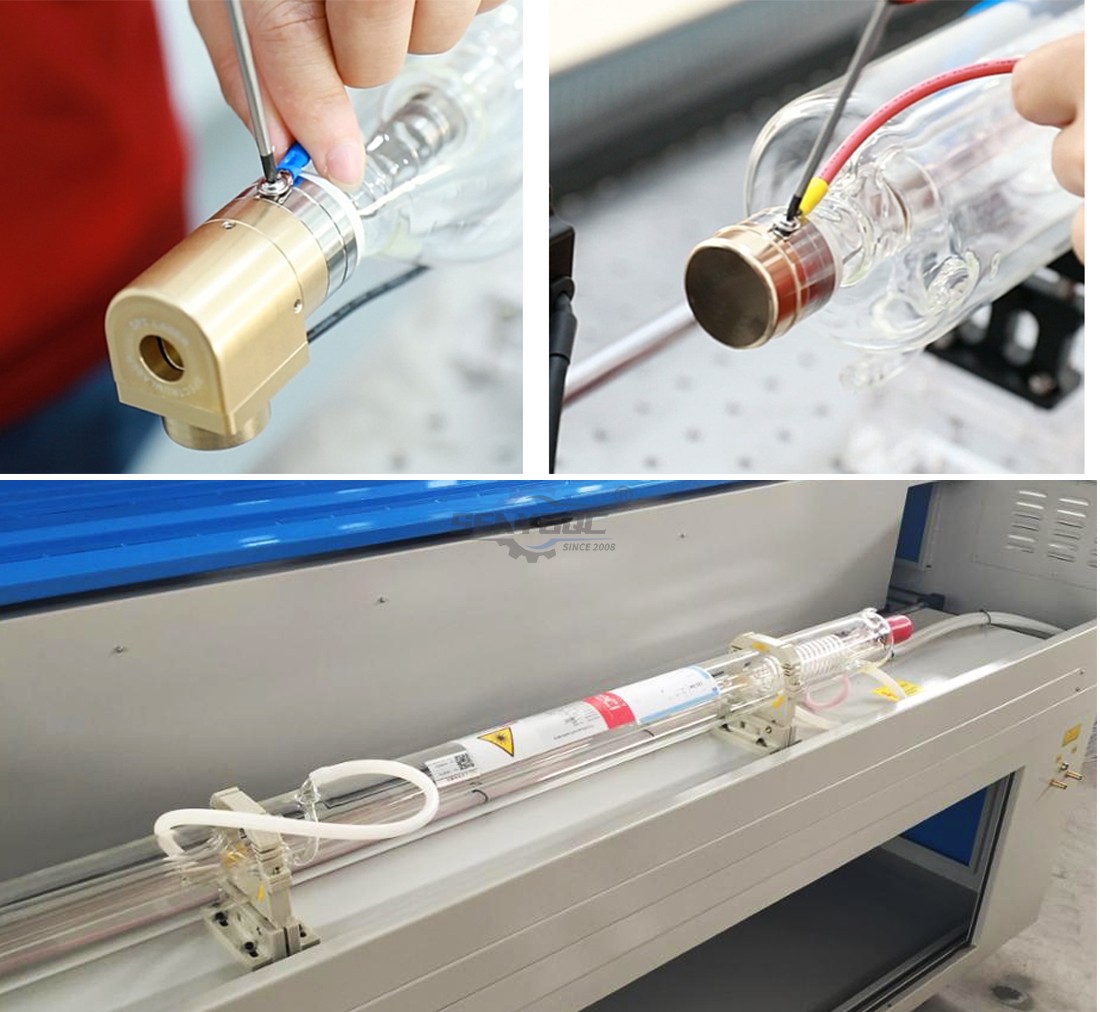
1. Take the laser tube out of the package slowly, then put it on the laser tube socket at the back of the machine.
2. There are two ends of the laser tube. One is laser light out and the other is high pressure end.
3. If the laser tube has the plastic protective sleeve, please cover the protective tape. If not, please cover sufficient
waterproof tape. On the laser light out is the water out, behind the high pressure end is the water in. The theory is
“low in high out”.
Step 4:
The installation of the water chiller/water pump:
1. Water chiller: connect the water inlet and water outlet of water chiller with the water outlet and water inlet of the
machine by the Silicone tube, then connect the air plugs AL ARM OUTLET (water protective)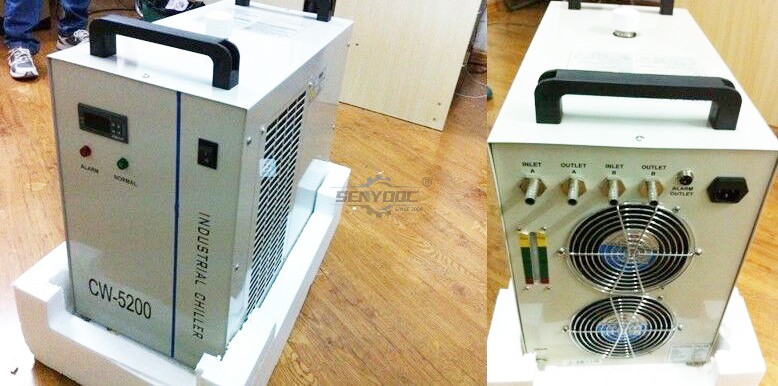
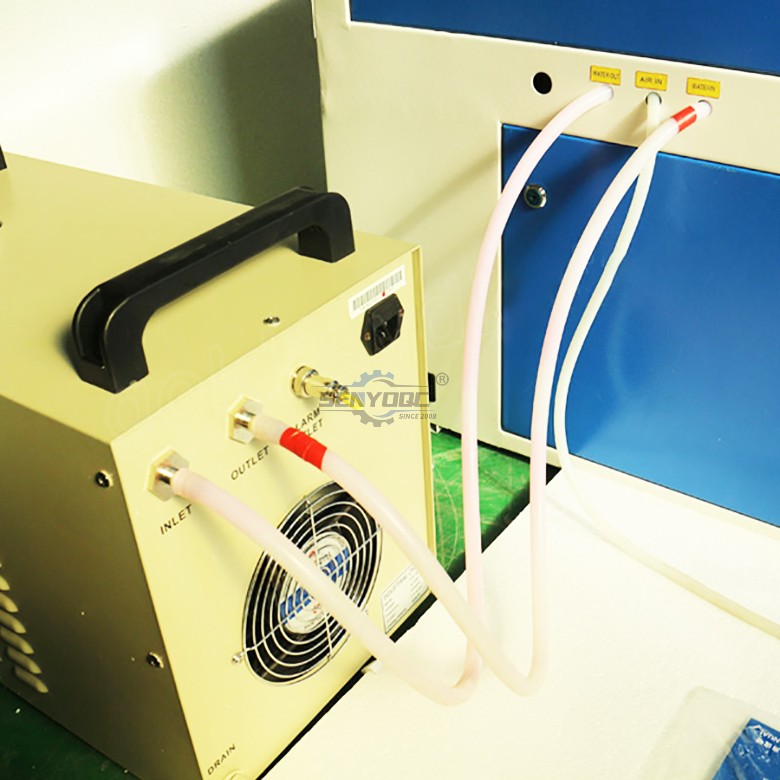
2. Water pump: connect the silicone tube with the water outlet of the water pump with the water inlet of the laser
machine. Then use the other silicone tube connect the water outlet of the machine with the bucke.
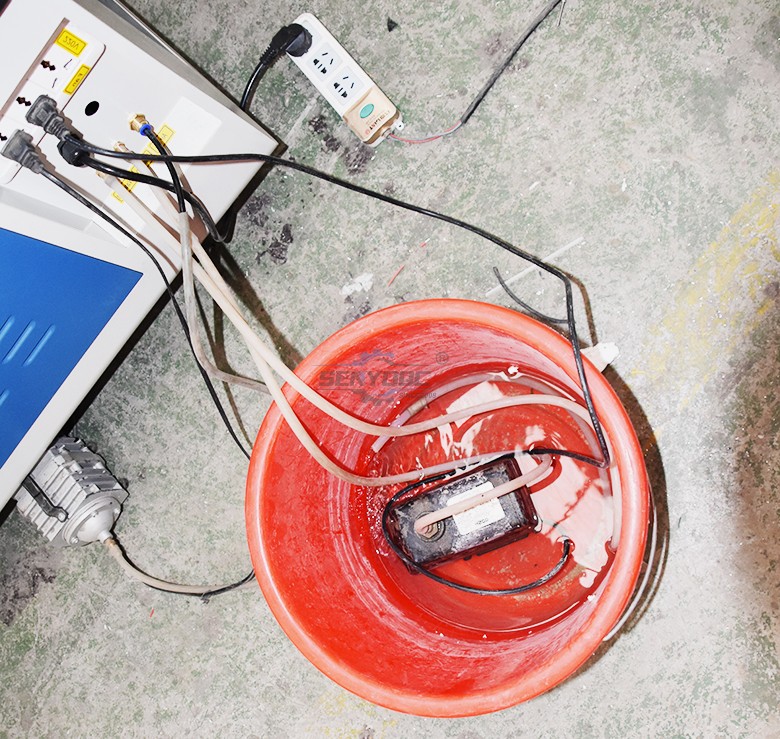
Step 5:
The installation of the air pump:
Connect the air outlet of the air pump with the air inlet of the laser machine. (Air inlet)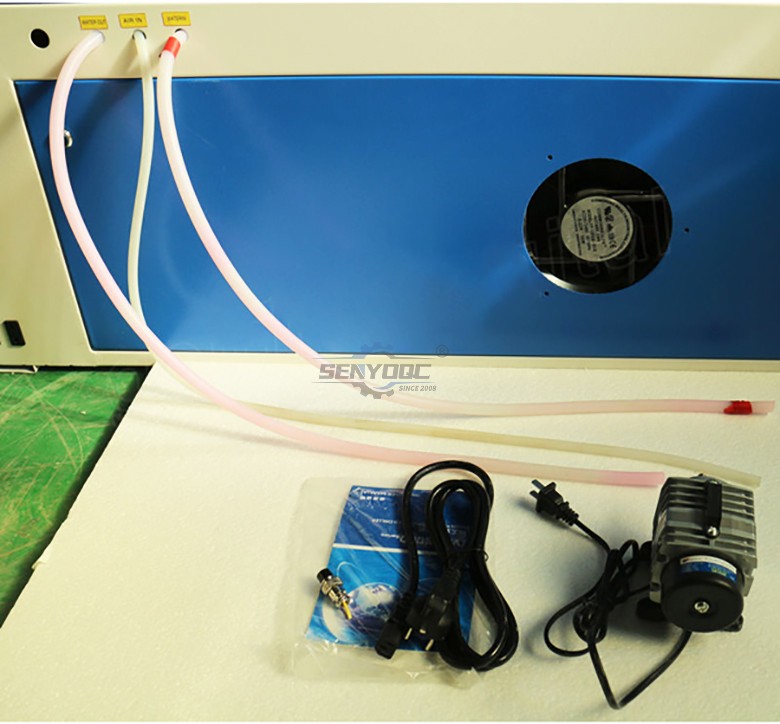
Step 6:
The installation method of the dust collector.
Connect the exhaust port of the dust collector with the telescopic pipe of the laser machine.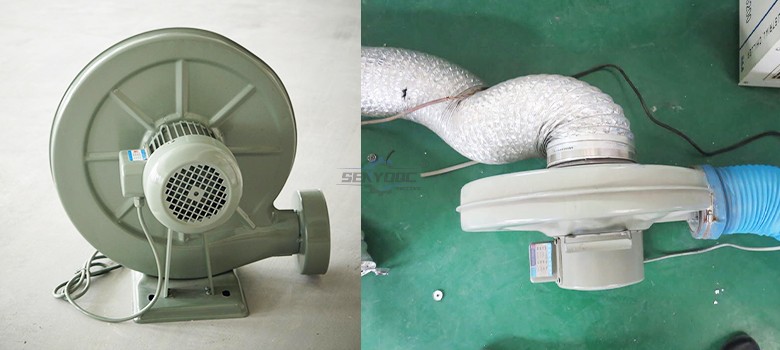
Step 7:
The installation of the Ground:
Connect the ground security, find a wire (above one square metre), and should connect the machine to the ground.
the other end connect the steel bar, it must be buried under the ground 1.5 metre. If in the wet place, the bury depth
can be shallow.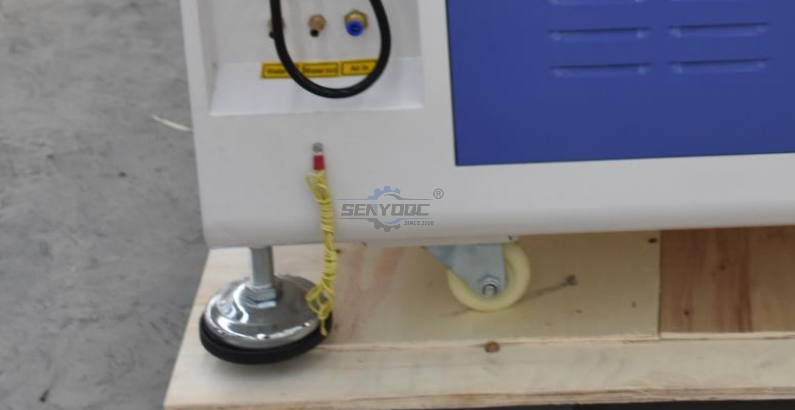
You should check wether all parts of the laser machine are installed correctly and wether the electrical accessories
and line are dropped or damaged.
This is aslo significant to correctly install a CO2 laser engraving cutting machine.
Step 8:
Our CO2 laser machine should use the power with the 220v. If you local power is 220v, you can connect it directly. If
not, you need an extra power transformer for the machine to the change the power.
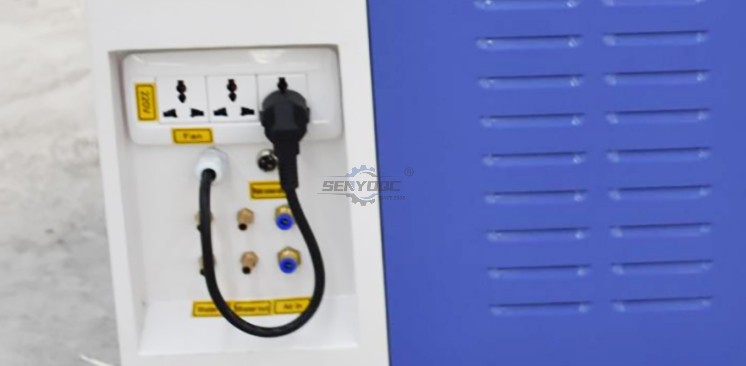
Step 9:
First, supply the power to the water chiller. Then check the silicone tube to see whether it can make water, special
whether the water flow is normal.
Step 10:
Connect the power. connect the 220v power to the laser power and open the urgent stop, thenthe power locks in
order to see whether the power is normal. Press ESC twice,then press the up-down-right-left on the Leetro control
panel to see whether the laser head can move normally.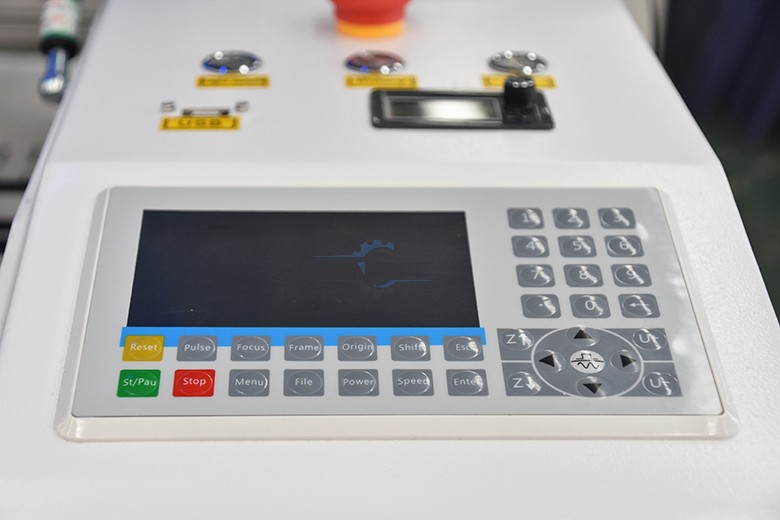
Step 11:
Plug the softdog in the computer, copy the data of the CD to the computer, use the blue data cable to connect the
computer with the leetro card, then install the software correctly.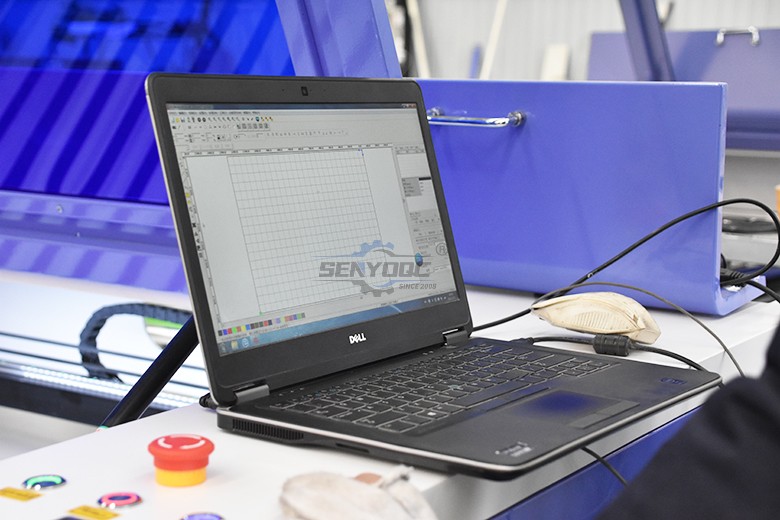
Step 12:
Open the Lasercut icon on the computer desktop, and design a circle about 40*40 mm, the processing method is
(cutting), speed is (100),power is (1), then download to the machine. Move the laser head to the proper place then
press "test" to see whether the laser head can go around the border. If it is normal, press "start" and begin work.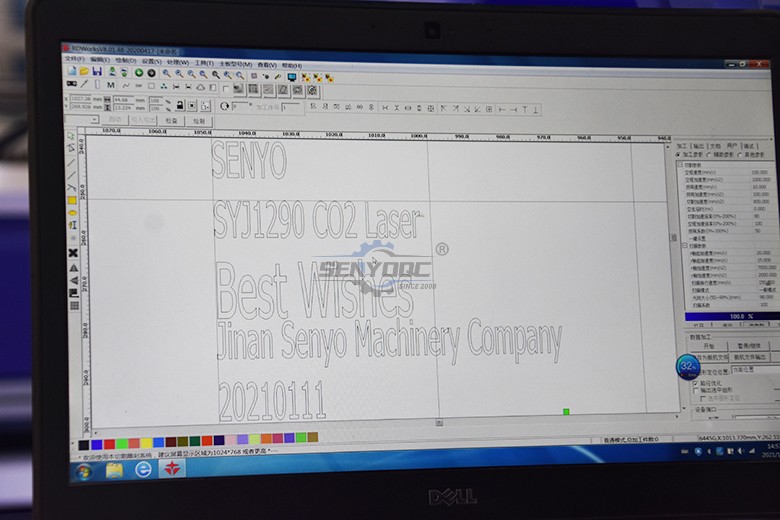
Hope the 12 steps can help to remove your confusion about the installation of CO2 laser engraving and cutting
machine. If you sill have any questions, please feel free to contact with us. We will try our best to help you.


• Previous: How to Install and Use NcStudio Controller & Software for CNC Router Machine?
- What's the MOPA Fiber Laser Machine?
- What is the difference between Laser 2D 2.5D 3D machines?
- What Can Laser Marking Machines Do for You?
- What's the differences between Raycus, JPT, Max, and IPG fiber source?
- What Is Custom Laser Engraving?
- What is a Fiber Laser?- A brief overview
- How To Install & Setup CO2 Laser Engraving Cutting Machine?
- How to Install and Use NcStudio Controller & Software for CNC Router Machine?
- A guide to CNC Router Tools and CNC Router Bits
- How to buy a CNC machine?
Mini Desktop CNC Router for Gifts Making Small Business
Best Granite marble manual polishing machine For Sale
Stone Processing CNC Equipment Automatic Tool Changer CNC Quartz Stone Machining
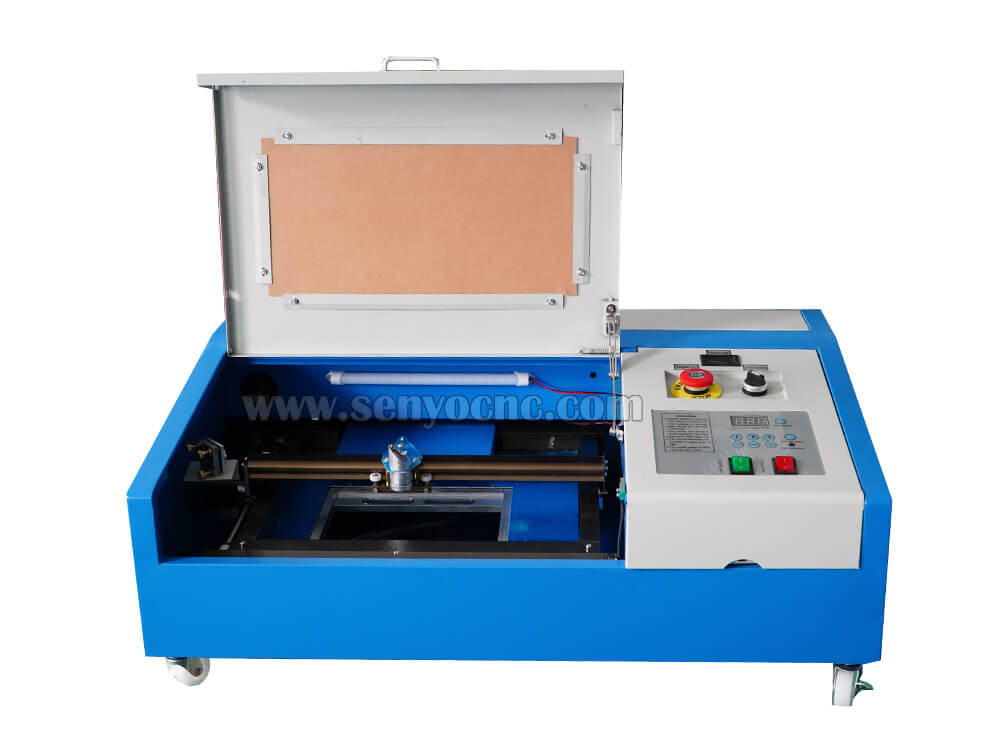
3020 40W Mini CO2 Laser Engraving Cutting Machine
New Design Mini Stone CNC Machine for Marble, Granite and Quartz
Portable CNC Flame Cutting Machine with Plasma Torch for Sale
High-Precision Mini Hobby CNC Plasma Cutting Machine for Metal
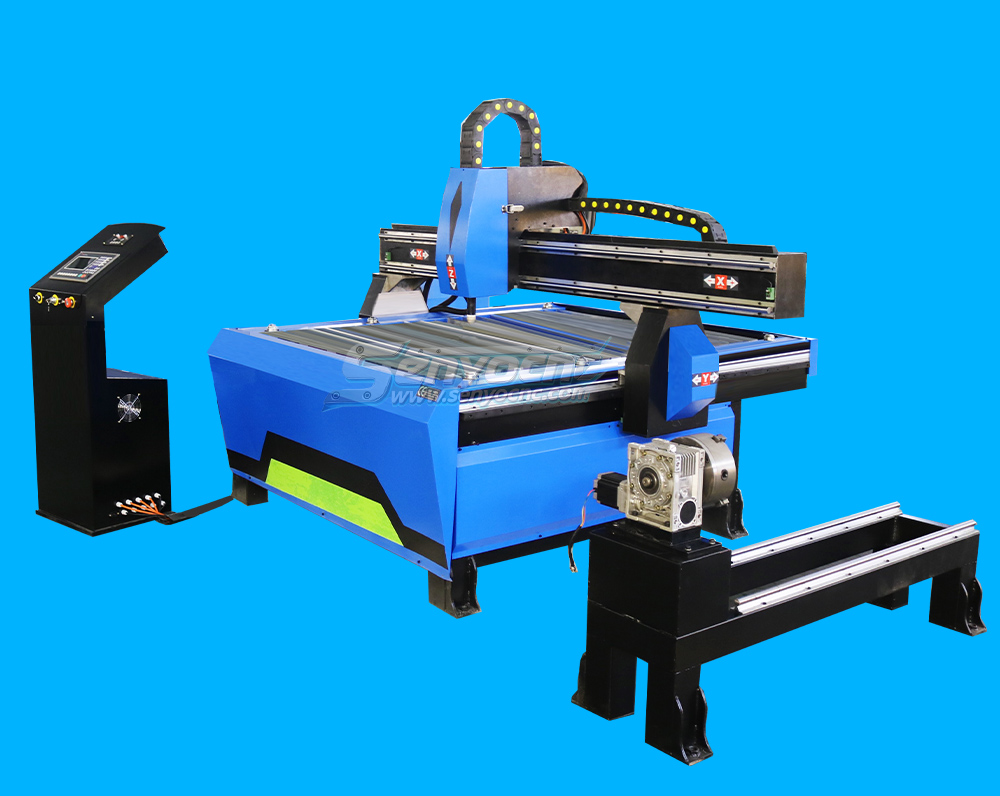
Mini CNC Plasma Cutter With Rotary
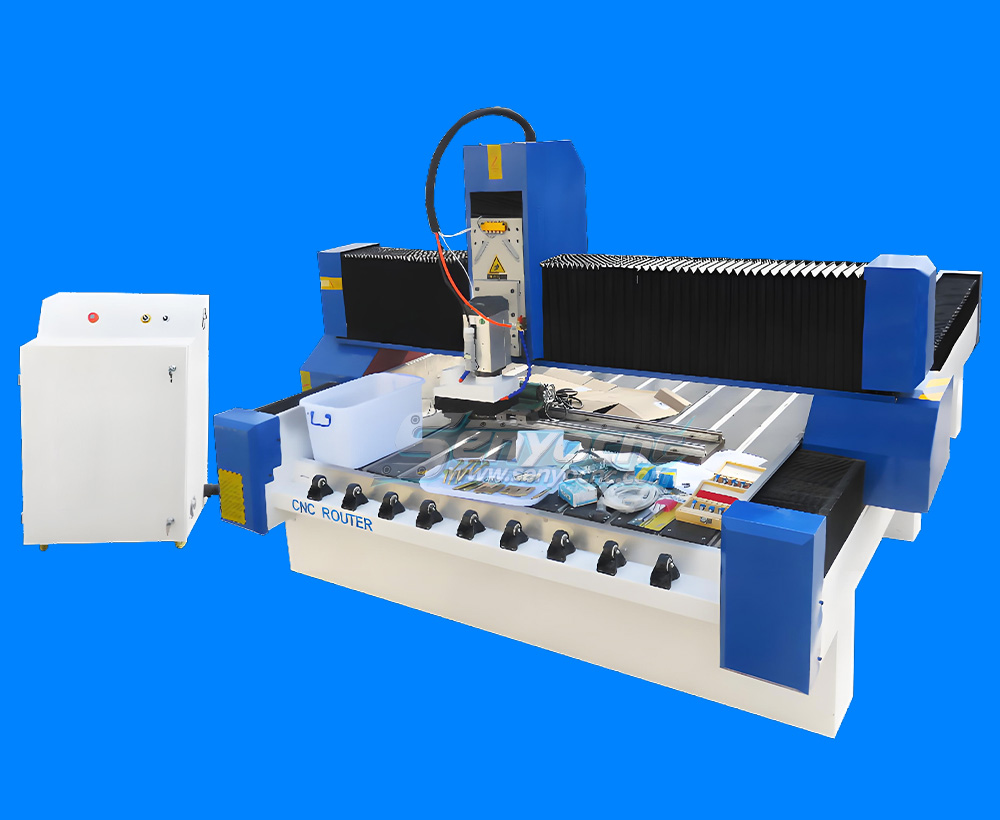
4 Axis 1325 Sculpture Machine Cnc Carving Marble Granite Stone Cnc Router
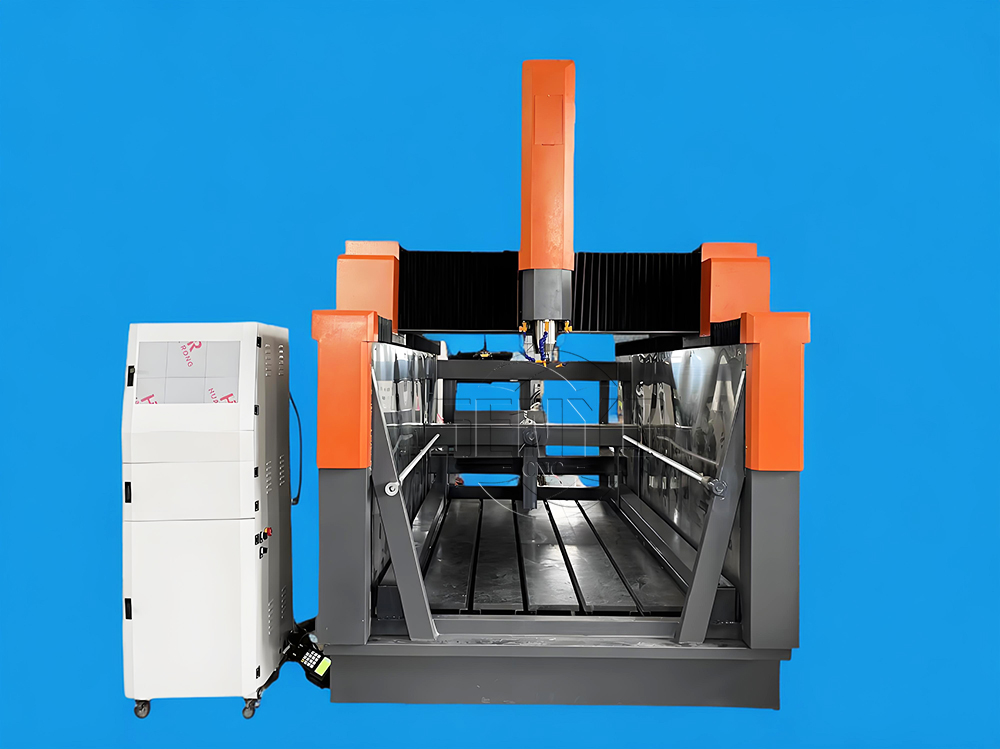
Z Height 1000MM 4-AXIS Stone Engraving CNC Machine Heavy-duty Stone CNC Machine Stone Relief Carving CNC For Sale
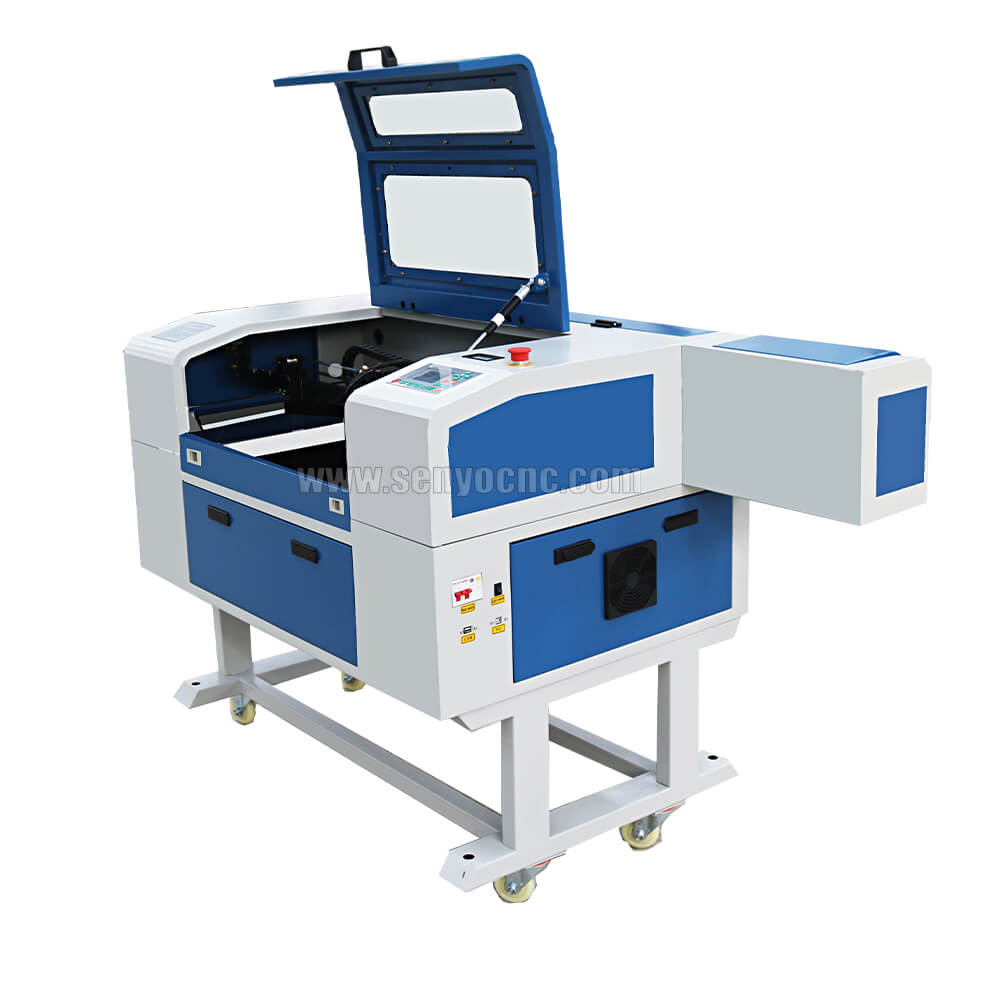
4030 portable mini co2 laser carving and desktop rubber stamp laser engraving machine
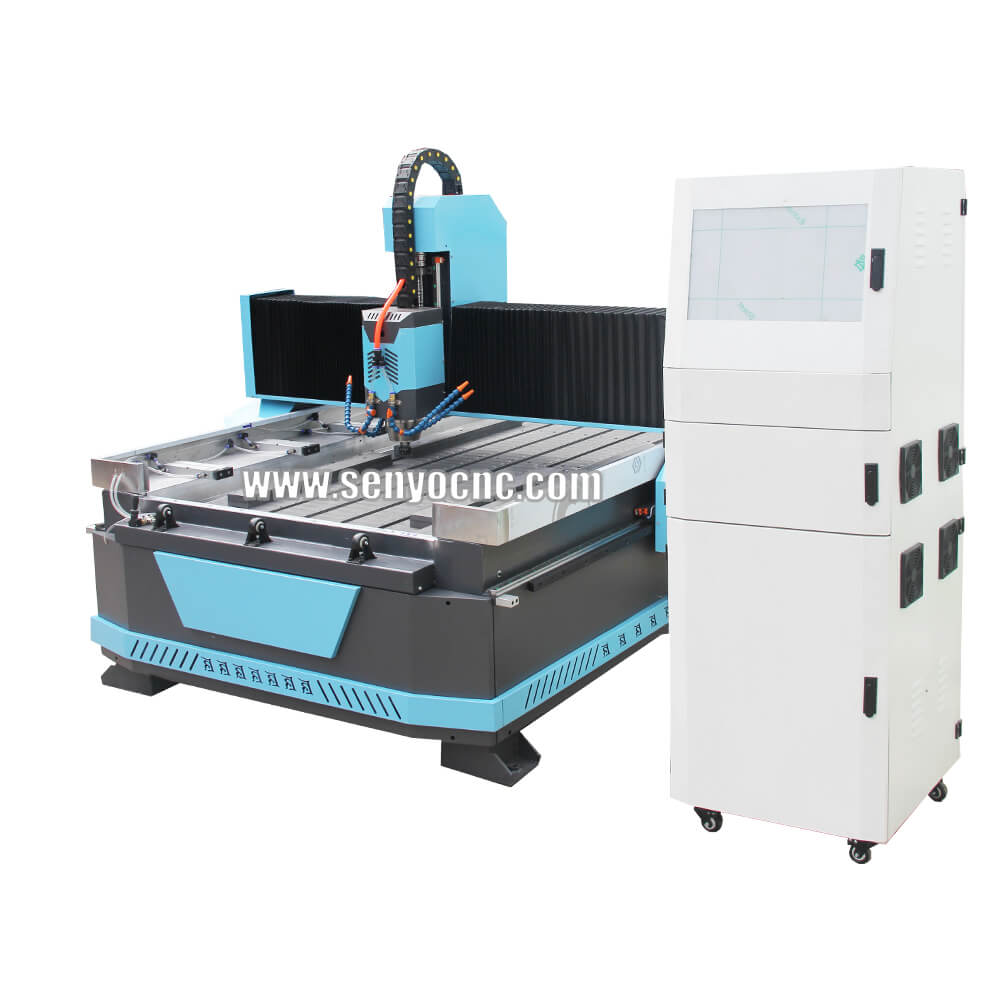
Stone CNC Router For Kitchen sink tile carving and cutting Marble, Granite and Quartz
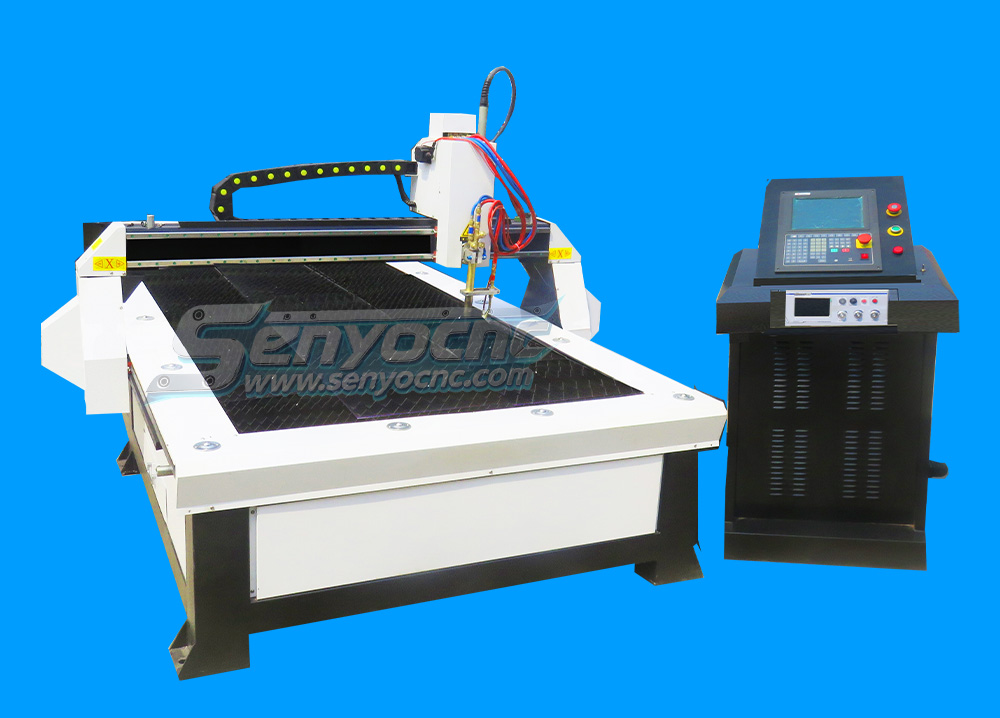
Robust CNC Plasma Cutting Machines with Flame Cut Head for Heavy-Duty Industrial Use
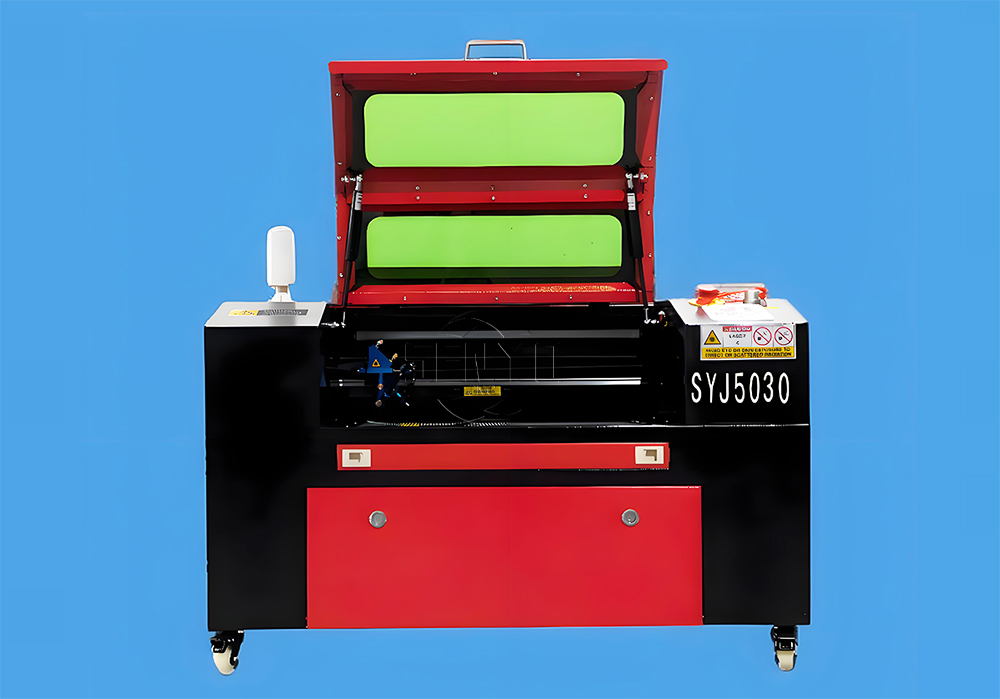
Small Portable CO₂ Laser Cutter Engraving for DIY & Business – Ideal for Wood, Acrylic, Leather
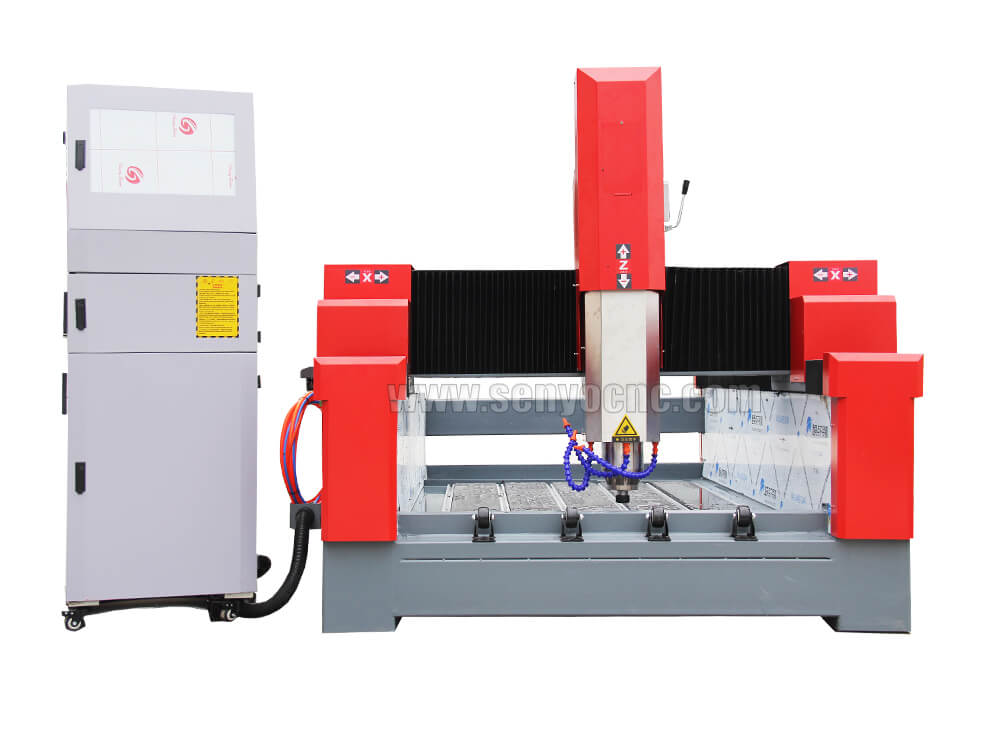
1325 3 Axis 4x8 CNC Stone Router for Sale
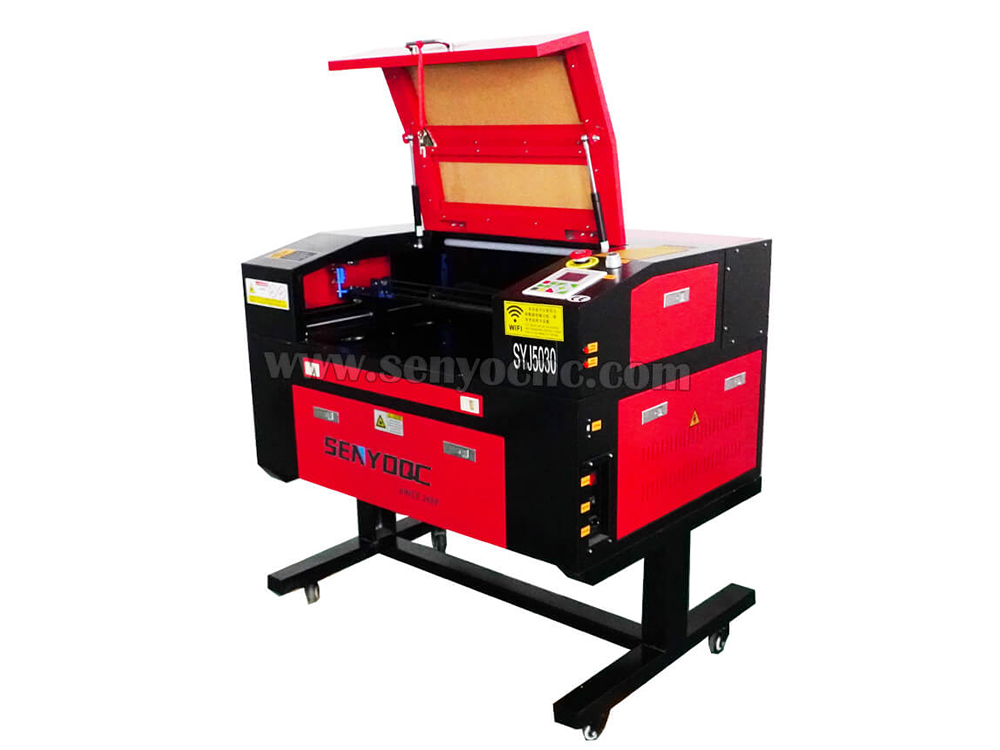
Mini CO2 Laser 5030 Cutting Engraving Machine For Sale
Portable CNC Plasma Flame Cutting Machine for Sale at Cost Price
Portable Cnc Plasma Oxyfuel Sheet Metal Cutting Machine for sale
CNC Plasma Cutters for Customized Metalwork –Rotary&Drilling Head
Small Table design 6040 Easy Move CO2 Hobby Laser Cutter Machine for Beginners
High-Efficiency 2 Heads CNC Machine for Aluminum Stone Marble Engraving & Cutting
Best CNC 2 Spindle 4-AXIS Stone Carving Machine High-precision Stone Carving Stone Countertop Fabrication
Top Rated 2x3 CO2 Hobby Laser Cutting Machine for Sale at Affordable Price
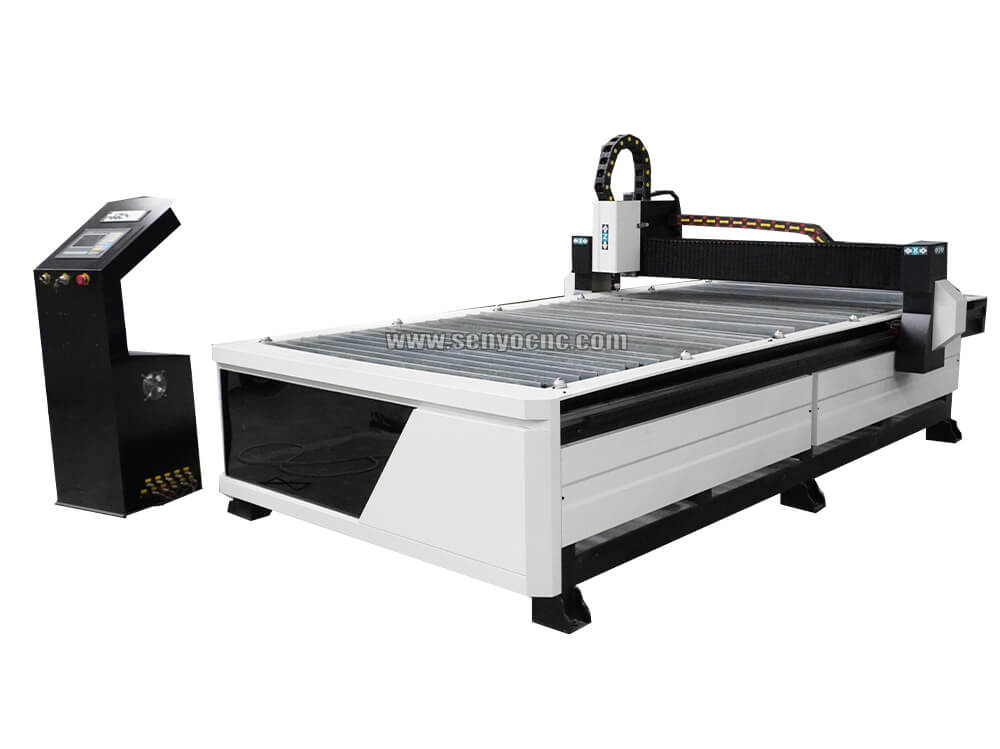
Best 4x8 CNC Plasma Cutter Table for Sale at Affordable Price
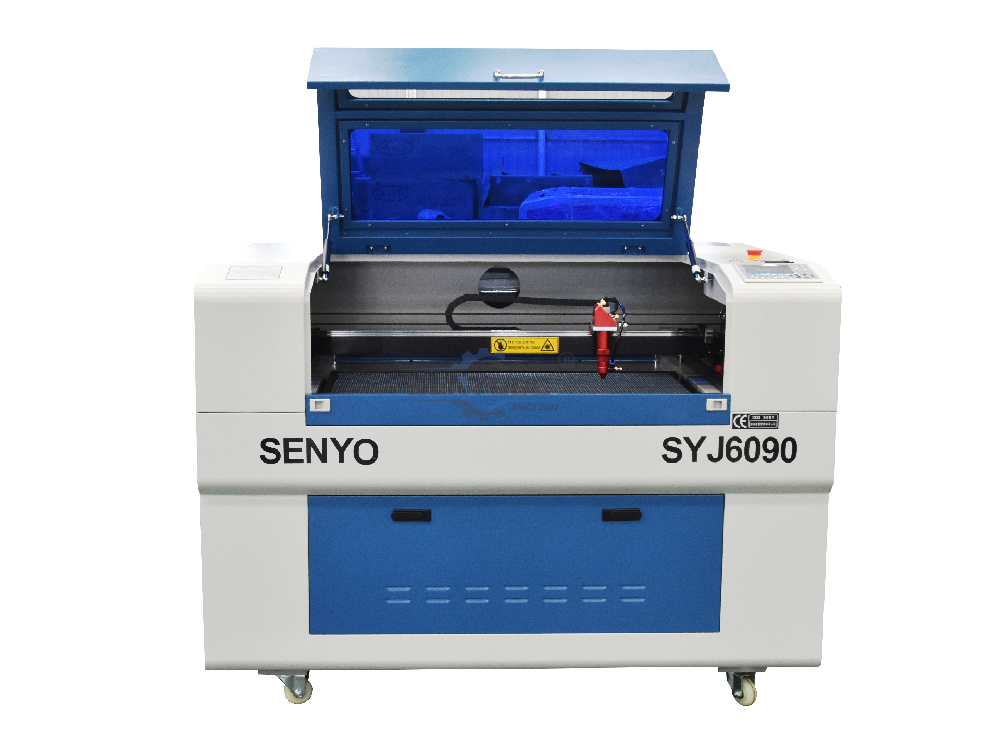
Entry Level CO2 Hobby Laser Cutter Machine for Beginners
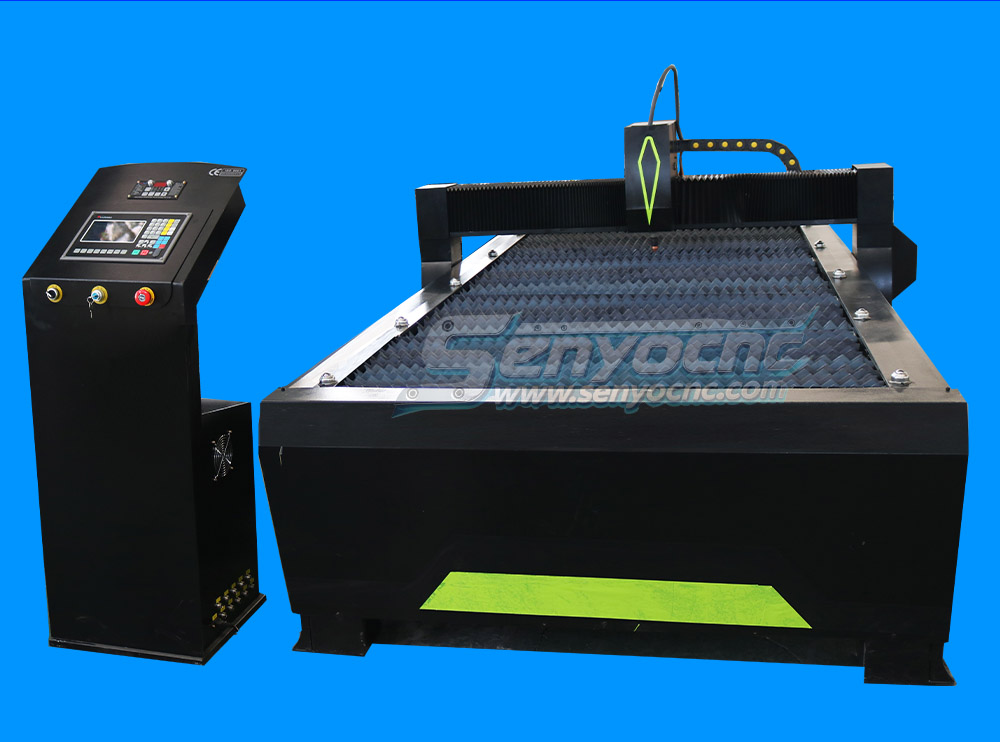
Top CNC Plasma Cutters for Automotive, Aerospace, and Manufacturing Industries
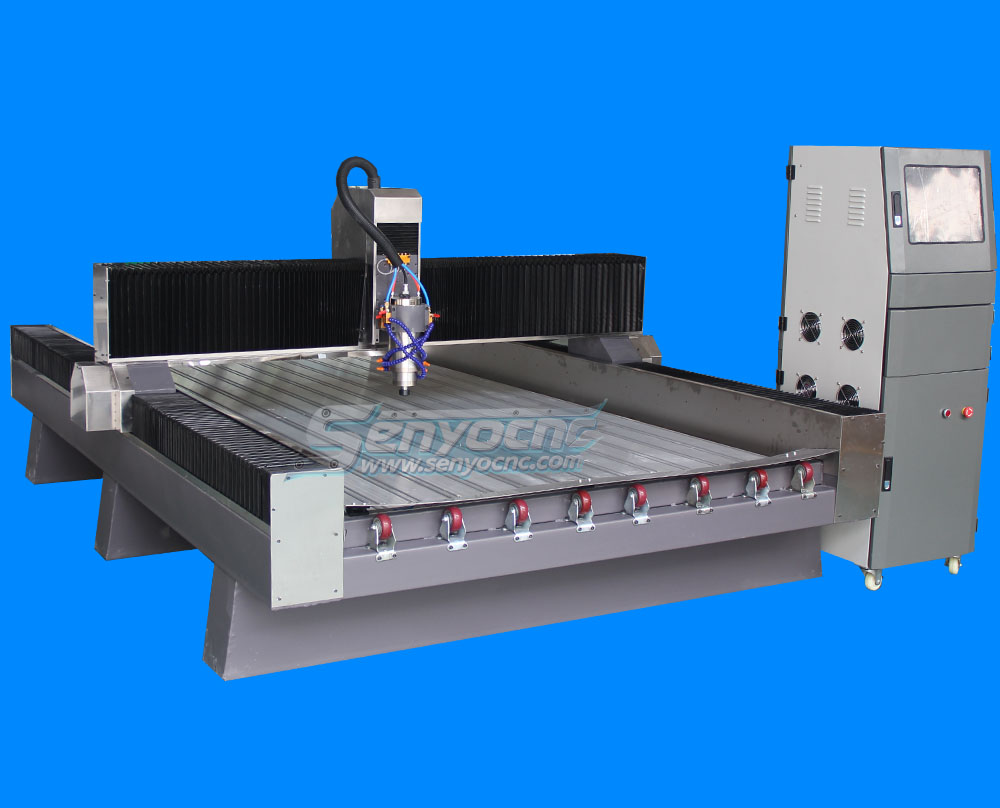
Precision Stone Engraving Machines for Memorials & Signs
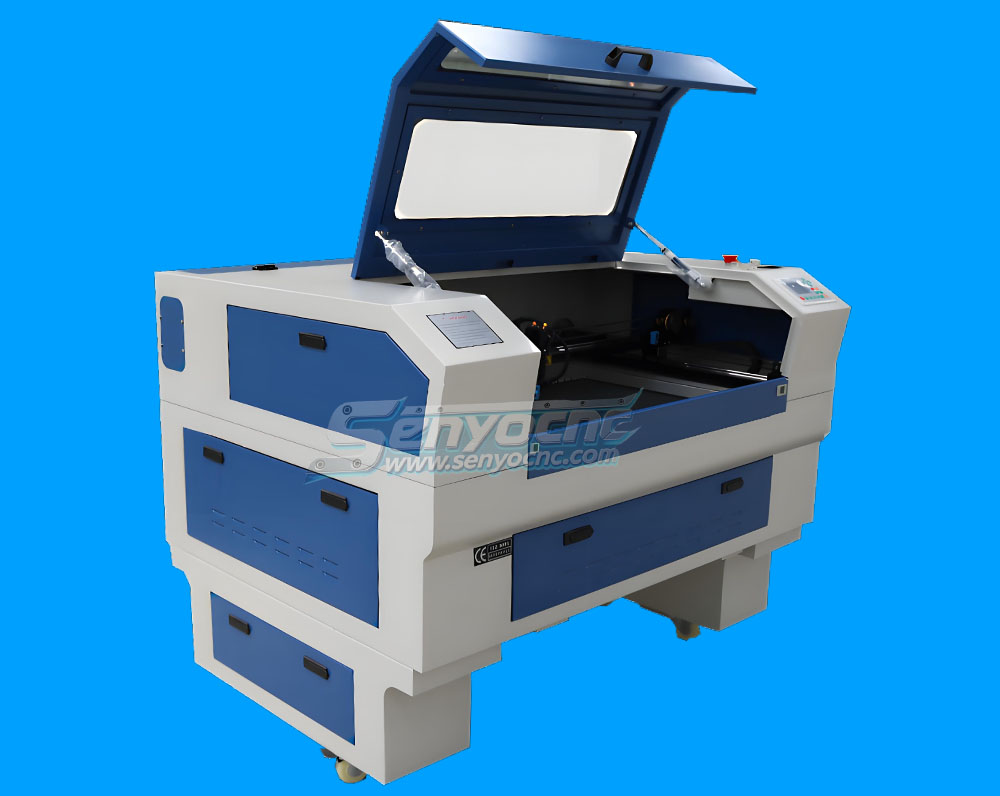
Portable Co2 9060 Laser Nonmetal Cutting Engraving Machine
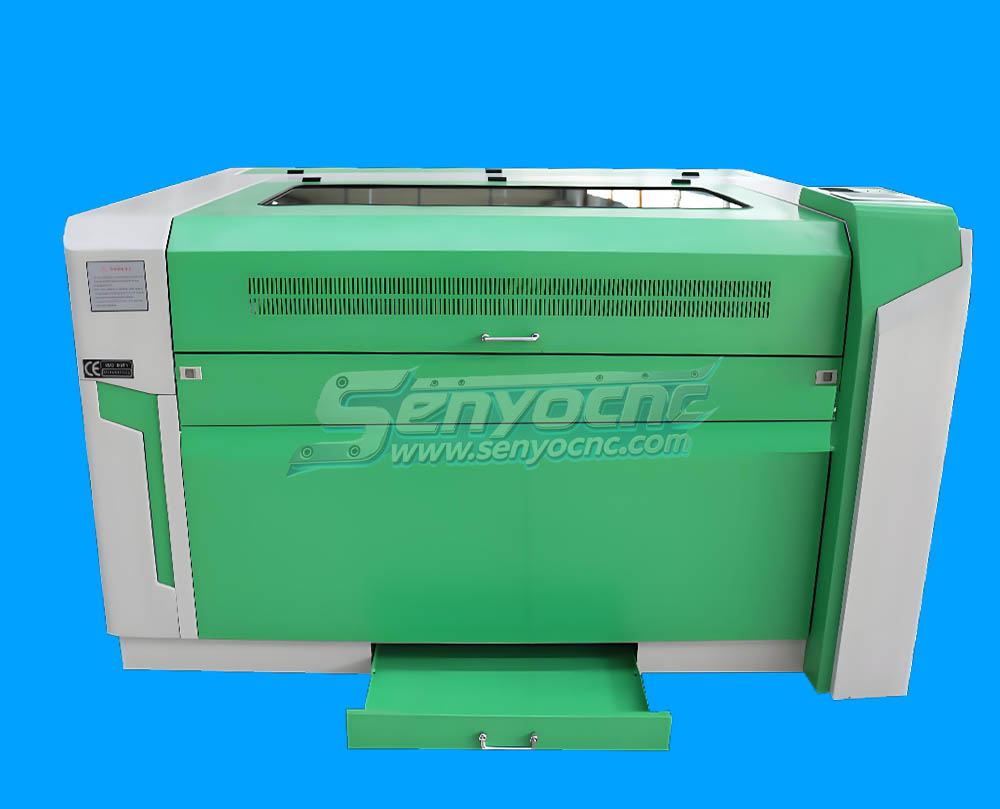
1090 CO2 Laser Machine with Ruida Controller for Non-metal Glass Acrylic Engraving Cutting
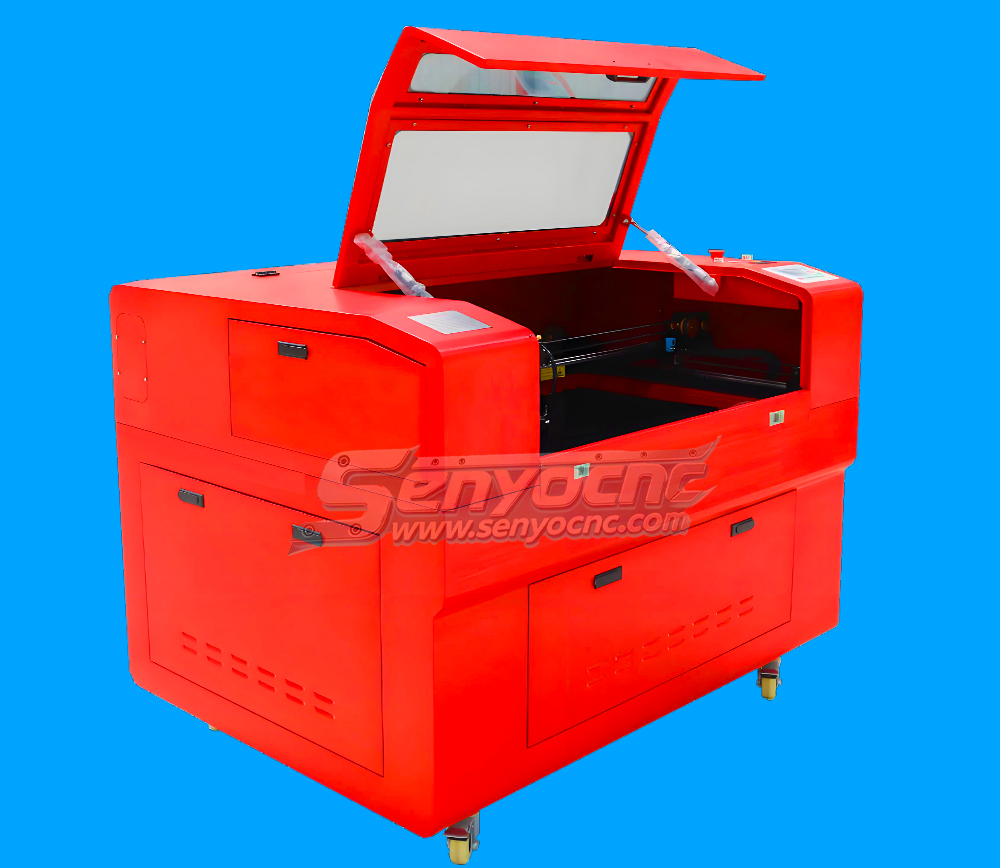
Entry Level 9060 CO2 Hobby Laser Cutter Machine for Beginners
The Apprentice Maze Puzzle Box
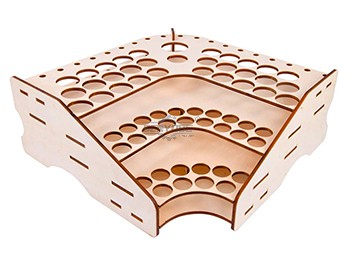
Box laser cutting software share
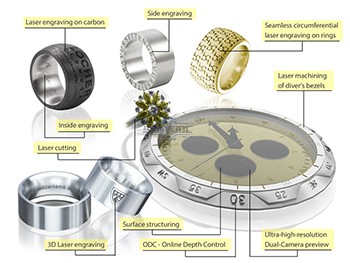
laser marking and engraving for the jewelry industry
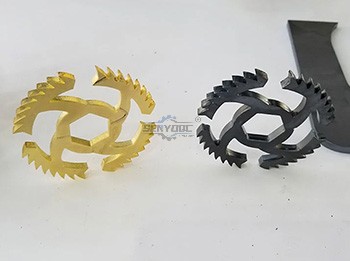
Copper cutting for fiber laser cutting machine
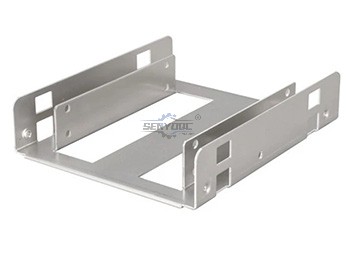
Aluminum Cutting for fiber laser cutting machine
CS Laser Cutting Factors that Affect the Process
Stainless steel Fiber Laser Cutting
2d&3d wood MDF carving and cutting
3D CNC Router for Stone Relief Carving Projects
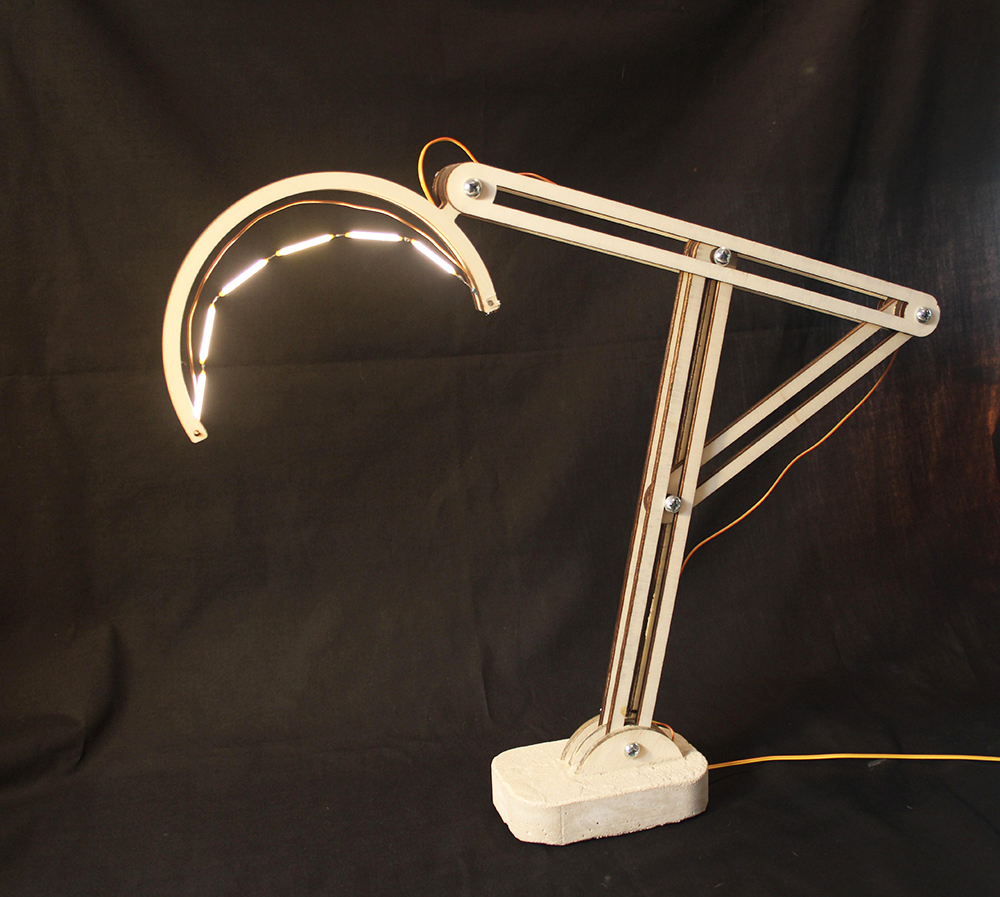
Laser Cut Adjustable Table Lamp
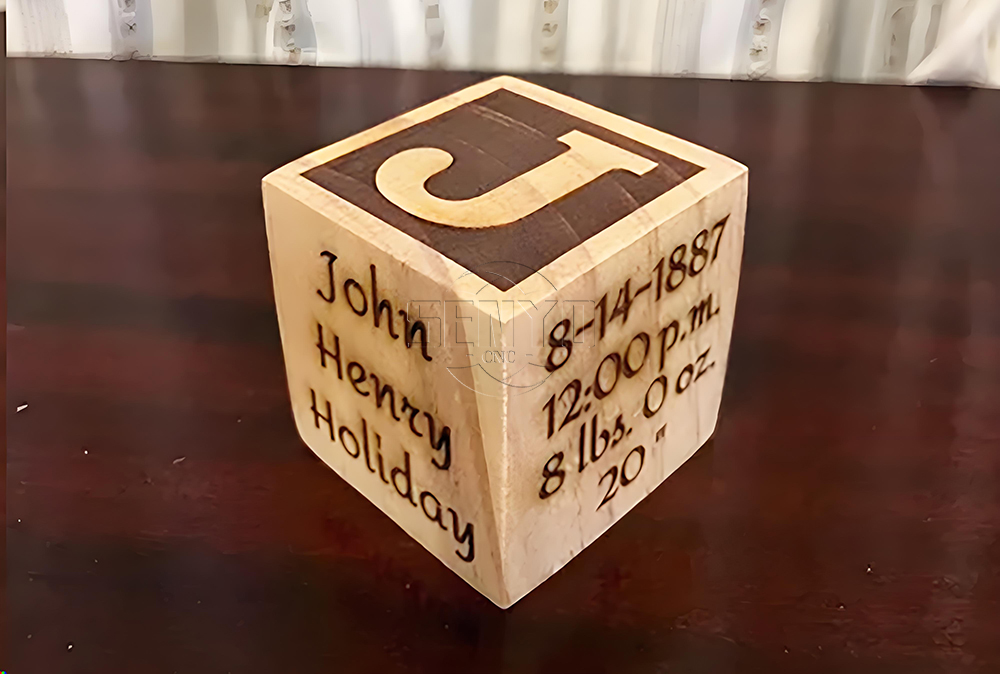
CO2 Laser cutting Baby Birth Block
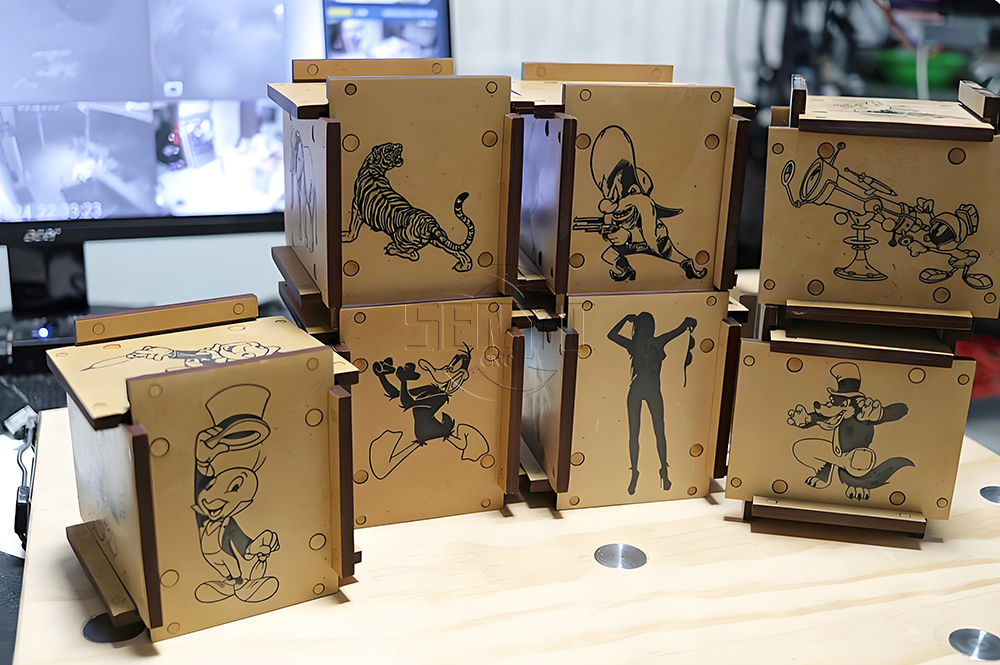
CO2 laser cutting and engraving for 6 Sided Box Puzzle
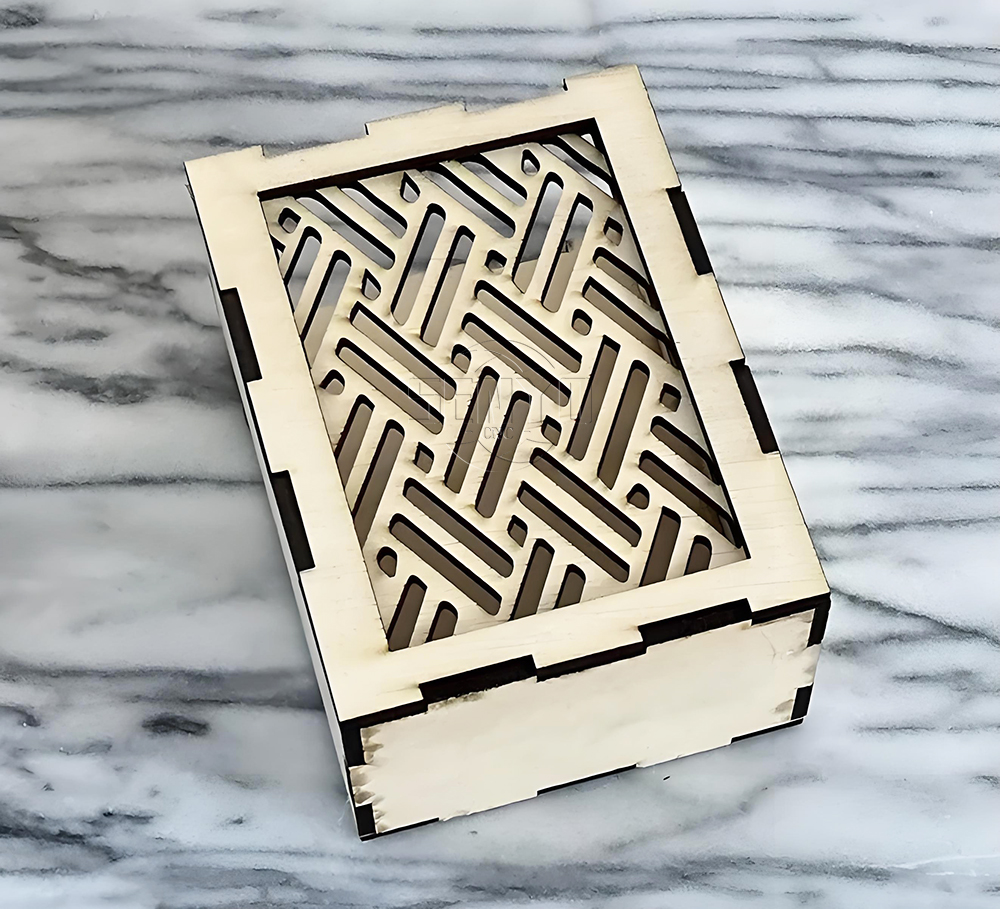
Co2 laser wood cut Illuminated Pattern Box
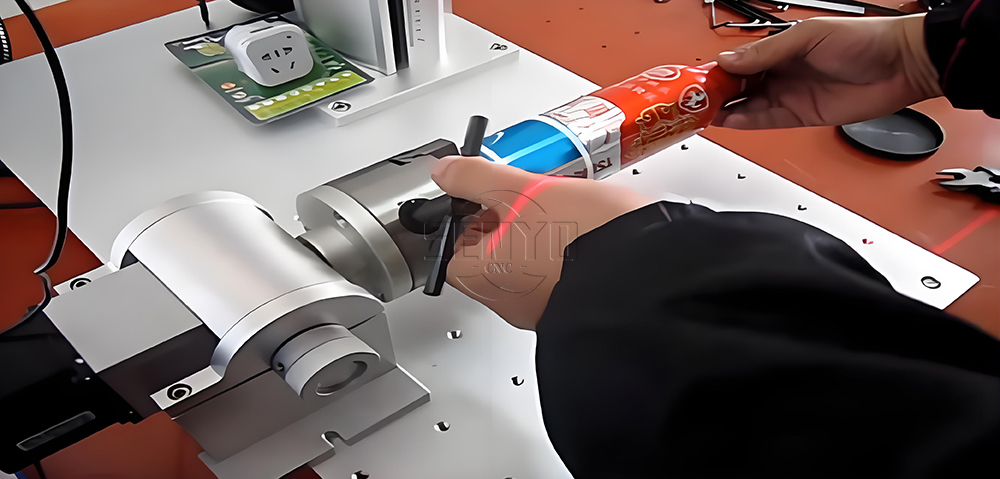
Engrave Round Parts With 50W Fiber Laser Marking Machine
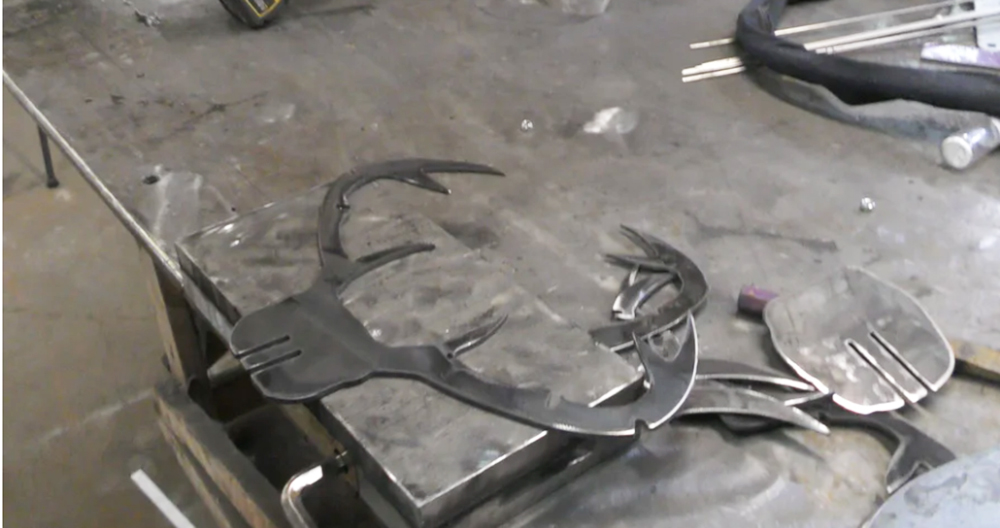
CNC Plasma Cut Deer Head
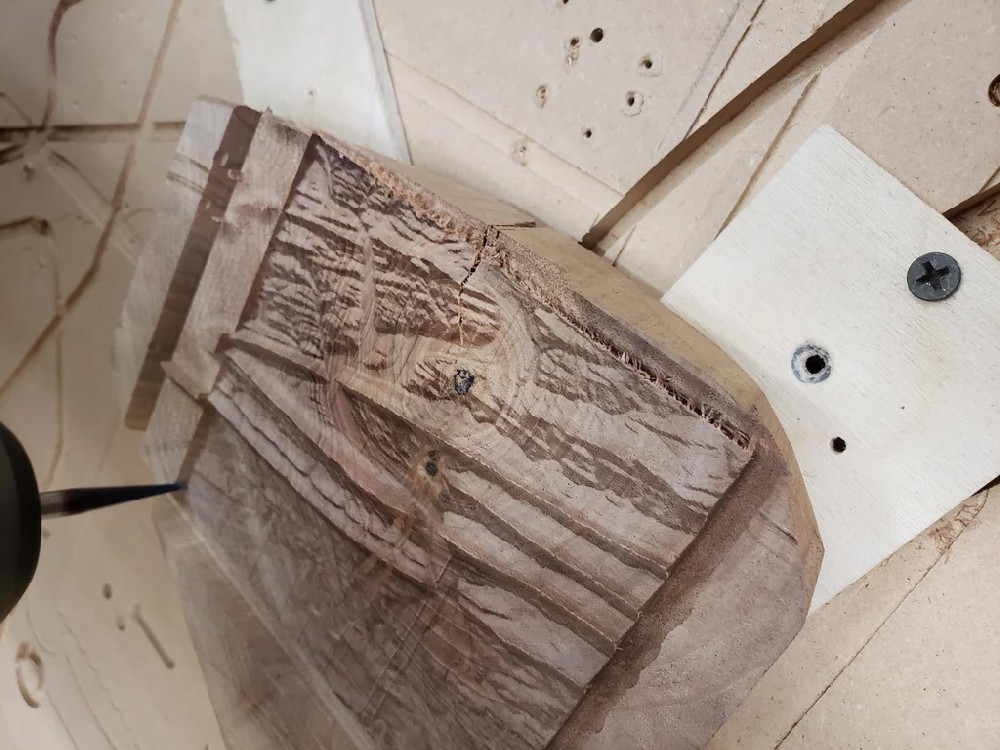
Relief Map on a CNC Router
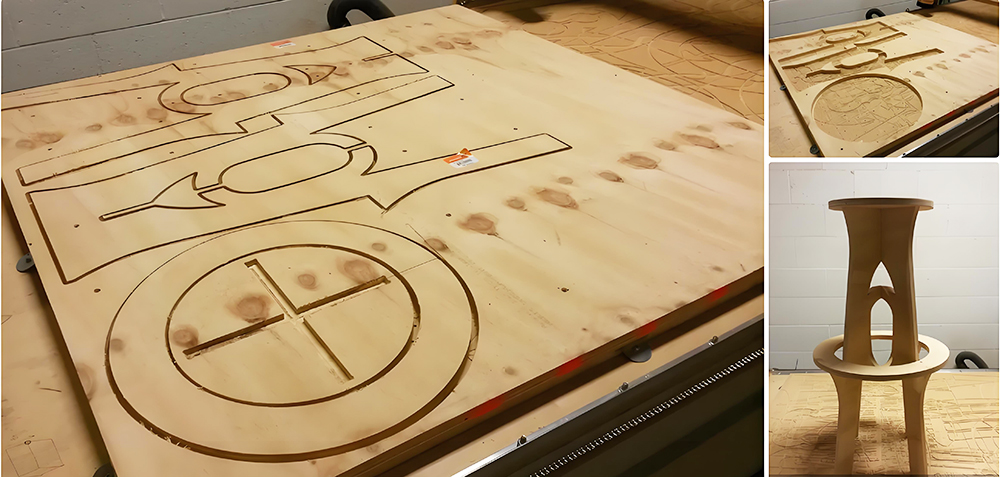
CNC Router Bar Stool
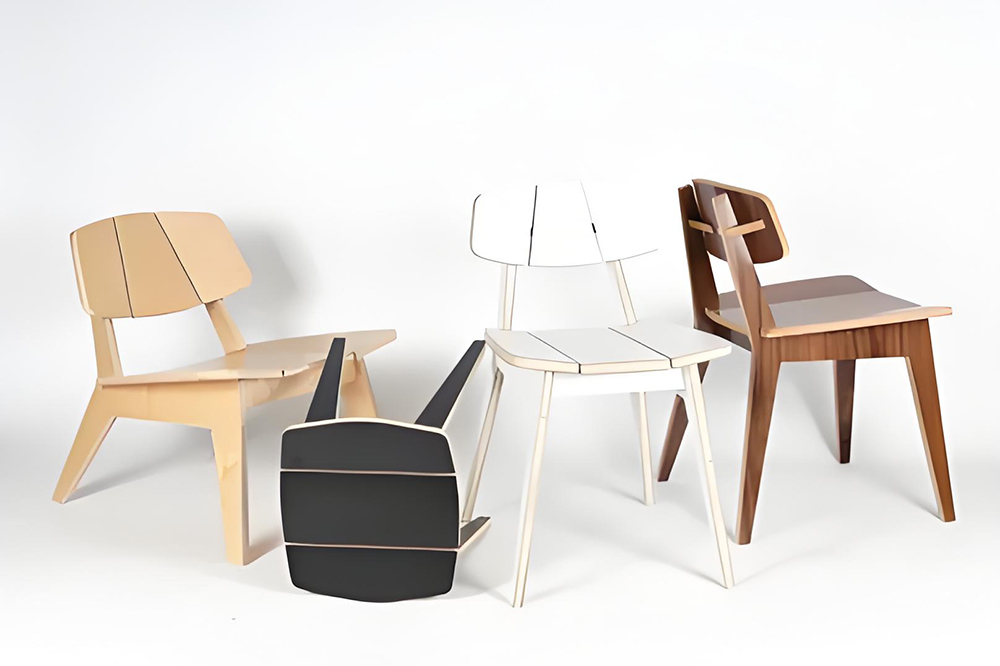
Wood Chair Made With CNC Router
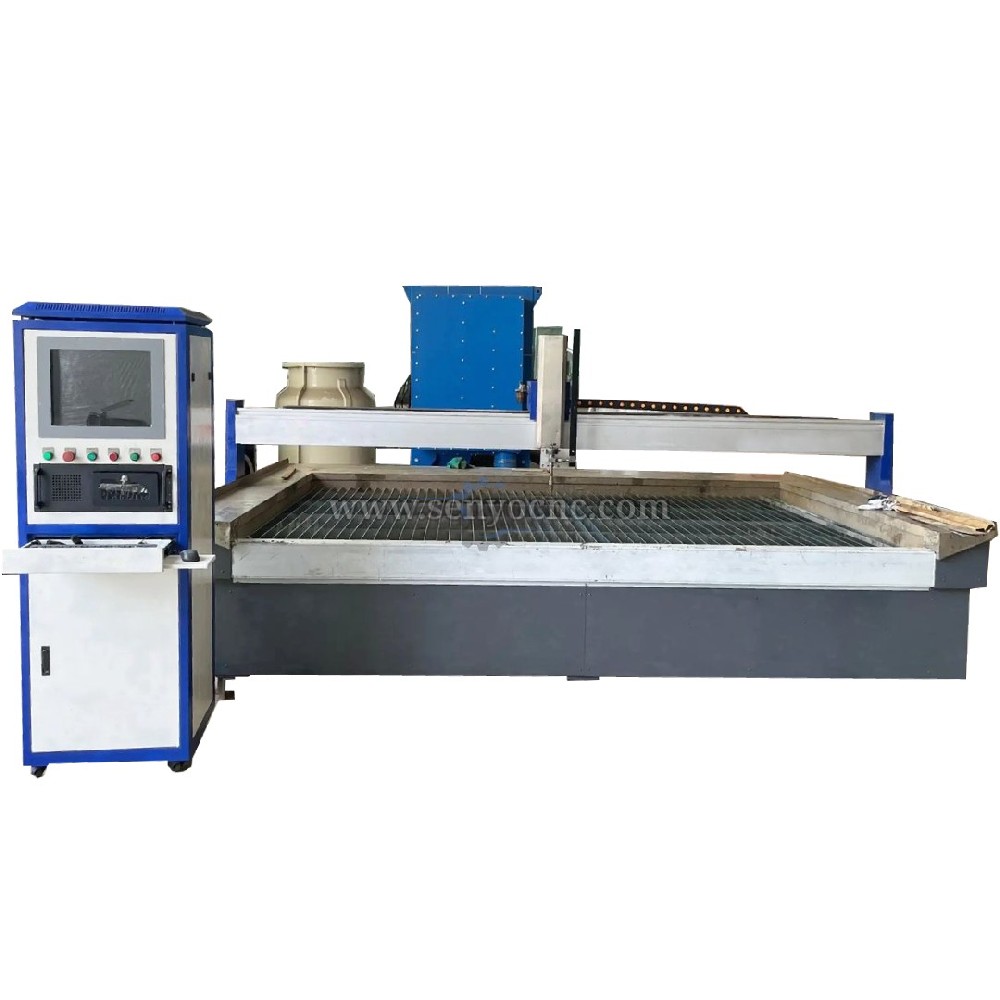
Competitive Price New Design Waterjet Machine 3 axis Cutting Machine

Typical industries that use waterjet technology
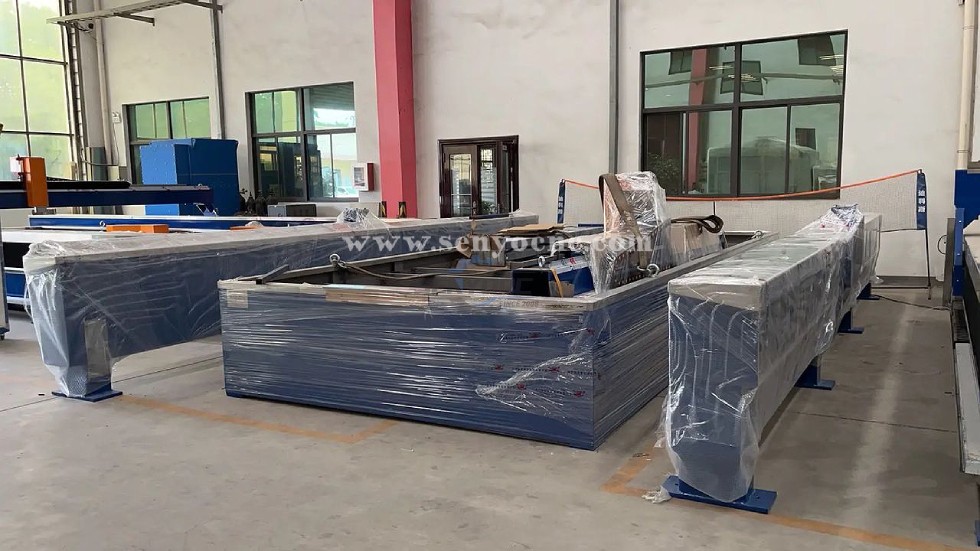
What main benefits to waterjet cutting ?
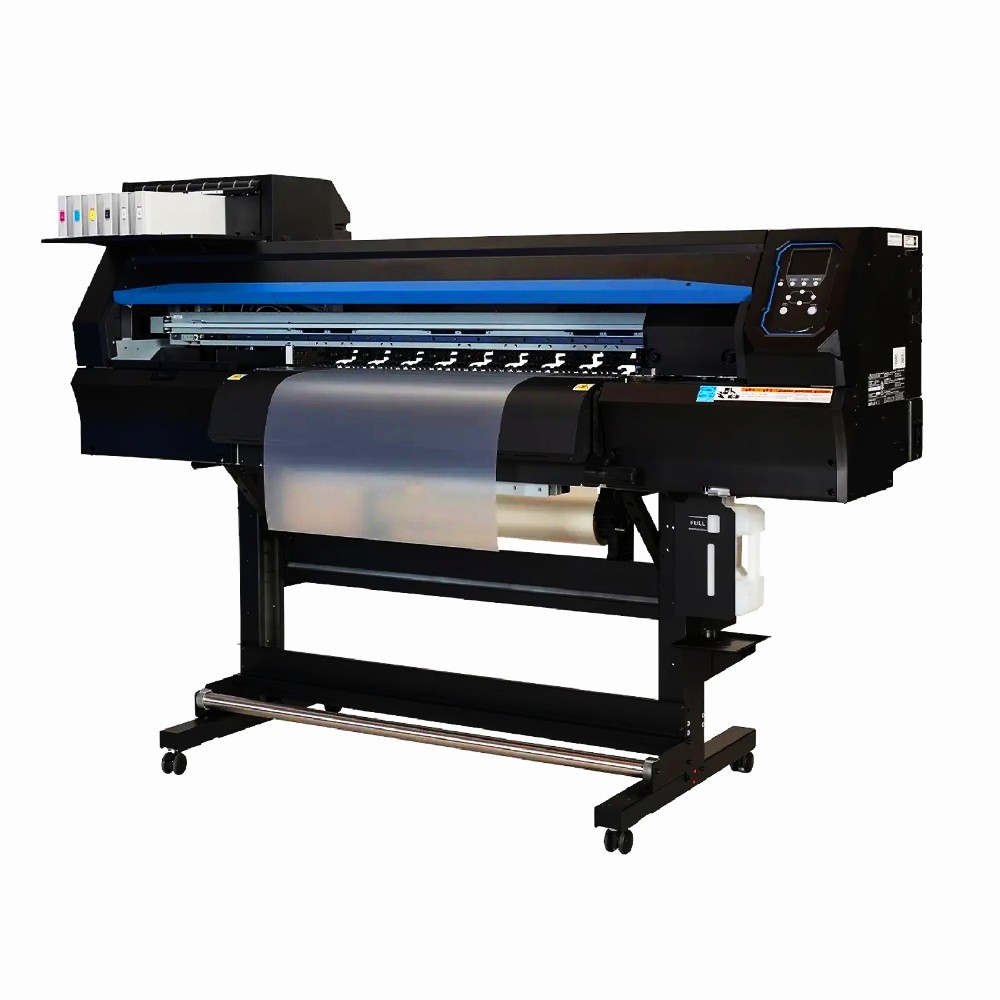
DTF Printer Machine Application
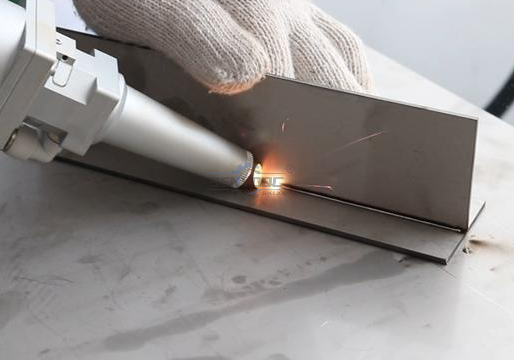
Typical fields of application
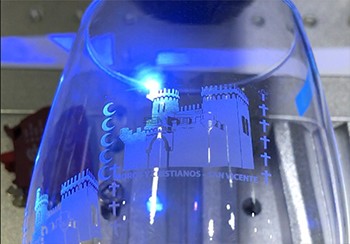
UV Laser Marking Machine For Glasses Engraving
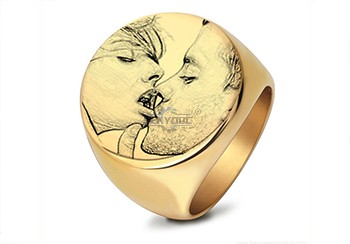
GOLD Engraving -Fiber laser marking work
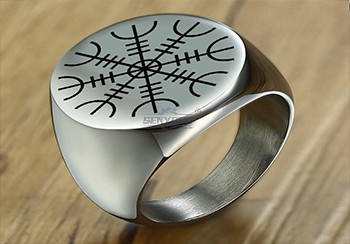
Sover Engraving -Fiber metal engraving and marking
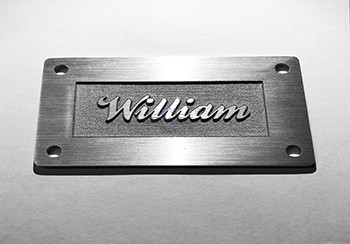
3D Marking Logo deep engraving -Fiber marking machine
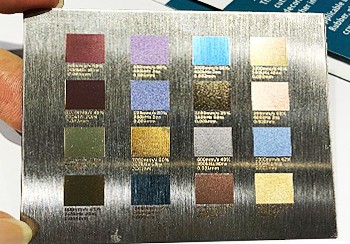
MOPA Fiber Laser Marking Machine Application and Samples
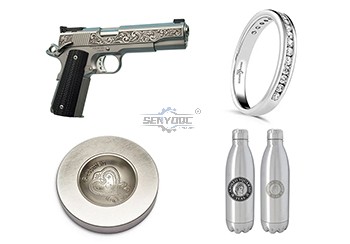
Fiber Laser Engraving and Marking Machine for Metalworking Projects
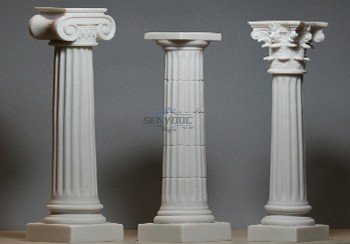
Stone shaft Rotary use engrave cnc router machine

Jacob from United States
I am a beginner at CNC, I’ve never used a CNC machine before and with in a day I was carving. An awesome machine for a beginner to learn as hobbyists. I used the manual and the help video. One hour to assemble and test, very friendly and easy to use. It’s a good buy for the money. I would definitely recommend this machine to someone getting into CNCs.
Weinstein from France
I've been using CNC plasma SYP2060-300A and I am very impressed with this unit.
This unit is of higher quality, made in China. Five stars all the way!
SYM2030 CNC Router with Vacuum Table from 🇵🇭 Mark Reyes — Philippines
The vacuum table is very convenient when processing large MDF sheets. It keeps the material firmly in place and makes production more efficient.
SYJF50W Fiber Laser Marking Machine from 🇹🇭 Nattapong S. — Thailand
We mark stainless-steel plates, tools and aluminum components. The marking is sharp and easy to read, including small serial numbers and logos.
SYJ1325 CO2 Laser Cutting Machine from 🇲🇾 Ahmad Faiz — Malaysia
We cut acrylic, plywood and non-metallic sheets for signage. The machine is compact but provides enough working space for our regular orders.
CNC Router SYM1325 from 🇻🇳 Nguyen Thanh Long
We bought the router for advertising boards and furniture panels. Acrylic, MDF and PVC are processed regularly with stable cutting results.
CNC Wood Router SYM1530-4 Axis from 🇮🇳 Arjun Patel — India
We produce wooden furniture components and decorative columns. The rotary attachment allows us to handle cylindrical work without changing machines.
CNC Wood Router SYM1530-4 Axis from 🇮🇳 Arjun Patel — India
We produce wooden furniture components and decorative columns. The rotary attachment allows us to handle cylindrical work without changing machines.
CNC Stone Router SYS1530 from 🇿🇦 Sipho Dlamini — South Africa
Our workshop works mainly with granite countertops. We use the machine for drilling, cutting and edge processing, which saves considerable manual work.
SYM2040 CNC Router for Wood from 🇸🇦 Faisal Ahmed — Saudi Arabia
The machine is used for doors, wall panels and Arabic decorative designs. The cutting details are clean and the large working table is very useful.


 manager@senyocnc.com
 SENYOCNC
 +86 1525 3141 880
 +86 1525 3141 880
 2061579344
